4OM-1505-004_w.pdf - 第91页
4OM-1505 1-40 4. Maintenance Method : Chap.1 4. Maintenance Method 4.1 Replacement and Adjustment of Consumables 4.1.1 Replacement of Squeegee When the squeegee edge is worn out or deformed by solvent, etc., replace the …
4OM-1505
1-39
3. Maintenance Spots : Chap.1
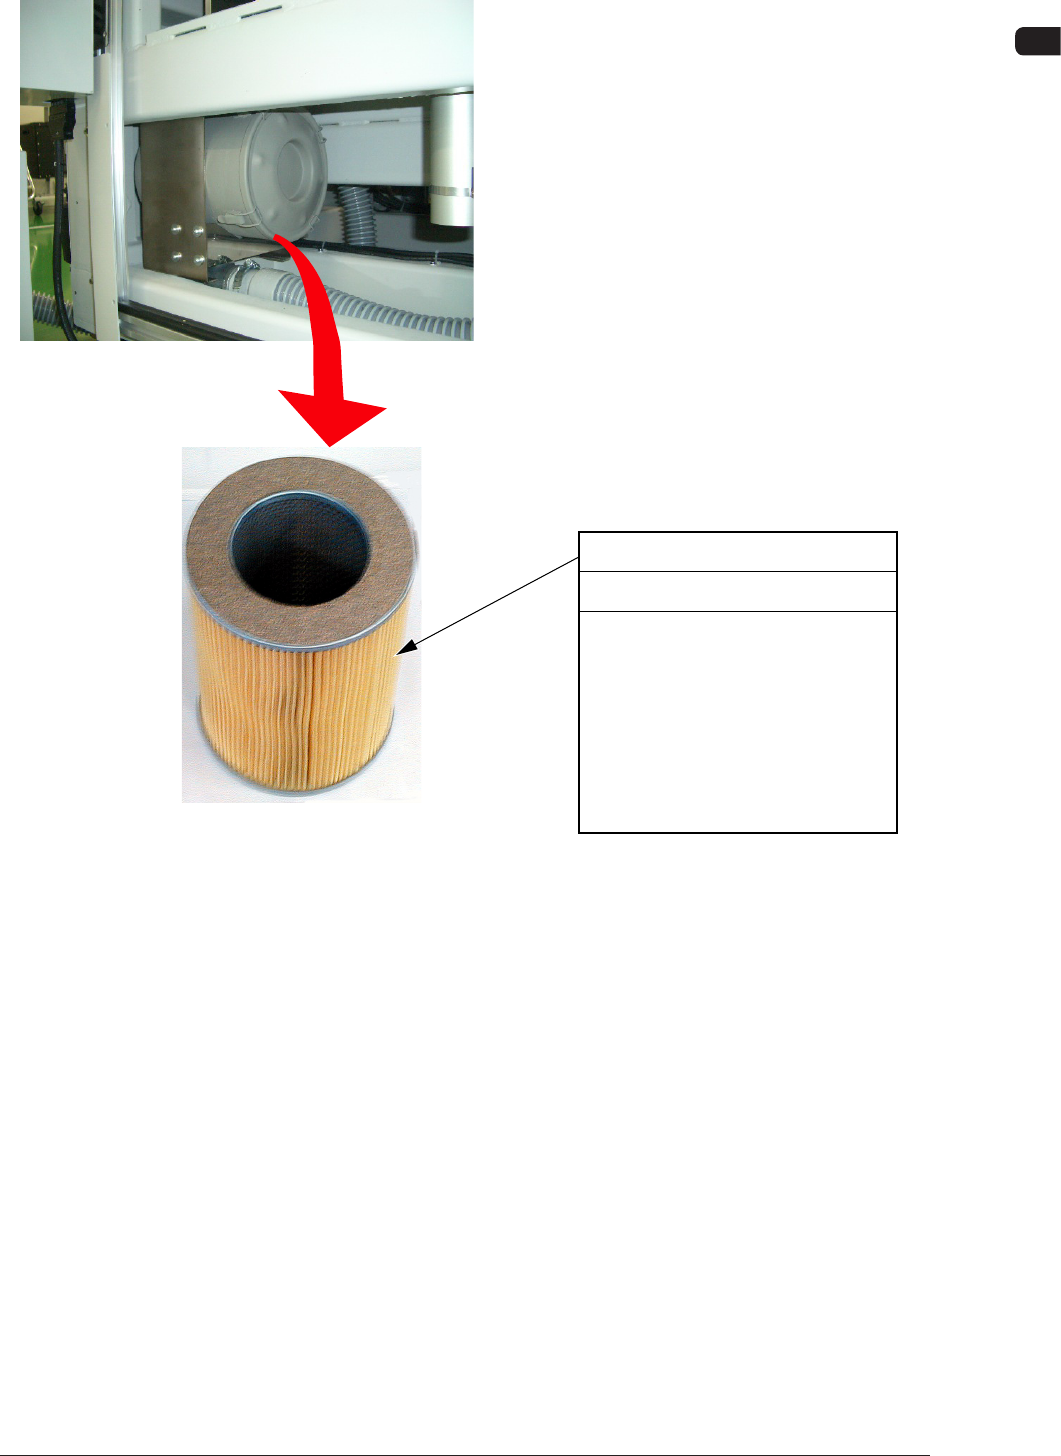
3.2.10 Blower Unit
Vacuum Filter
Detach the vacuum filter and
blow off dust with air or remove
dust with an air gun and a
vacuum cleaner.
Replace the filter with a new one
when it is stained excessively.
Refer to "4.1.3 Replacement of
Blower Filter" for details.
Every 6 Months Check, Cleaning
Blower Unit
F4A32
0906-001

4OM-1505
1-40
4. Maintenance Method : Chap.1
4. Maintenance Method
4.1 Replacement and Adjustment of Consumables
4.1.1 Replacement of Squeegee
When the squeegee edge is worn out or deformed by solvent, etc., replace the
squeegee with a new one to avoid any hindrance in printing.
•
Loosen the squeegee anchor bolts and detach the squeegee.
•
Attach a new squeegee.
When
the bolt is to be tightened, press the side A of the squeegee against a plain
surface such as a surface plate and tighten the bolt evenly so that there should
be no warpage.
•
After tightening the bolt, push the squeegee against a straight surface such as a
surface plate (edge portion) and conrm that there is no clearance.
Perform the adjustment while the squeegee angle is at 60° (xed) to the surface
plate.
Squeegees Anchor
Bolts
Squeegees
60°
60°
Plane A
Edge Portion
Plane A
Edge Portion
F4A33
Note
It is recommended that Plane A should be ground to secure the straightness with
the squeegee being attached for good printing quality.
Especially, the squeegee with its straightness being well maintained works
effectively for nely-pitched pattern printing and accurate coating (thickness) of
paste.
0906-001
4OM-1505
1-41
4. Maintenance Method : Chap.1
4.1.2 Adjustment of Squeegee Head Height
Rubber Squeegees
Procedure
(1) Loosen the set screw for the stopper nut.
Stopper Nut
L
Set Screw
Squeegee Head Section F4A34
1002-002