Nordson_EFD_OptiSure_Operating_Manual - 第22页
OptiSure Automated Optical Inspection 22 www.nordsonefd.com info@nordsonefd.com +1-401-431-7000 Sales and service of Nordson EFD dispensing systems are available worldwide. Example program that contains Fiducial Mark com…
OptiSure Automated Optical Inspection
21www.nordsonefd.com info@nordsonefd.com +1-401-431-7000 Sales and service of Nordson EFD dispensing systems are available worldwide.
To Use a Gravity Point Mark Image in a Program
# Click Step Reference Image
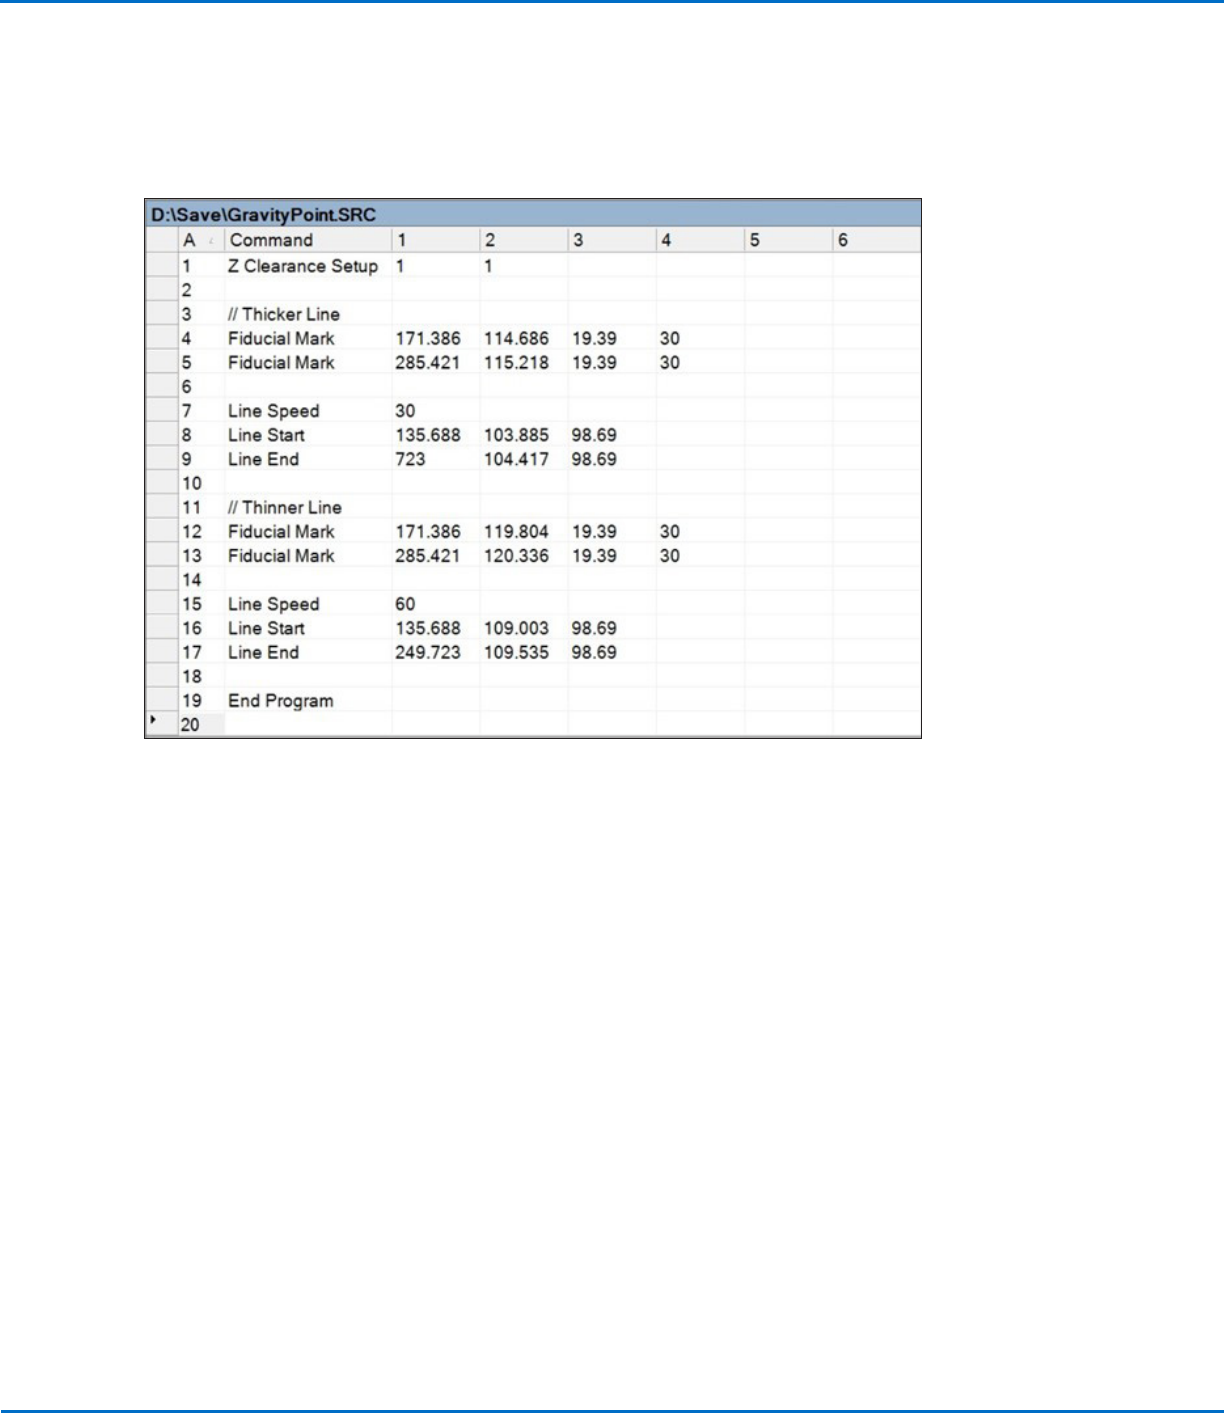
• In the dispense program, insert one
Fiducial Mark command near the
beginning of the thicker line and one
Fiducial Mark command near the
end of the thicker line, specifying
in each the Mark No. of the Gravity
Point mark you created in the
previous procedure.
• Insert a Line Speed command and set the value at 30.
NOTE: This setting might need to be adjusted depending on thickness
of the line.
• Enter Line Start and Line End commands for the thicker line.
• Insert one Fiducial Mark command near the beginning of the thinner
line and one Fiducial Mark command near the end of the thinner line,
specifying Mark No. of the Gravity Point Mark you created in the
previous procedure.
NOTE: These Fiducial Mark commands can specify the same Mark No.
because both lines are similar in composition.
• Insert a Line Speed command that is double the previous line speed, so
that less fluid is dispensed.
NOTE: This setting might need to be adjusted depending on the
thickness of the line.
• Insert Line Start and Line End commands for the thinner line.
When the system dispenses on any line with fiducial offsets, it will align
the dispense in the middle of the line, regardless of the thickness or
thinness of the line.
NOTE: The complete example program is provided on the next page.
Using the Arrow Types (continued)
Gravity Point Example (continued)
OptiSure Automated Optical Inspection
22 www.nordsonefd.com info@nordsonefd.com +1-401-431-7000 Sales and service of Nordson EFD dispensing systems are available worldwide.
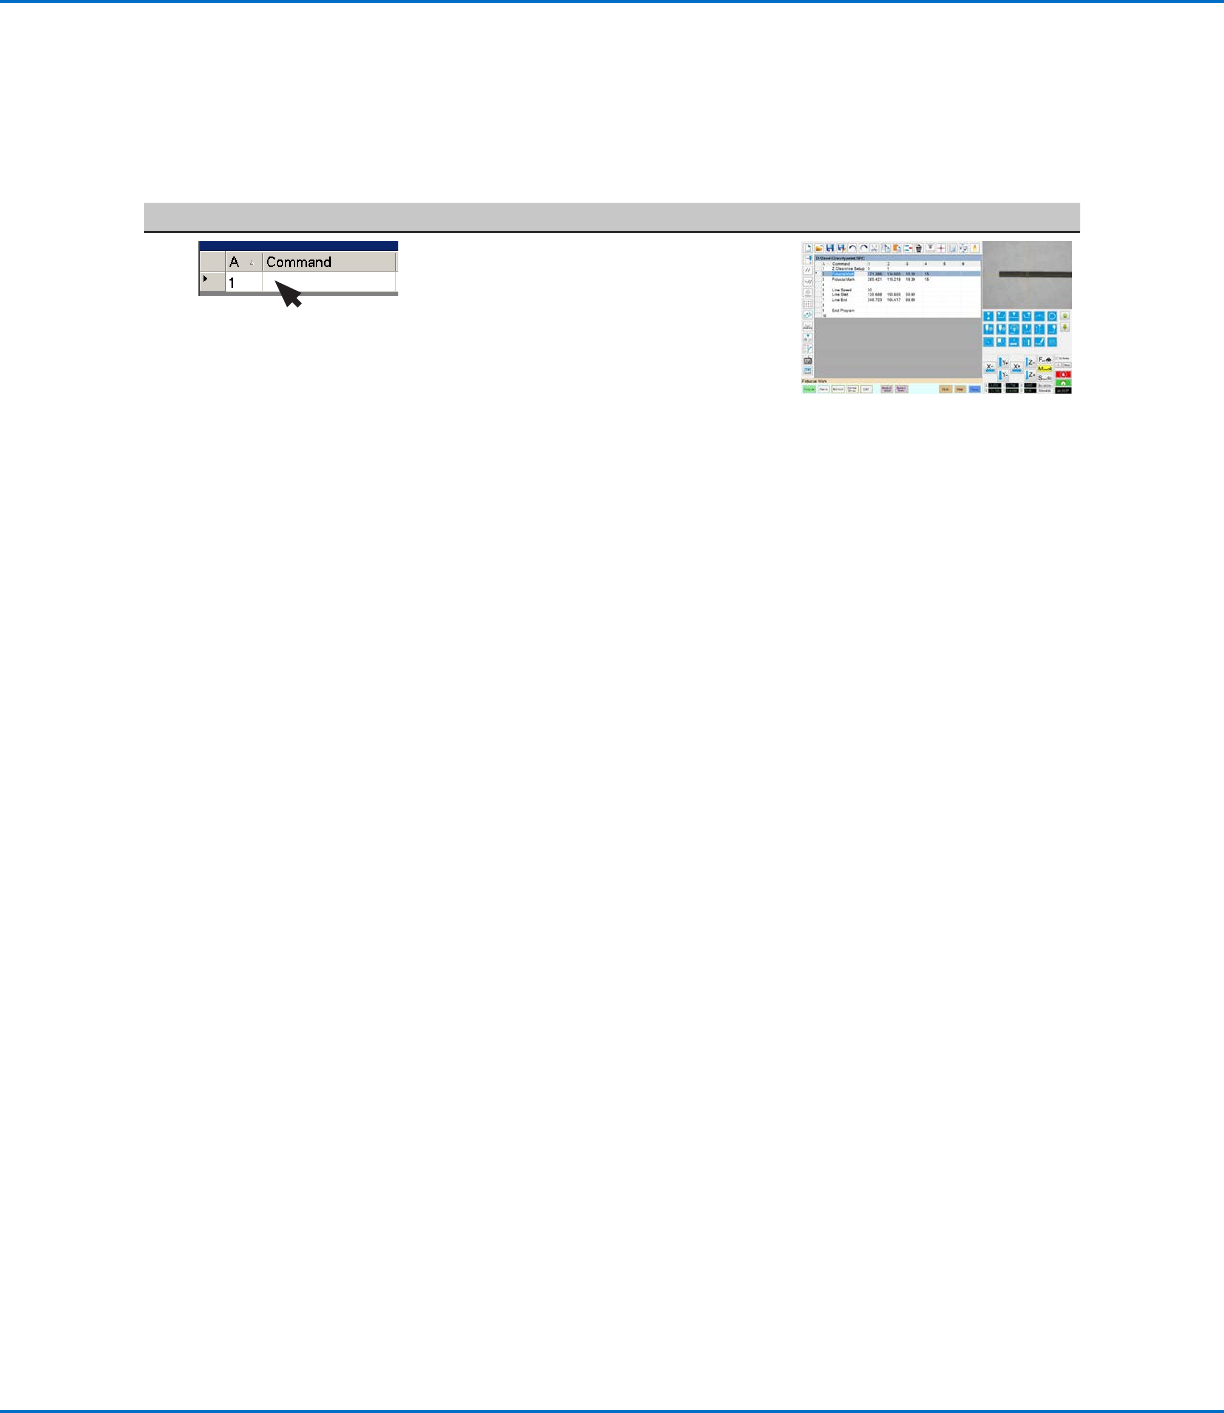
Example program that contains Fiducial Mark commands for a Gravity Point mark
Using the Arrow Types (continued)
Gravity Point Example (continued)
To Use a Gravity Point Mark Image in a Program (continued)
OptiSure Automated Optical Inspection
23www.nordsonefd.com info@nordsonefd.com +1-401-431-7000 Sales and service of Nordson EFD dispensing systems are available worldwide.
Circle Center Example
Circle Center is an OptiSureAOI feature that allows you to add details to a mark image of a circular area that has
poor definition, thus allowing the system to find the mark image faster and more accurately.
PREREQUISITES
To learn how to use this feature, draw four large circles on a sheet of white paper and use it as a workpiece
template.
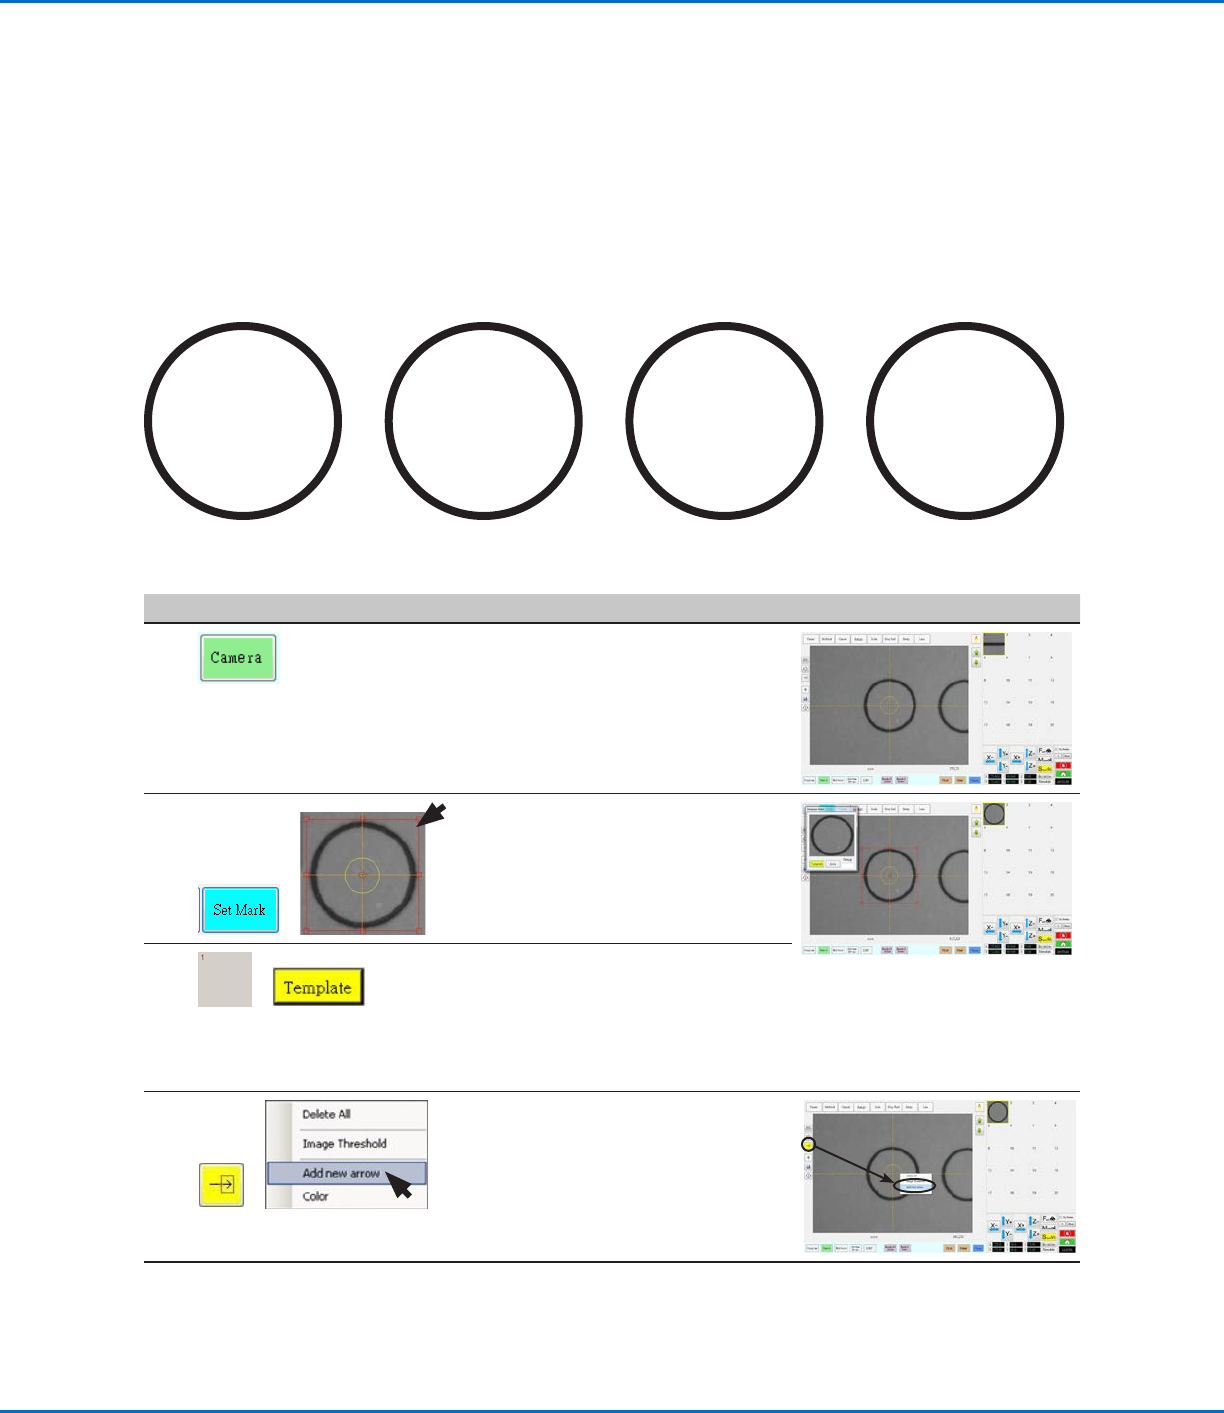
To Create a Circle Center Mark Image
# Click Step Reference Image
1
• Click CAMERA to go to the camera
screen.
• Position the workpiece template on
the fixture plate and bring the circle
you want to use for the mark into
view.
2
>
• Click SET MARK, then drag to
position the red box around a circle.
3
>
• Click a socket in the Mark Library to
save the mark, then click TEMPLATE
when the Template Match window
appears.
The system saves the image in the
Mark Library.
4
>
• Click the ARROW icon.
• In the Primary View screen, right-
click and select ADD NEW ARROW.
The system adds an arrow to the
screen.
Continued on next page
Using the Arrow Types (continued)