00194422-09_MM_X-Series_en.pdf - 第39页
Major Maintenance 5.2.3 Performing Maintenance Ta sks Maintenance Tasks for Base Ma chine Maintenance Manual SIPLACE X Series 39 5.2.3.7 5 . 2 . 3 . 7 C h e c k in g t h e F a n s o n t h e C o m p u t e r U n it Checkin…
Major Maintenance
Maintenance Tasks for Base Machine 5.2.3 Performing Maintenance Tasks
38 Maintenance Manual SIPLACE X Series
5.2.3.5
5.2.3.5 Cleaning/Replacing the Head Exhaust Air Filter/X Motor Cooling
Cleaning/Replacing the Head Exhaust Air Filter/X Motor Cooling
5.2.3.6
5.2.3.6 Checking/Cleaning/Replacing the Cooling Air Filter/Y Axes
Checking/Cleaning/Replacing the Cooling Air Filter/Y Axes
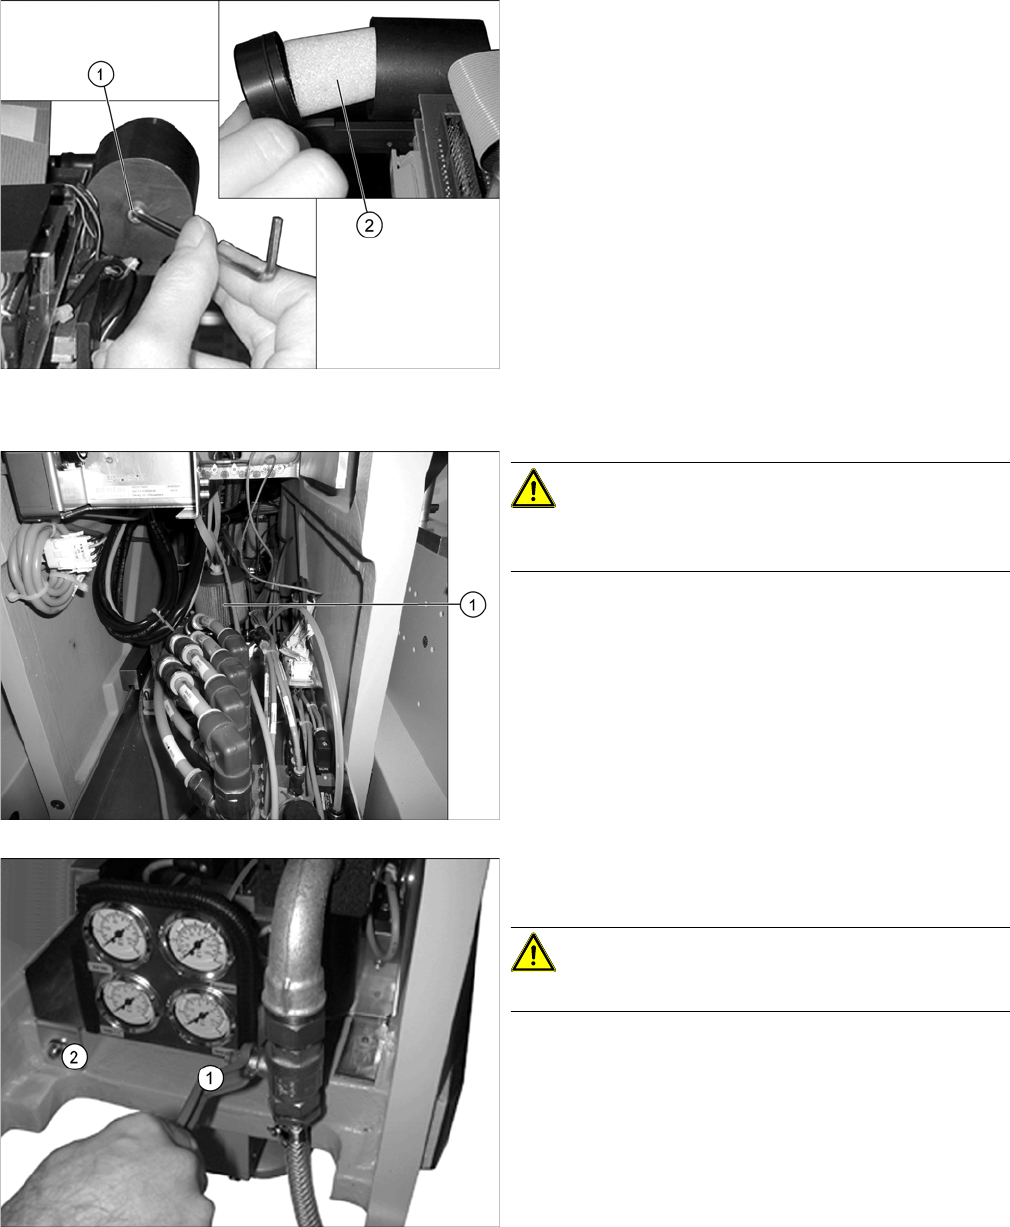
► Remove the protective cover from the relevant place
-
ment head.
► Loosen the fastening screw (1) on the filter casing.
► Check the "filter element 40 µm" [03003717-xx] (2)
for discoloration.
If you see discoloration, replace with a new one.
► Fit the filter, the casing and the protective cover for
the placement head.
► Repeat these steps for the filter elements of all place
-
ment heads.
CAUTION!
The main compressed air valve must be closed for this
work and the manometer set to zero!
► Open the wing screw on the upper side of the filter (1)
and pull it up and out.
► Check the filter for dirt and vacuum it, if required.
► If the filter can no longer be cleaned, replace it
[00376006-xx].
► Push the pneumatic unit carefully back into the ma
-
chine and fix into place with the screw provided (2).
CAUTION!
Make sure that you do not pinch any cables or hoses!
► Open the main compressed air valve once more (1).
► Close the door to the compressed air supply.
Major Maintenance
5.2.3 Performing Maintenance Tasks Maintenance Tasks for Base Machine
Maintenance Manual SIPLACE X Series 39
5.2.3.7
5.2.3.7 Checking the Fans on the Computer Unit
Checking the Fans on the Computer Unit
5.2.3.8
5.2.3.8 Cleaning the Protective Covers
Cleaning the Protective Covers
NOTICE!
Machines with BoxPC
In BoxPCs, the fan is located in the computer and is mon
-
itored by this.
► Open the cover above the computer unit.
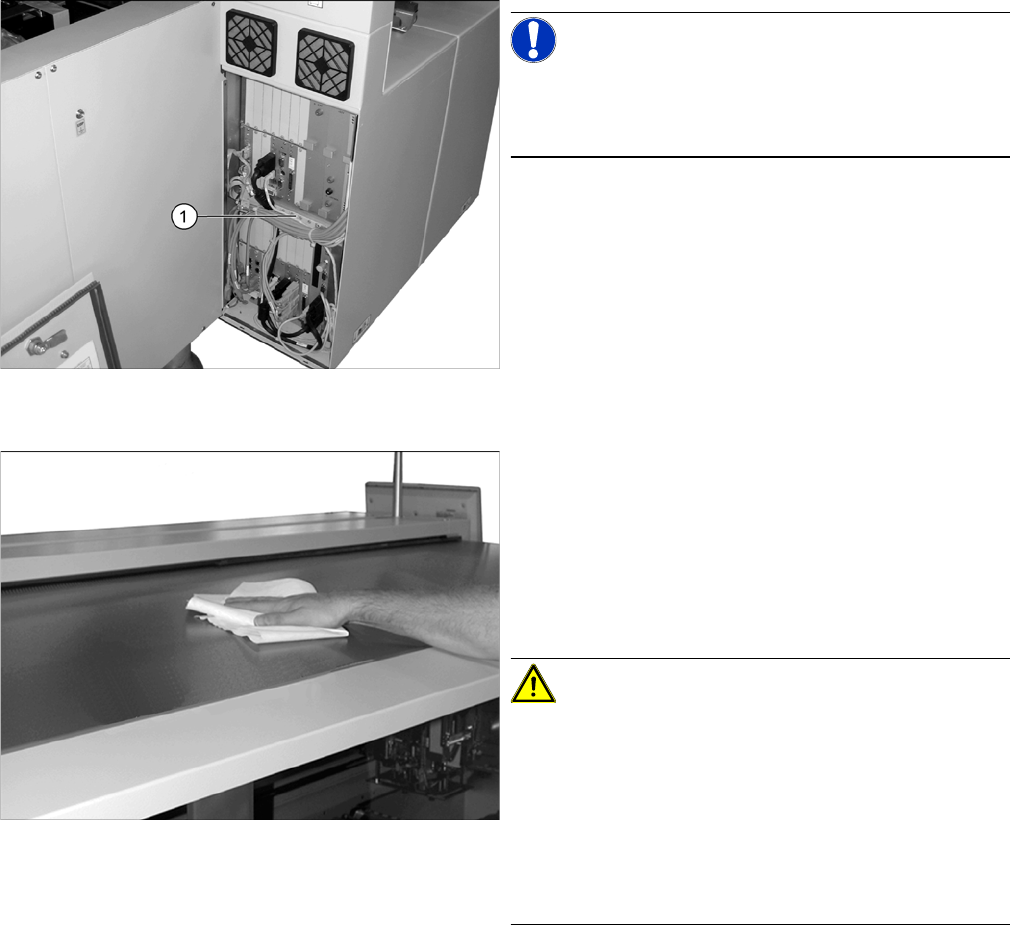
► Check the fan function (1) in the center of the comput
-
er unit. You should be able to hear the flow of air. If
the fan is defective, replace it.
► Now close the cover again.
► Check the protective covers for dirt.
► Clean them with a dry, lint-free cloth, if required.
► If the covers are very dirty, use a lint-free cloth and a
small amount of a neutral or weak alkaline cleaning
agent.
Clean the protective covers with light pressure and
take care not to damage the ESD coating!
CAUTION!
Selecting the right cleaning agent
The choice of cleaning agent for the protective covers
must be made with particular care so as not to damage
the ESD coating on the protective covers!
Do not use any chemical cleaning agents. Never use acid
or strong alkaline agents and avoid all ketones, esters,
aromatics, halogenated hydrocarbons, etheric oils or
similar.
Major Maintenance
Maintenance Tasks for the Component Docking Unit 5.3.1 Tools, Consumables, Spare and Wear Parts
40 Maintenance Manual SIPLACE X Series
5.3
5.3 Maintenance Tasks for the Component Docking Unit
Maintenance Tasks for the Component Docking Unit
5.3.1
5.3.1 Tools, Consumables, Spare and Wear Parts
Tools, Consumables, Spare and Wear Parts
▪ ESD wristband [00320279-xx]
▪ Lint-free cloths [03082092-xx]
▪ SIPLACE cleaning cloth [00315253-xx]
▪ Protective latex gloves [00372972-xx]
▪ Klüberplex BEM 34-132 lubricant, 1 kg tin [00374565-xx]
▪ Lubrication nipple DIN71412-B-M6 – 45° bent (tape cutter) [03036943-xx], if required
▪ Grease gun with hose for Y axis (volume applied: approx. 0.4 g) [00374563-xx]
▪ 1 sheet of DIN A3 paper, or 2 sheets of DIN A4
▪ Adhesive tape strips
▪ Scissors
▪ Tweezers [00378525-xx]
▪ 2 brushes (Lubrication brush set 10 pieces [00370771-xx])
▪ Oil spray Surface Shield 400 ml [00328575-xx]
▪ Interflon Fin Grease [03020782-xx]
▪ Abrasive cleaning agent, universal 80x65mm [00372809-xx]
▪ UNISILKON L250L [00310259-xx]
▪ Rust prevention spray WD40, 400 ml [00325833-xx]
5.3.2
5.3.2 Preparatory Steps
Preparatory Steps
► Move the changeover tables out of the machine.
► Switch off the machine, disconnect it from the power supply and secure it to prevent unauthorized
reactivation. Observe the instructions in section "1.2 Preparatory Work..." [ ➙ 12].
See also
6.1 Filling the Grease Gun [ ➙ 59]