NPM Calibration Manual-En.pdf - 第63页
NPM Maint en anc e E di ti on 9.9 Ji g Stati on Page 9-62 EJM9BE-M B-09M-21 19 Close the safe ty cover. 20 Turn ON the se rvo switch. 21 Press + [OK]. • T he cali br ation is carri ed out . 22 Check that it i s successfu…
NPM
Maintenance Edition
9.9 Jig Station
EJM9BE-MB-09M-21 Page 9-61
12
Close the safety cover.
13
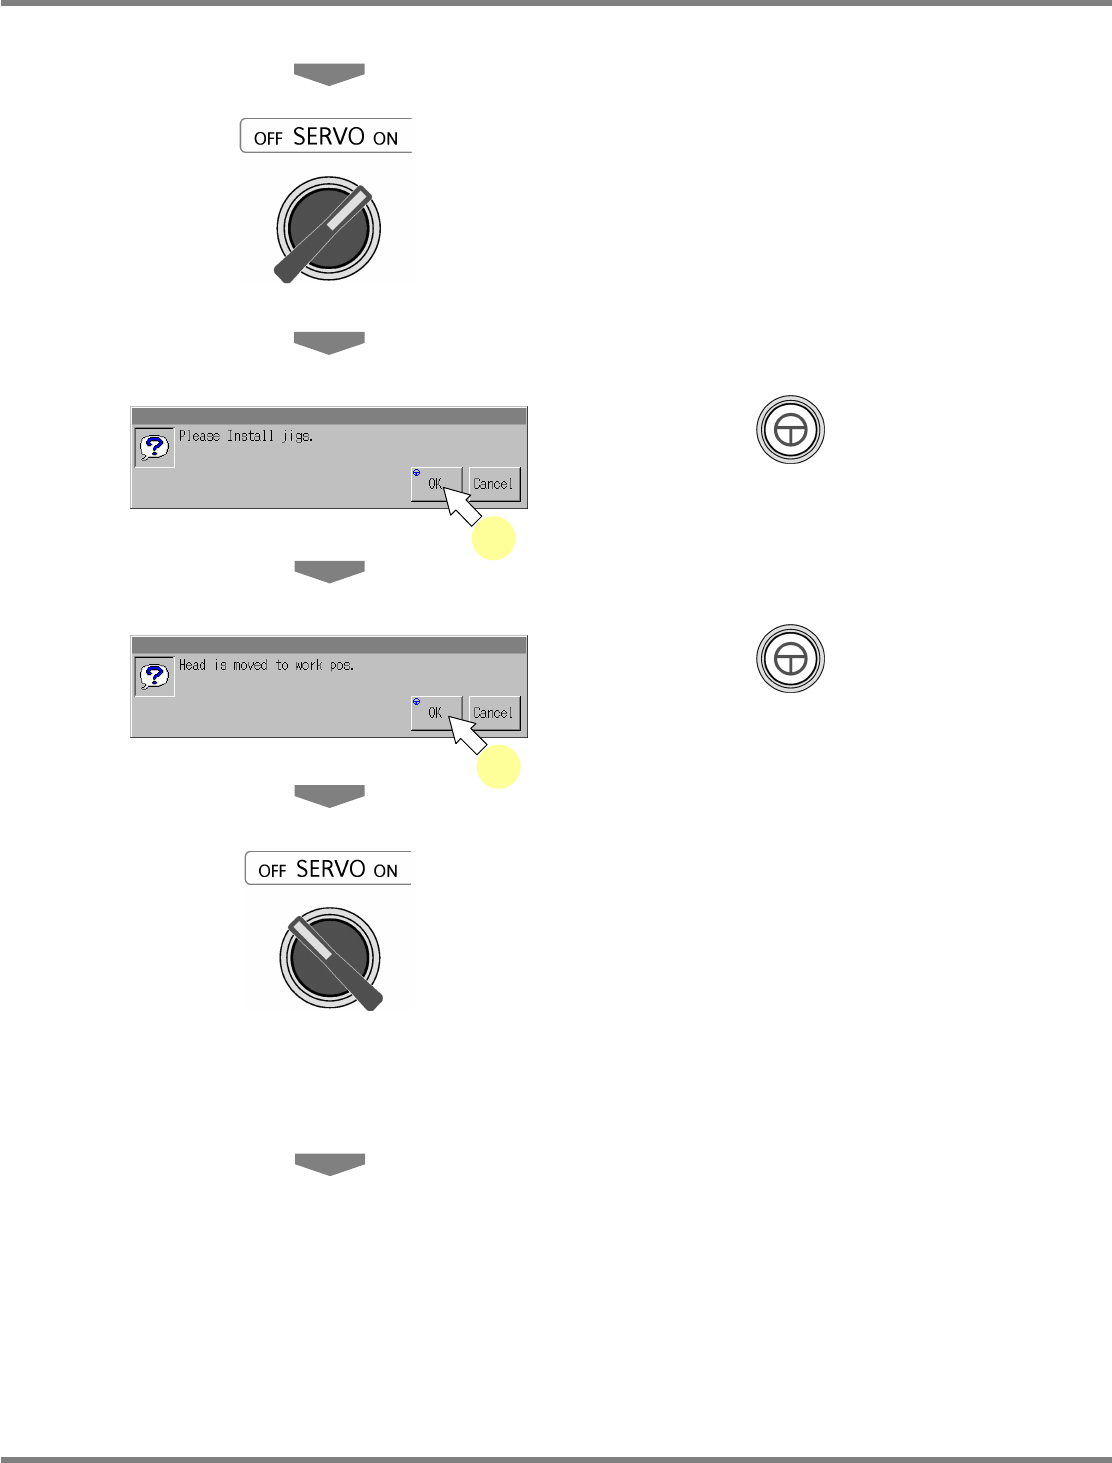
Turn ON the servo switch.
14
Press + [OK].
15
Press + [OK].
•
The head moves to the working position.
16
Turn OFF the servo switch.
17
Open the safety cover.
18
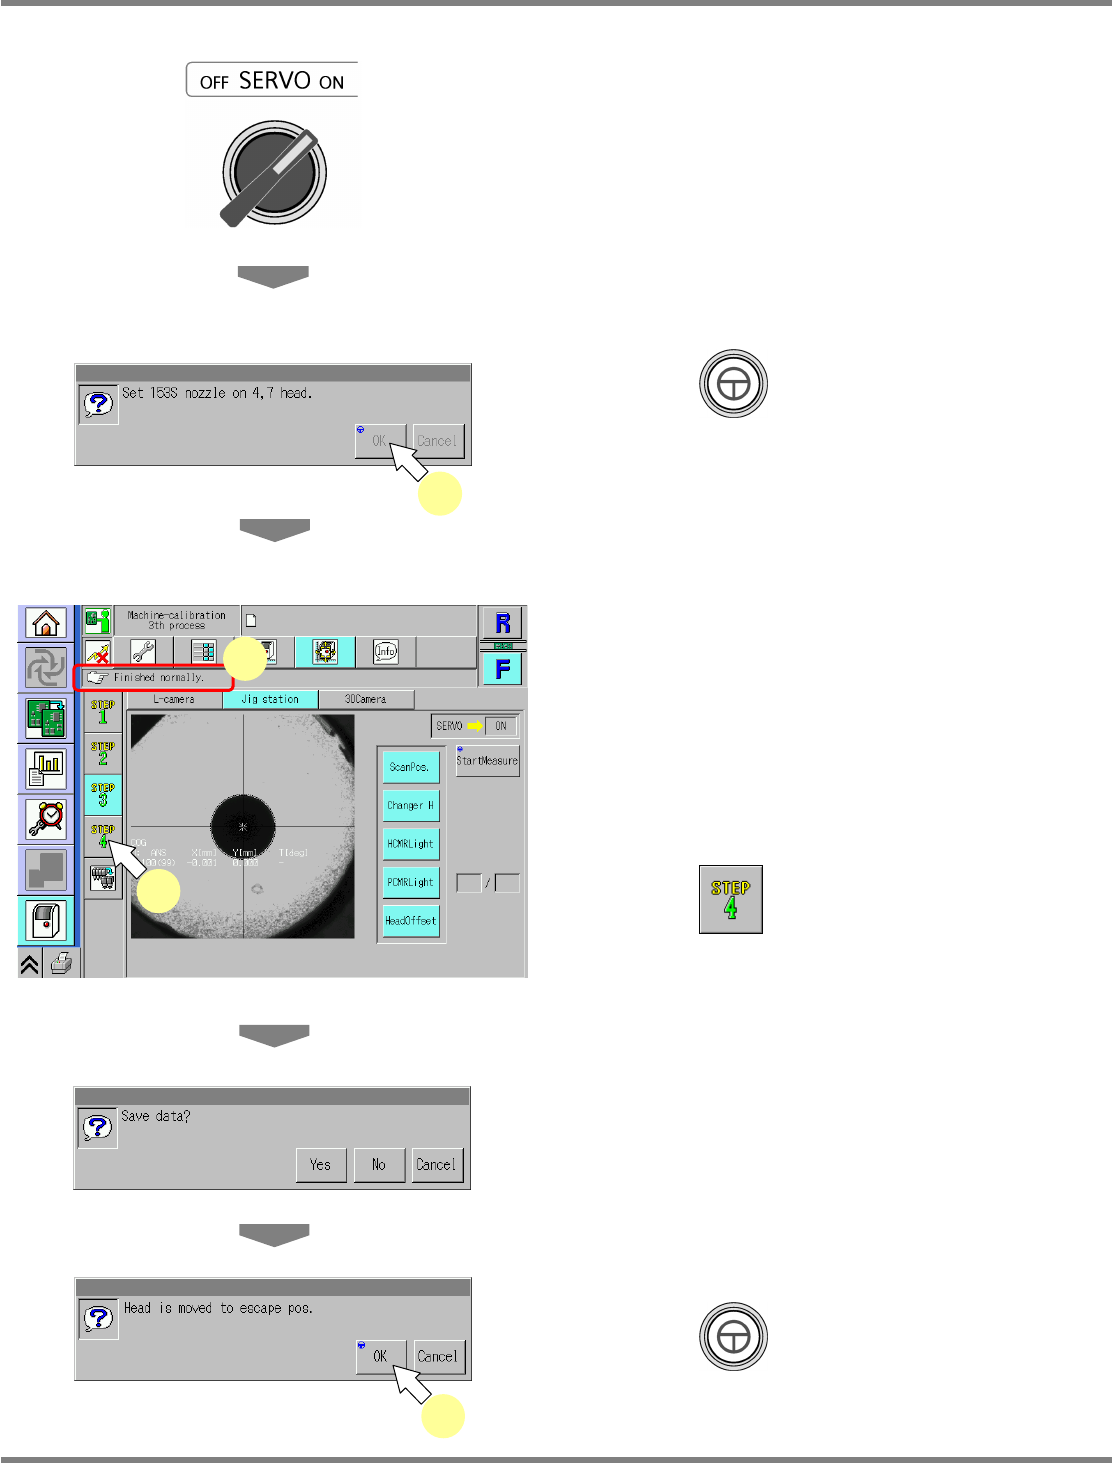
Attach the nozzle.
12-nozzle head
∗
Attach the 153S nozzle to the nozzle positions
4 and 7.
8-nozzle head
∗
Attach the No.184 nozzle to the nozzle
positions 3 and 6.
2-nozzle head
∗
Attach the No.1003 nozzles to all the nozzle
positions.
14
15
NPM
Maintenance Edition
9.9 Jig Station
Page 9-62 EJM9BE-MB-09M-21
19
Close the safety cover.
20
Turn ON the servo switch.
21
Press + [OK].
•
The calibration is carried out.
22
Check that it is successfully complete.
∗
Perform steps 3–22 for also the other table.
23
Press .
•
When exiting this screen to the other one, you
are always prompted to save the data.
∗
To save the data obtained by the calibration,
press [Yes].
•
If you press [No], the return-to-origin process
is carried out and the data obtained by the
calibration are lost.
•
After the above operation, the next screen is
displayed.
24
Press + [OK].
•
The head moves to the retraction position.
UnitCalibJigStation-07E02
22
23
21
24
NPM
Maintenance Edition
9.9 Jig Station
EJM9BE-MB-09M-21 Page 9-63
25
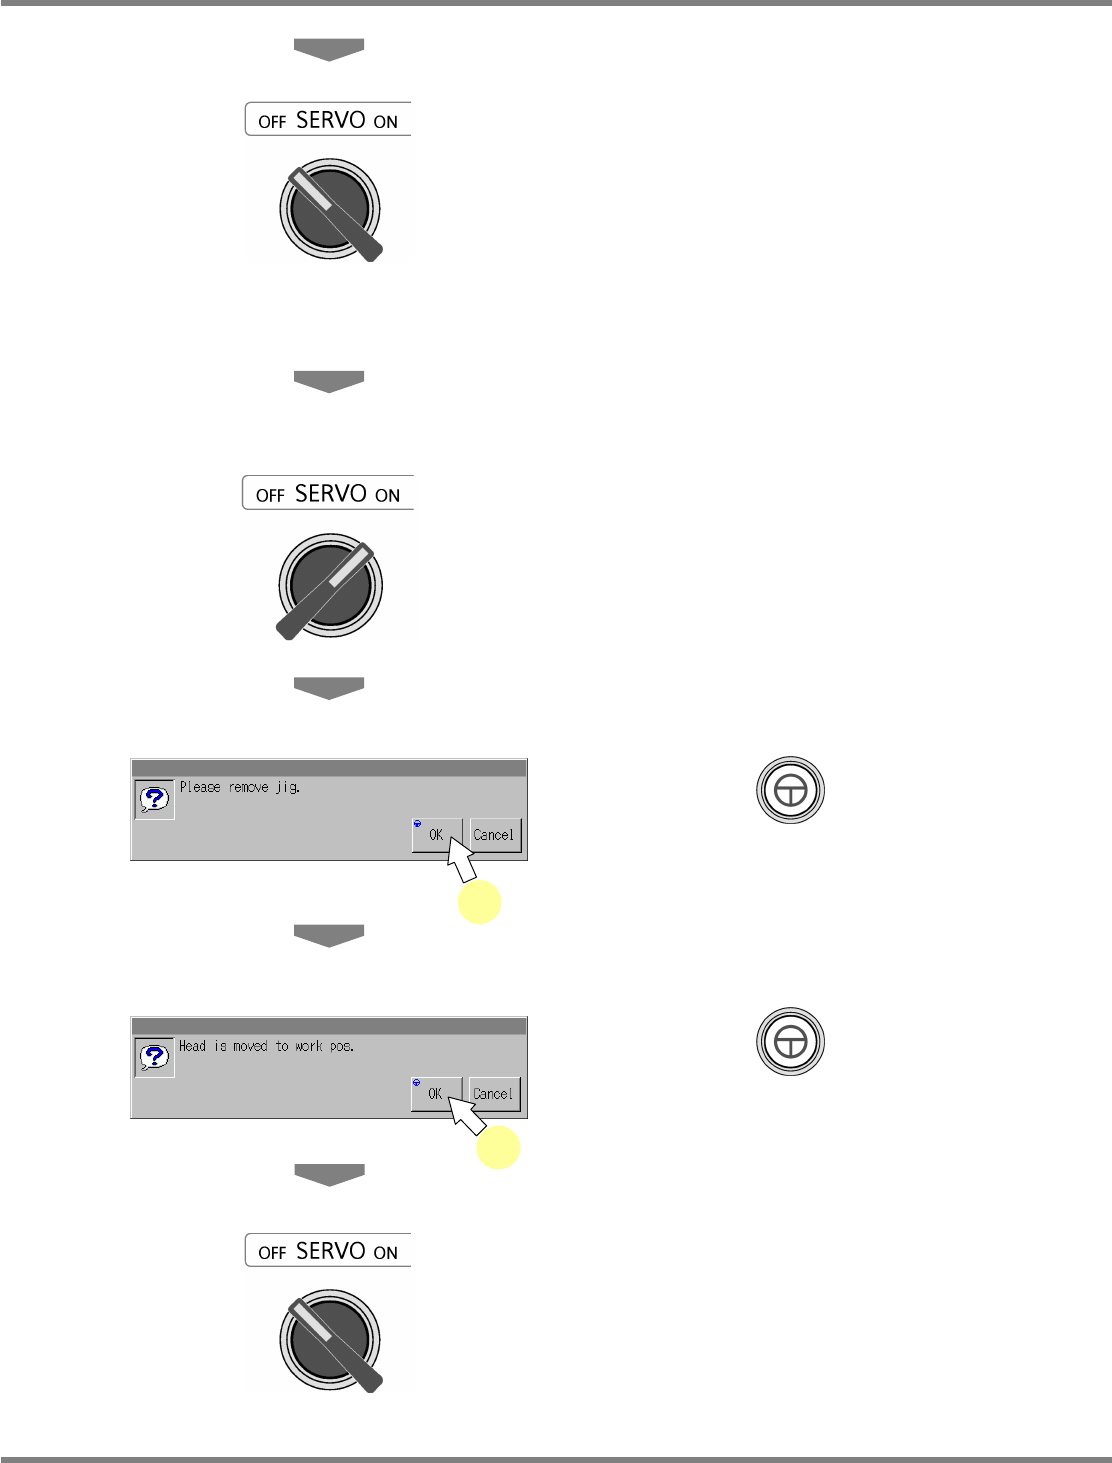
Turn OFF the servo switch.
26
Open the safety cover.
27
Remove the jig station.
28
Close the safety cover.
29
Turn ON the servo switch.
30
Press + [OK].
31
Press + [OK].
•
The head moves to the working position.
32
Turn OFF the servo switch.
33
Open the safety cover.
31
30