00192792-02.pdf - 第76页
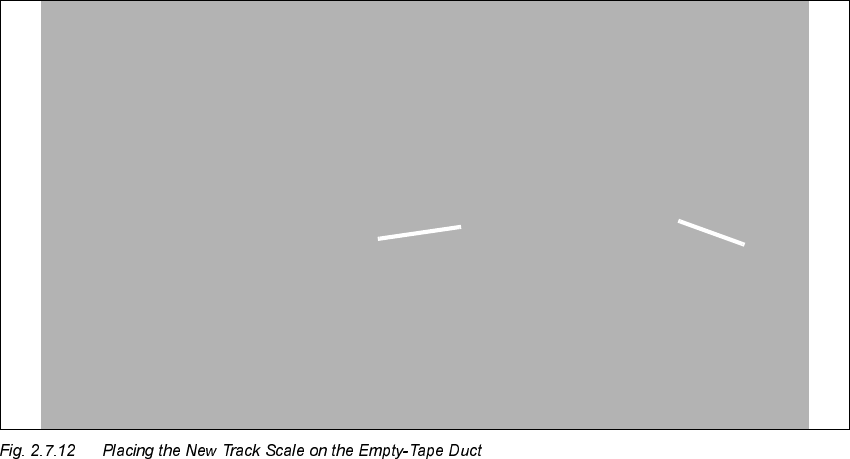
2 Retrofitting Instructions: M atrix Tray Changer MTC on S-25 HM (Option) SIPLACE 80 S-25 HM 2.7 Installing t he Retrofit Kit 01/01 Issue 76 .H\ 1. New track sca le on the s hort empty -tape duct 2. Resid ual piece of t…
SIPLACE 80 S-25 HM 2 Retrofitting Instructions: Matrix Tray Changer MTC on S-25 HM (Option)
01/01 Issue 2.7 Installing the Retrofit Kit
75
Å Remove the adhesive strips that were placed over the gap between the cover plate and the
fixed blade for safety sake.
Å Insert the new holder for the short empty-tape (Item no. 00354143-01), delivered with MTC,
into the machine and tighten down the screws on the left and right:
1 socket hex head cap screw M6 for each side is available from earlier disassembly of the car-
rier.
Å Place the new, short empty-tape duct MTC from the retrofit kit onto the spacer bolts of this
holder and screw it tight (2 socket hex head cap screws M4, are available from the earlier dis-
assembly).
It ist not necessary to adjust the distance between empty tape duct and pneumatic cutter.
0RXQWLQJWKH7UDFN6FDOHRQWKH(PSW\7DSH'XFW
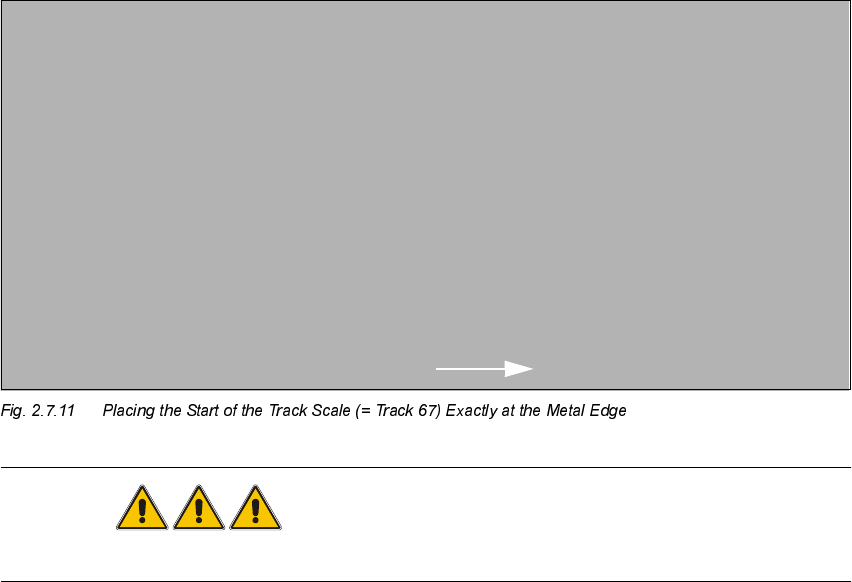
Å If the track scale hasn’t been installed on the new empty-tape duct yet, do so now as follows:
Å The Item no. of the track scale is 00308062-01. Cut it off at track no. 67 as shown in the
following figure.
DANGER
NEVER clean with alcohol near an open light or flame.
Å Degrease the assembly surface and glue the track scale exactly parallel to and at the edge
of the empty-tape duct as shown in Fig. 2.7.11 and Fig. 2.7.12.
2 Retrofitting Instructions: Matrix Tray Changer MTC on S-25 HM (Option) SIPLACE 80 S-25 HM
2.7 Installing the Retrofit Kit 01/01 Issue
76
.H\
1. New track scale on the short empty-tape duct
2. Residual piece of track scale (waste material)
SIPLACE 80 S-25 HM 2 Retrofitting Instructions: Matrix Tray Changer MTC on S-25 HM (Option)
01/01 Issue 2.7 Installing the Retrofit Kit
77
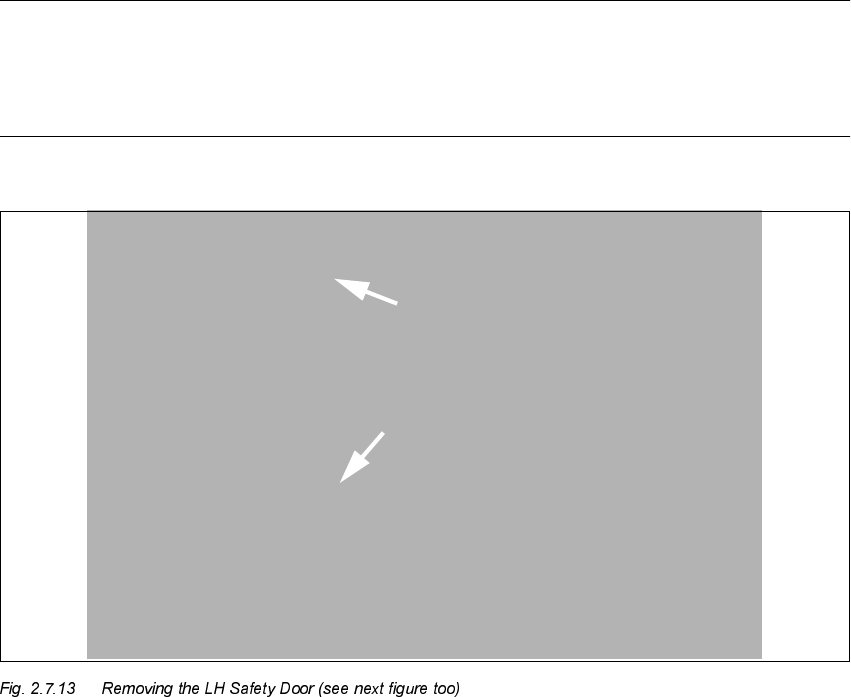
5HPRY LQJDQG0RGLI\ LQJWKH 6D IHW\'RRUV
NOTE:
The following disassembly of the safety doors on the component feeder table is necessary be-
cause the MTC is moved into the machine instead of the LH door and, instead of the RH door, a
narrower door is required that starts until track
(see following Fig. 2.7.11).
.H\
1. Loosen the screws fastening of the door hinges (see Fig. 2.7.14 too):
socket hex head cap screws M3
Å Dismantle the LH safety door in its entirety, i.e., including the hinge, from the machine frame.
This work is somewhat complicated because the fastening screws are not readily accessible.
For the disassembly it may be possible to use the horizontal slot on the outside of the machine,
between the covers, as shown below in Fig. 2.7.14.
For the LH side you will need a size 2.5 Allen wrench. If necessary, have someone help you
by holding the door during disassembly.
This door will not be re-used for operation with MTC.