JO-072-006_w.pdf - 第38页
2-1 AKBEG-ID 0606-002 1. Procedure for Jig Installation 1. Procedure for Jig Installation C A U T I O N At least two people are needed to carry the feeder adjusting jig for the installation because it is very heavy . Be …

2-B
AKBEG-ID
0508-001
2-1
AKBEG-ID
0606-002
1. Procedure for Jig Installation
1. Procedure for Jig Installation
CAUTION
At least two people are needed to carry the feeder
adjusting jig for the installation because it is very
heavy.
Be sure not to drop it. Otherwise, your hands and/or
feet will get hurt or the jig may be damaged.
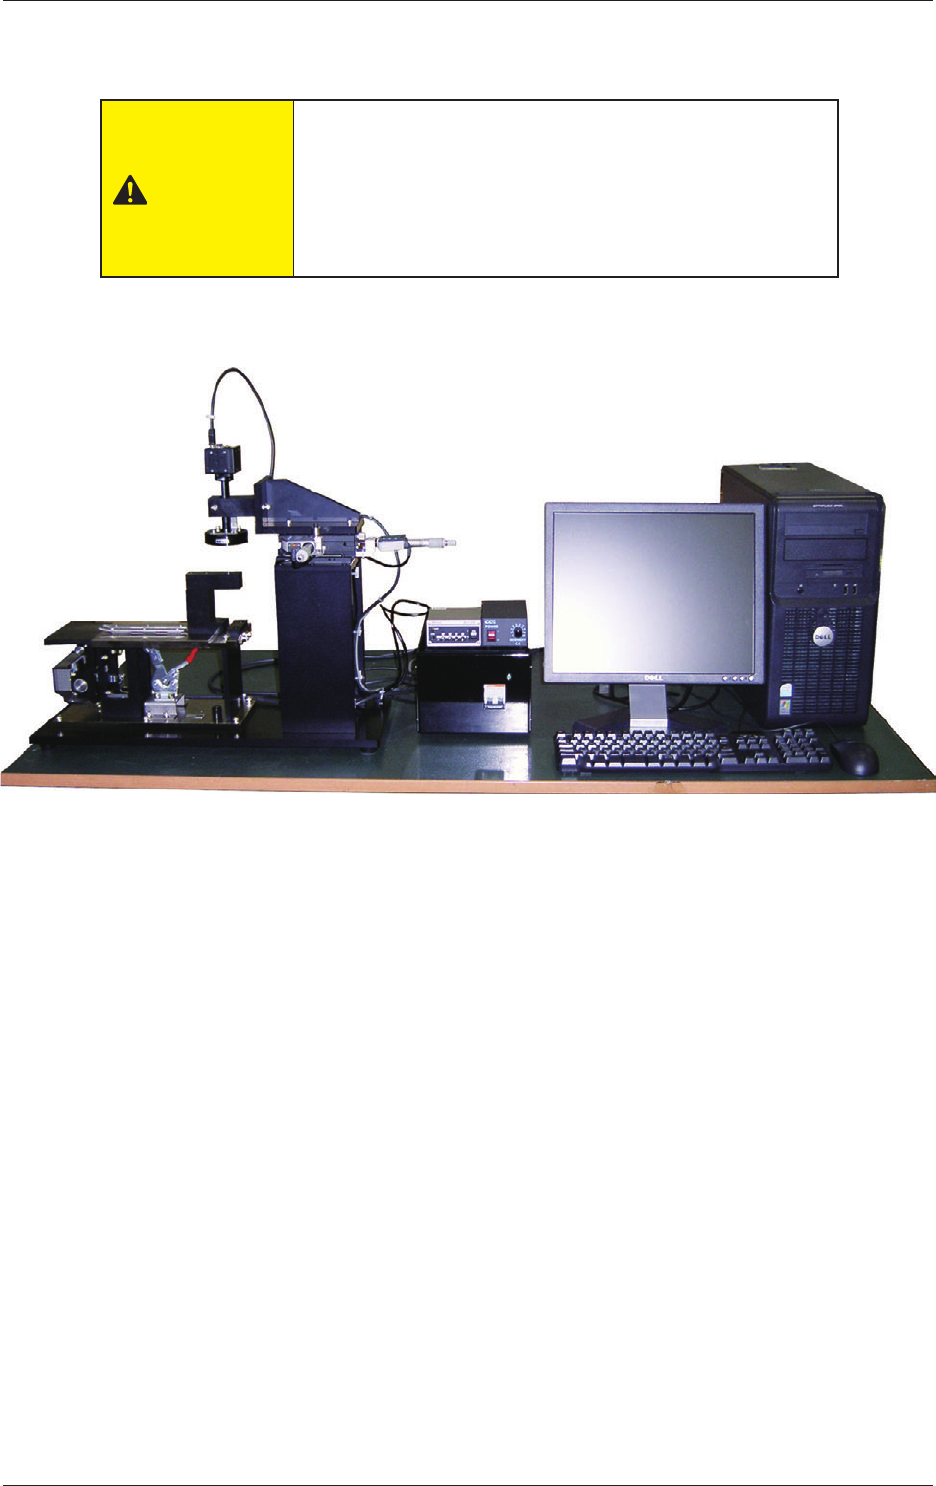
Fig. B1 Jig Installation
2-2
AKBEG-ID
1.1 Procedures for Attachment of Camera Unit and
Detachment of Fixtures
1.1.1 Required Tools
● Hex-Head Wrenches for M3 and M4
● Cutting Nipper
1.1.2 Procedure for Attachment of Camera Unit
Procedure
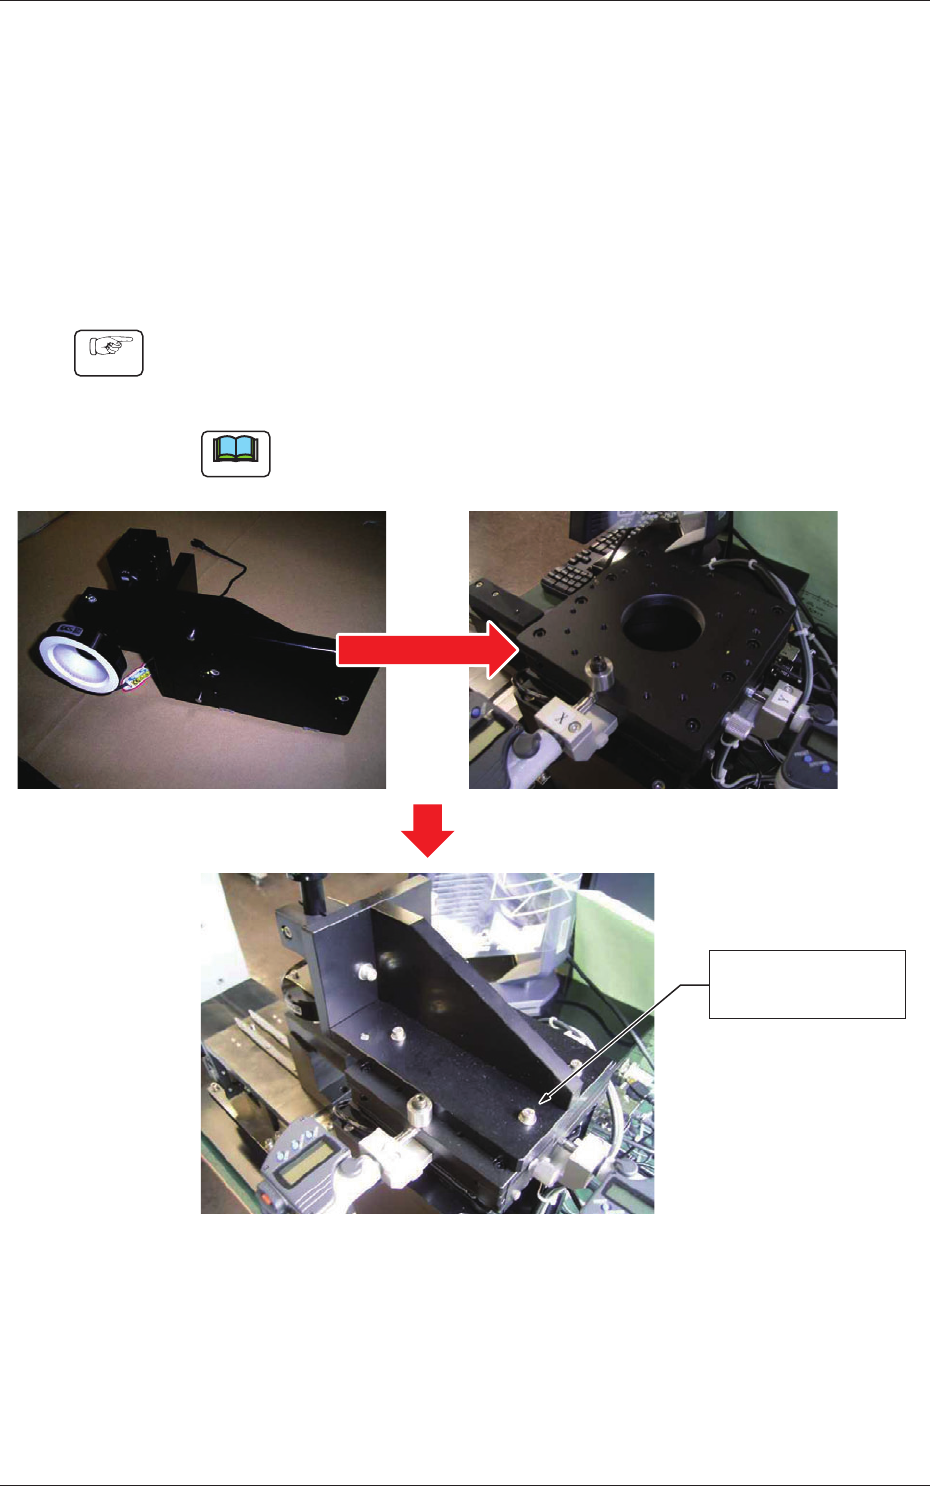
(1) Place the camera unit on the X/Y stage of the jig body and temporarily
x it on the X/Y stage with four bolts (SW + FW) having M4L20
hexagonal recessed sockets (accessory parts).
Note
Before assembling it on the X/Y stage, make sure that there is no dust and dirt on
the mounting surface.
4-M4L20 (SW + FW)
Temporary Fixing
Fig. B2
0809-002
1.1 Procedures for Attachment of Camera Unit and Detachment of Fixtures