Printer 600 Preventive Maintenance.pdf - 第9页
35(9(17,9( 0$,17(1$ 1&( 0217+/< 0$,17(1$ 1&( Chapter Issue 4 May 03 Technical Reference Manual 29.9 ProFlow If fitted - Fi gure 29-4 refers. X and Y Camera Axes Figures 29-9 and 29-13 refer . No. T ask T ool…
35(9(17,9(0$,17(1$1&(
0217+/<0$,17(1$1&(
29.8 Technical Reference Manual Chapter Issue 4 May 03
MONTHLY MAINTENANCE
(or 45,000 Cycles whichever is soonest)
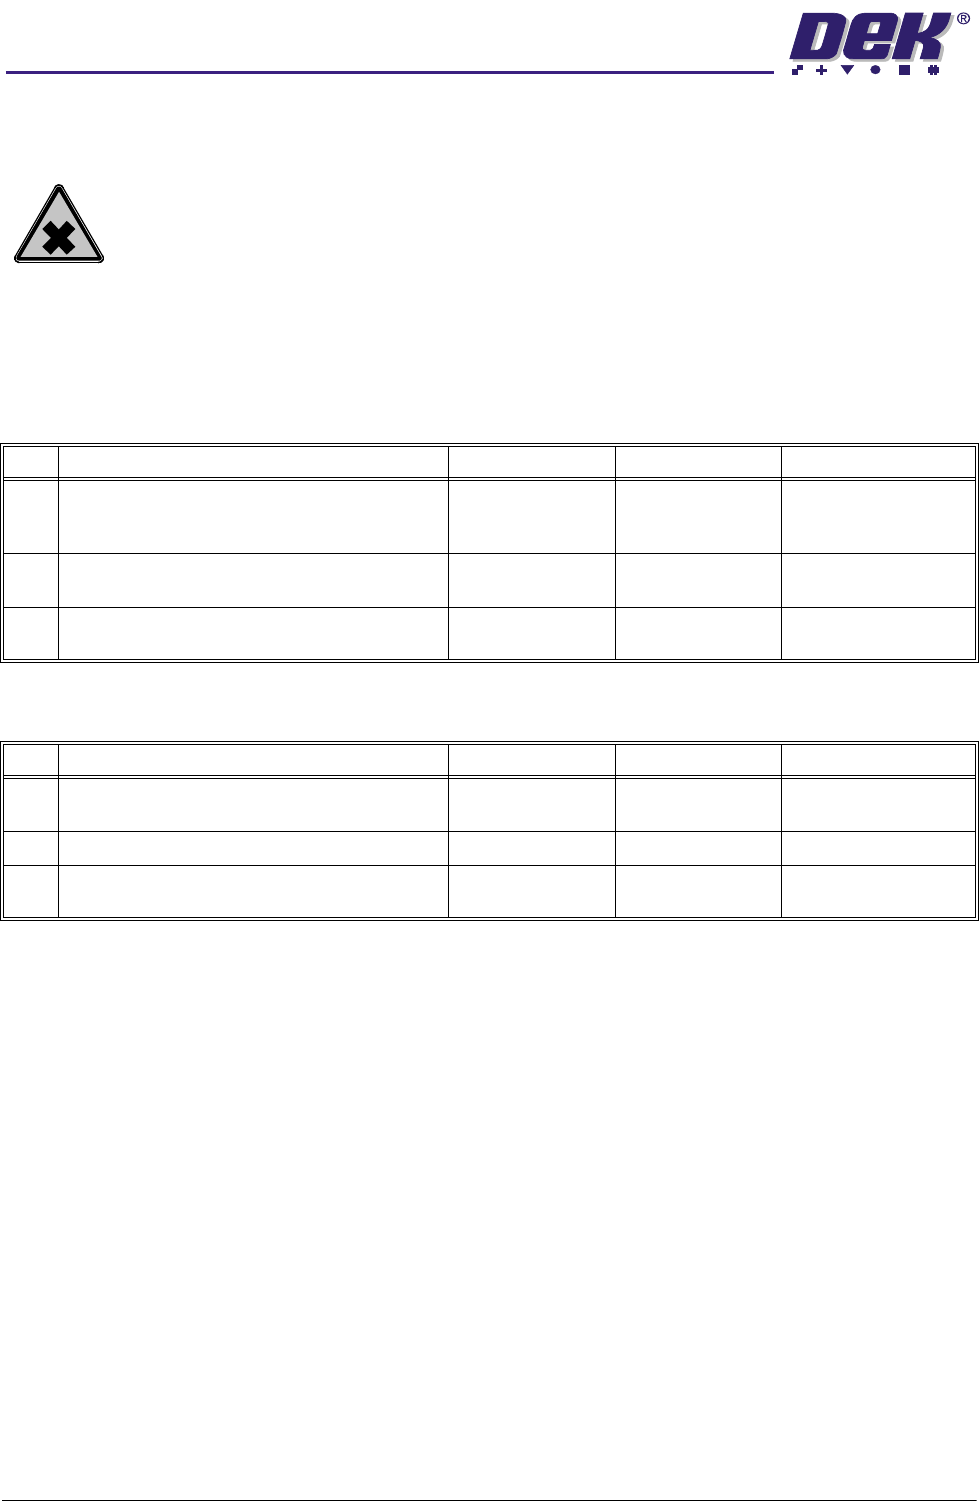
WARNING
HARMFUL SUBSTANCES. CLEANING WIPES AND CLEANING SOLUTIONS MAY
CONTAIN SUBSTANCES HAZARDOUS TO HEALTH. OBSERVE ALL
MANUFACTURERS’ HEALTH AND SAFETY GUIDELINES. ALWAYS WEAR
APPROVED PROTECTIVE CLOTHING WHEN CLEANING THE MACHINE.
Preparation The machine must be isolated from electrical power and air pressure until the
machine is required to function in the Run/Diagnostic mode.
Print Carriage Figure 29-2 refers.
Squeegee System If fitted - Figure 29-3 refers.
No. Task Tools Completed Comments
1 Clean the linear bearings to remove any solder
paste or debris.
Spatula,
IPA Impregnated
Wipes
2 Check drag chain and cables for chafing or
wear.
3 Cycle the print carriage to check for smooth
operation.
No. Task Tools Completed Comments
1 Clean the leadscrews and splined shafts. IPA Impregnated
Wipes
2 Lubricate the splined shafts. THK AFB Grease
3 Cycle the squeegees to check they do not stall
and ensure smooth running.
35(9(17,9(0$,17(1$1&(
0217+/<0$,17(1$1&(
Chapter Issue 4 May 03 Technical Reference Manual 29.9
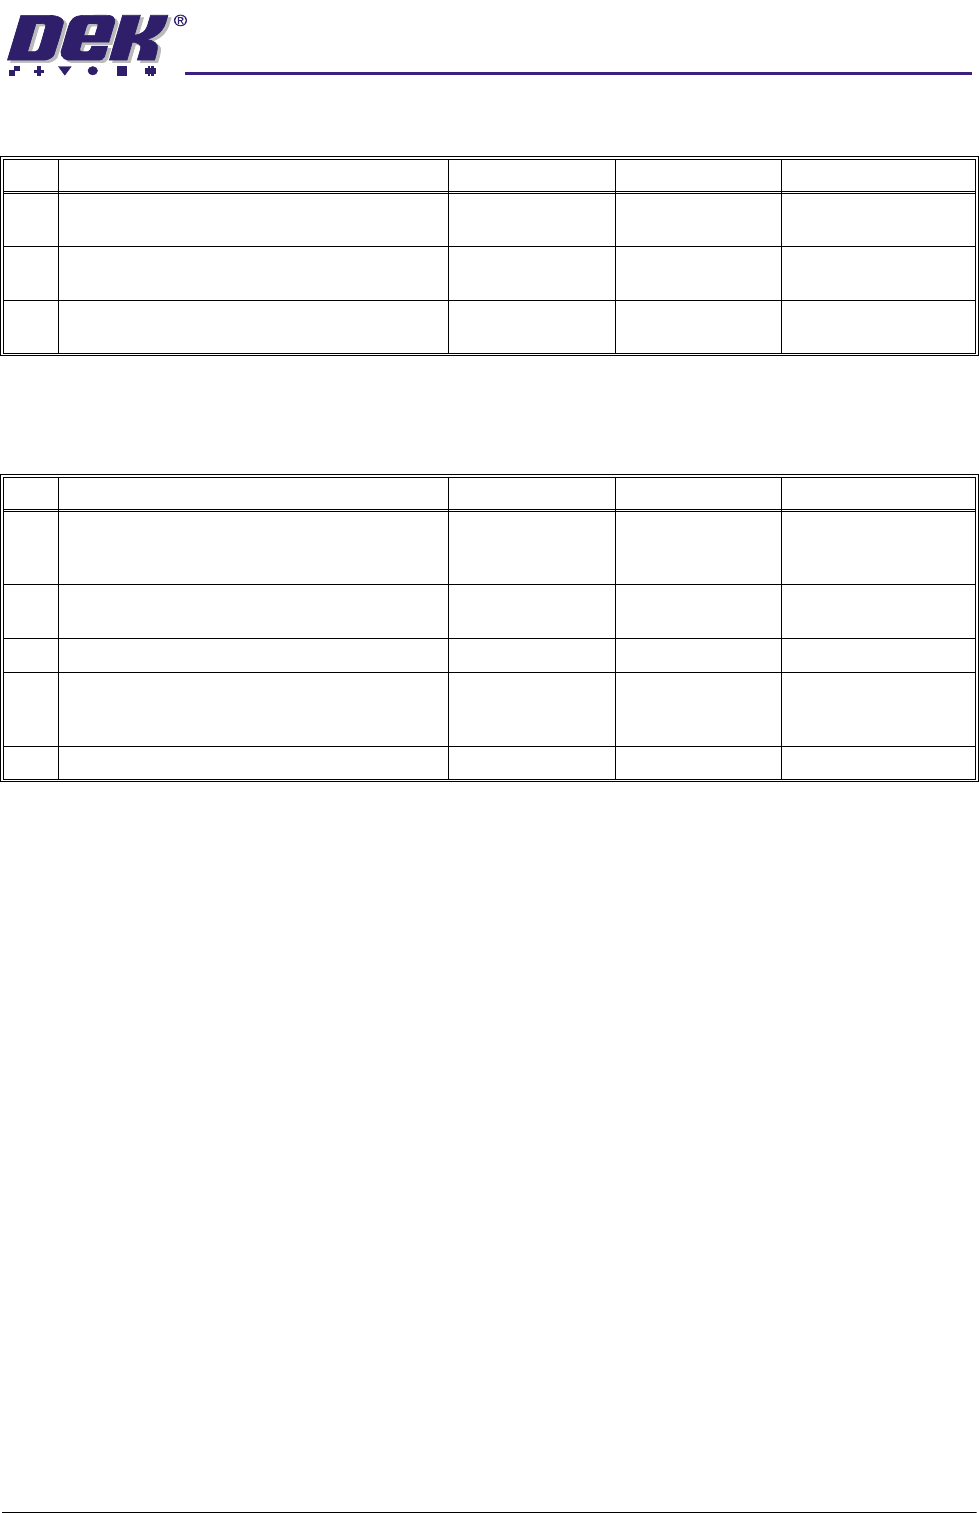
ProFlow If fitted - Figure 29-4 refers.
X and Y Camera Axes
Figures 29-9 and 29-13 refer.
No. Task Tools Completed Comments
1 Clean the leadscrew and linear bearings. IPA Impregnated
Wipes
2 Lubricate the leadscrew. Aeroshell 5
Grease
3 Cycle the ProFlow unit between Print Height
and Home, check for smooth running.
No. Task Tools Completed Comments
1 Clean the linear bearings to remove any solder
paste or debris.
Spatula,
IPA Impregnated
Wipes
2 Check drag chains and cables for chaffing and
wear.
3 Clean the camera lens. IPA Swab
4 Cycle the camera system ensuring the drag
chains do not foul machine covers or frame-
work.
5 Check correct operation of board stop.
35(9(17,9(0$,17(1$1&(
0217+/<0$,17(1$1&(
29.10 Technical Reference Manual Chapter Issue 4 May 03
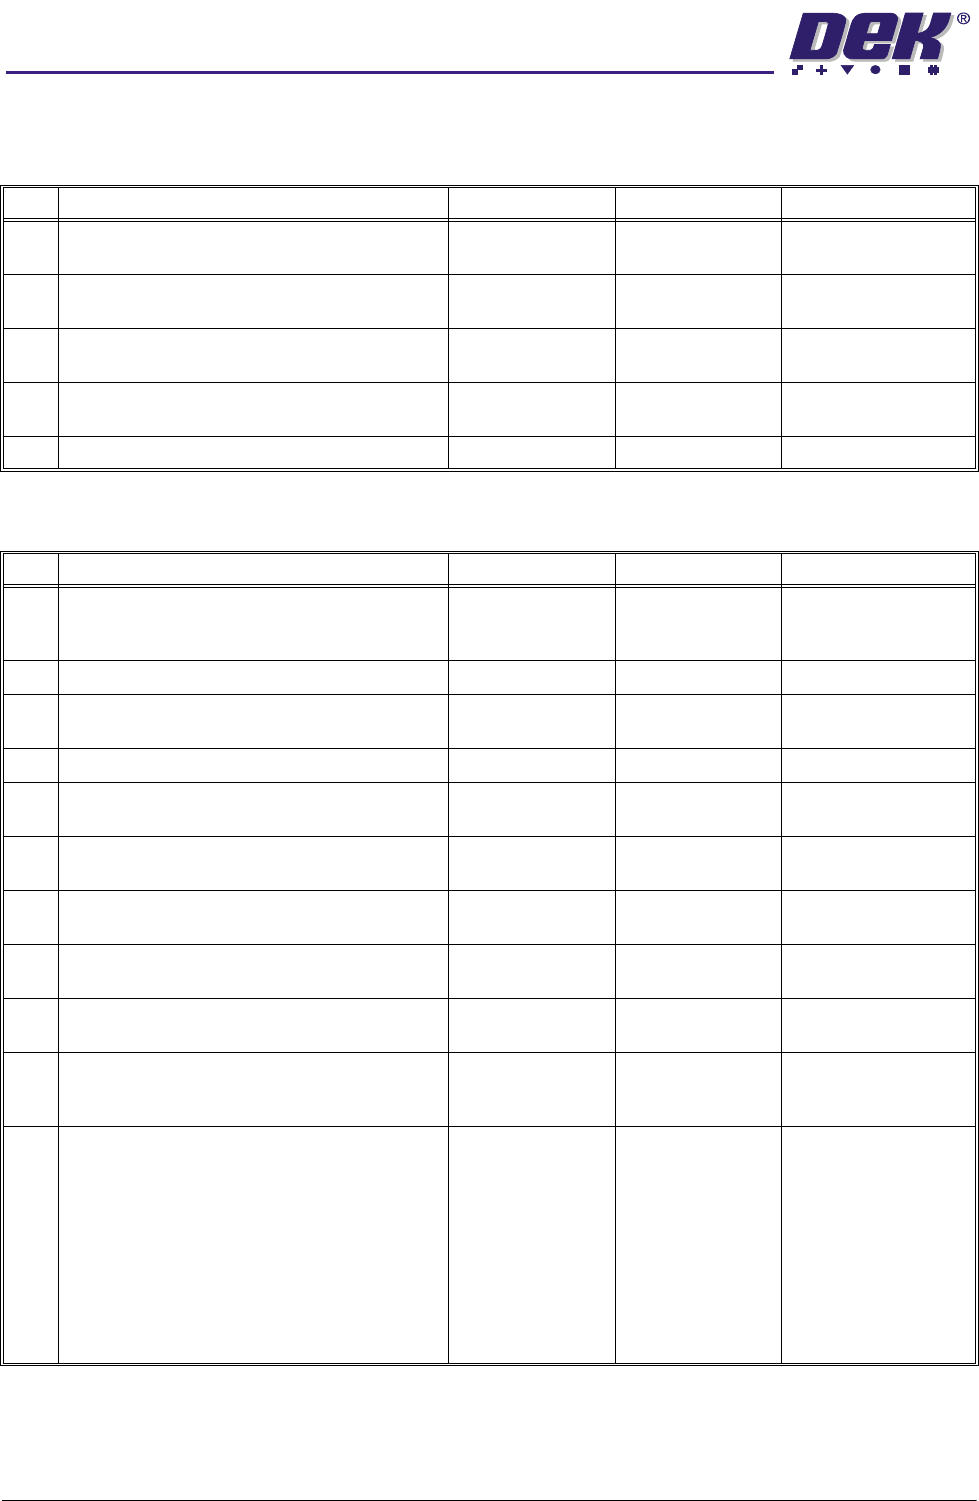
Paste Dispense System
Figure 29-1 refers.
Rail System Figures 29-10, 29-13 and 29-15 refers.
No. Task Tools Completed Comments
1 Clean the paste dispense linear bearing to
remove any solder paste or debris.
IPA Impregnated
Wipes
2 Check travel of paste dispense along full travel
of linear rail.
3 Check the paste dispenser lowers/rises with a
full paste cartridge fitted.
Paste Cartridge
4 Cycle the paste dispense, checking the condi-
tion of the drive belt.
5 Check the operation of the paste empty sensor.
No. Task Tools Completed Comments
1 Clean the rail leadscrews, linear bearings and
clatter bars to remove any solder paste or
debris.
IPA Impregnated
Wipes
2 Lubricate the rail leadscrews. THK AFB Grease
3 Lubricate the board stop bearing and clatter
bars.
Light Grease
4 Check condition of board clamps and guides.
5 Cycle the rail system ensuring smooth opera-
tion.
6 Cycle the board clamps ensuring correct opera-
tion.
7 Clean and check the operation of board at left/
right sensors.
IPA Impregnated
Wipes
8 Clean the board at stop and the board stop in
position sensors.
IPA Impregnated
Wipes
9 Check for correct operation of rail lifted left/right
sensors.
Feeler Gauge
10 Clean and check for correct operation the left
and right auxiliary conveyor sensors (HTC
option only).
IPA Impregnated
Wipes
11 Clean and lightly lubricate the rail guide shafts
of the auxiliary conveyors (HTC option only).
CAUTION
CONTAMINATION. Due to the highly corro-
sive effects of certain solvents and solder
pastes, care should be taken to prevent spill-
age/splashes onto the rail guide shafts.
Remove any contamination from the guide
shafts using IPA impregnated wipes and
relubricate guide shafts using light oil.
IPA Impregnated
Wipes
Light Oil