YSI_Prog_E - 第217页
5-12 5 Inspection machine settings 2.3 Secondar y judgment settings By setting "Second Judge Func" to "Use", a "J udge" tab is added to the "Auto" screen, and an OK or NG result is…
5-11
5
Inspection machine settings
Item Details
8
Maker Maker Unit Set to "Use" if the machine is equipped with a marking unit (option).
Maker Unit Type Sets the existence of a pen cap.
Ink Check Interval
(markings)
Sets the friction check interval with the number of boards.
9 Laser Laser Unit
Set to "Use" if the machine is equipped with a laser height sensor
(option).
* Signals can be checked during automatic inspection at the [Auto] - "Conveyor" tab. Furthermore, "T01000" can be output at
the conveyor at the [Unit] - "I/O" tab.
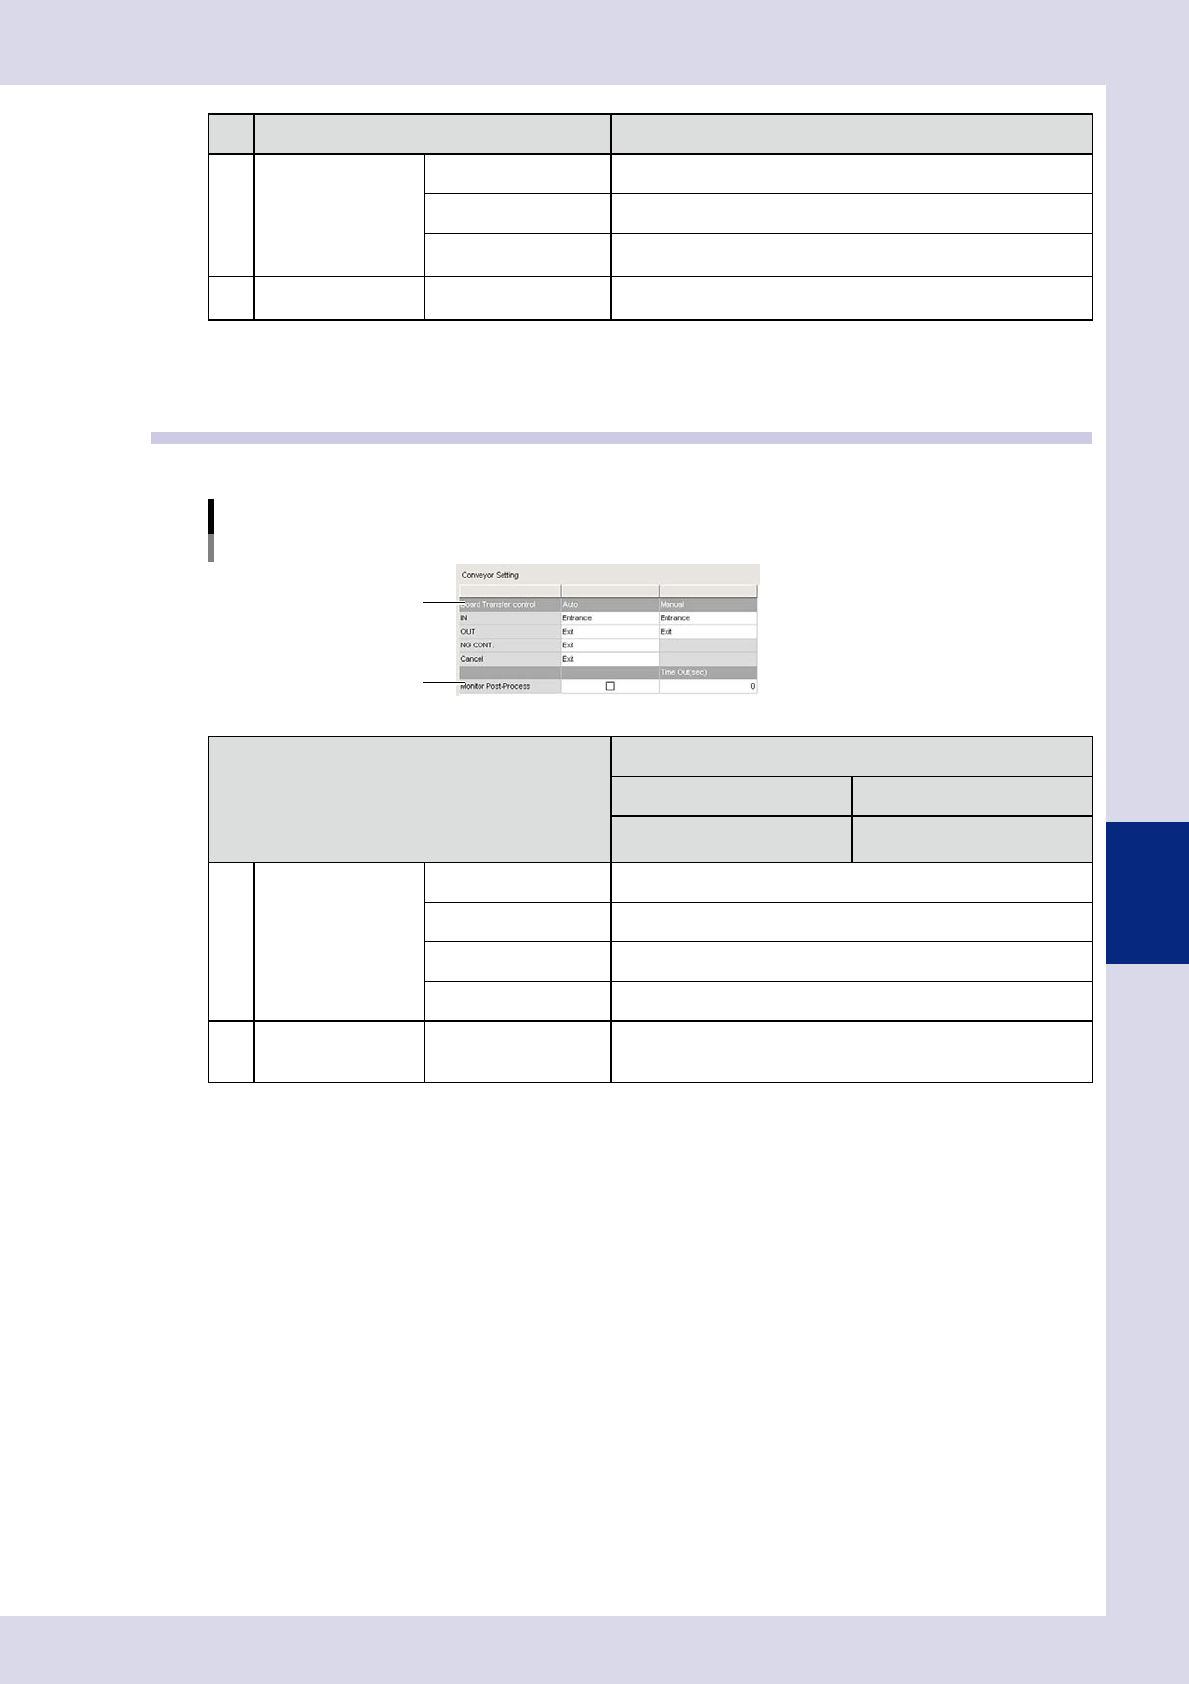
2.2 Conveyor transfer settings
Conveyor transfer settings are used to set the board loading and unloading positions and so on.
"Machine settings" screen
"Setting" m "Machine Information" m "Conveyor Setting"
1
2
24512-P6-00
Item
Details
Auto Manual
When performing automatic
inspection
When performing manual
inspection
1
Board Transter
control
IN Sets the board entrance.
OUT Sets the board exit.
NG CONT Sets the board exit when NG results continue.
Cancel Sets the board exit when inspection is canceled.
2 Monitor Post-Process
Downstream signals are monitored when the check box is selected.
An alarm occurs if no "Busy In" signal is input from downstream
even when the timeout time is exceeded.
5-12
5
Inspection machine settings
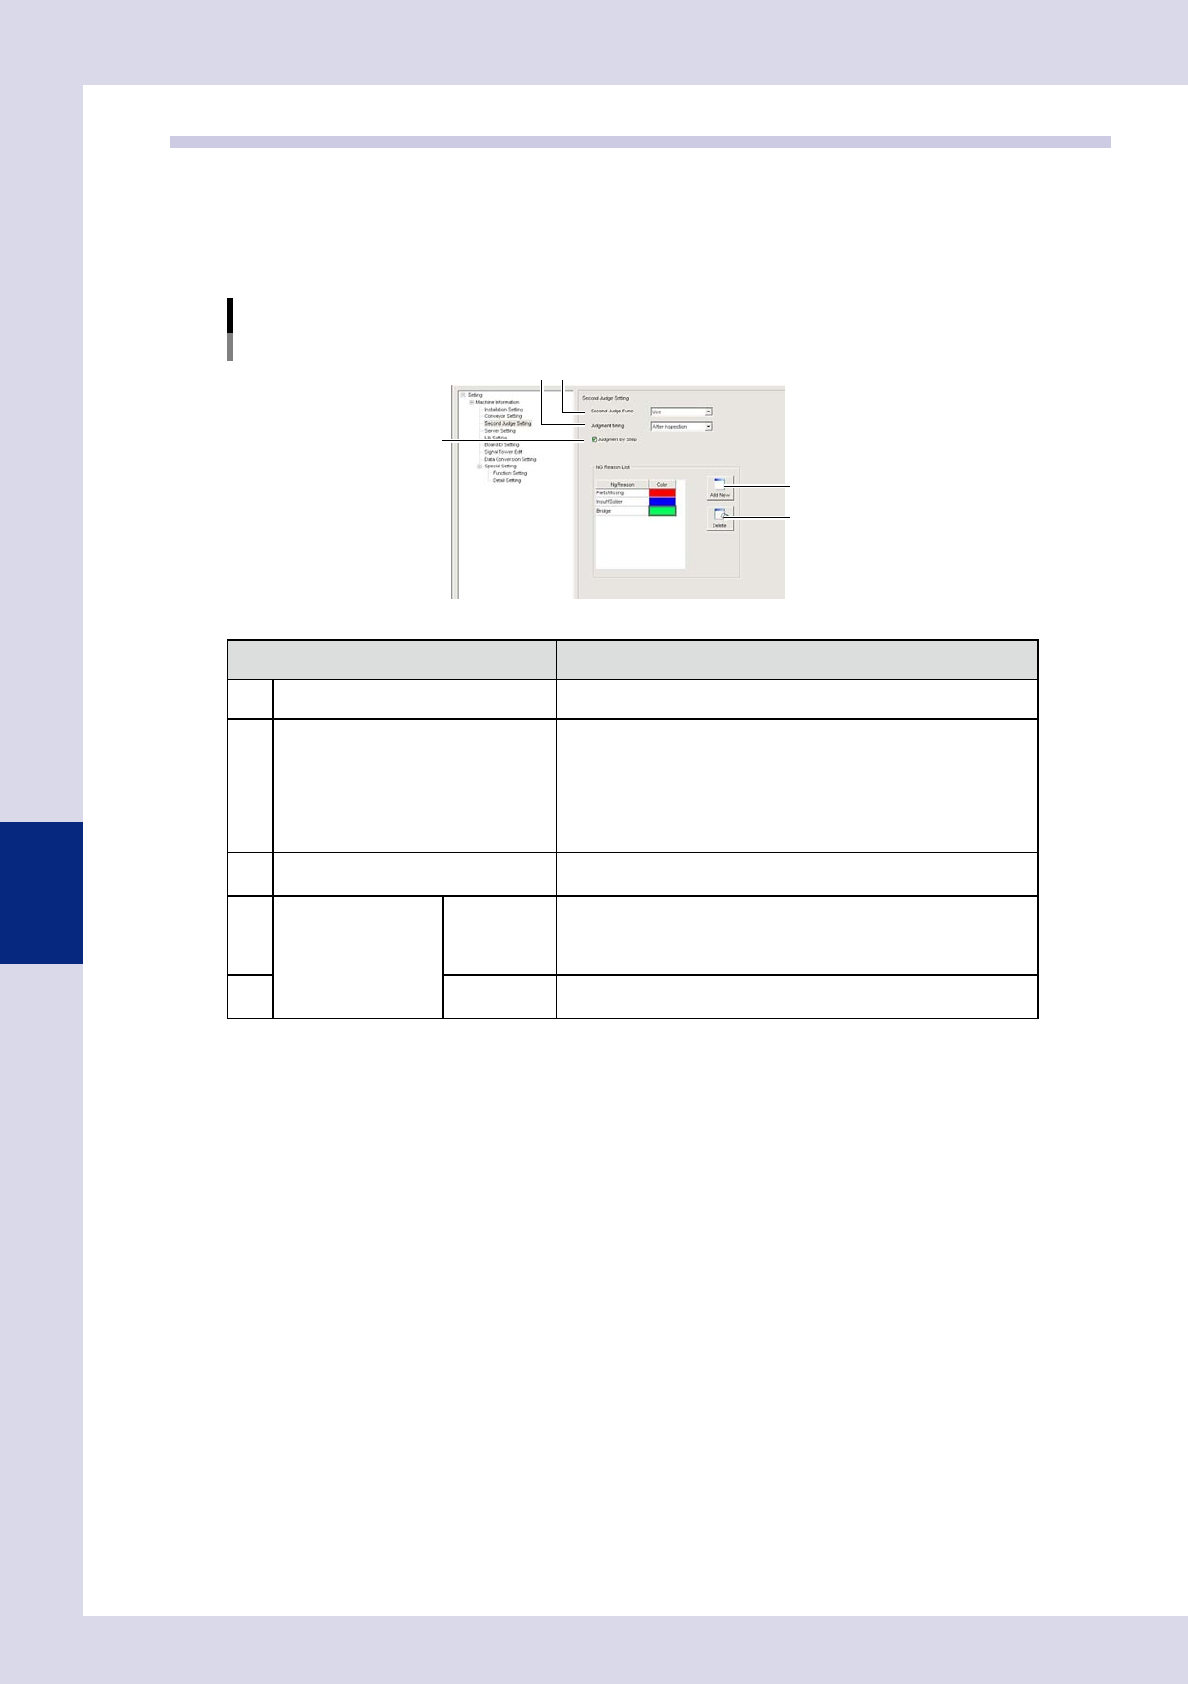
2.3 Secondary judgment settings
By setting "Second Judge Func" to "Use", a "Judge" tab is added to the "Auto" screen, and an OK or NG result is
judged for all NG steps when board inspection is complete. Furthermore, by registering the NG reason and
color in the "NG Reason List", the NG reasons used when performing judgment can be changed. The position
of the parts on the board image displays with a line in the registered color. For details on the "Judge" tab, see
section 1.5, ""Judge" screen", in Chapter 1.
"Machine settings" screen
"Setting"m"Machine Information"m"Second Judge Setting"
1
4
5
2
3
24513-P6-00
Item/button name Details
1 Second Judge Func Select "Use" to use the secondary judgment function.
2 Judgment timing
Select the timing at which secondary judgment is performed from
"After Carry out" or "After Inspection".
• After Carry out
Performs judgment after unloading the board from the inspection
machine.
• After Inspection
Performs judgment after performing automatic inspection.
3 Judgment by Step
By selecting this check box, OK/NG judgment is possible in step
units. If not selected, judgment is performed in parts units.
4
NG Reason List
Add New
Press this button to register a new NG reason.
By selecting a registered NG reason and pressing this button, a
new entry row is added below the selected NG reason.
Enter a new NG reason in the added row, and then select a color.
5 Delete
Press this button to delete a registered NG reason.
Select the NG reason to be selected and press the [Delete] button.
5-13
5
Inspection machine settings
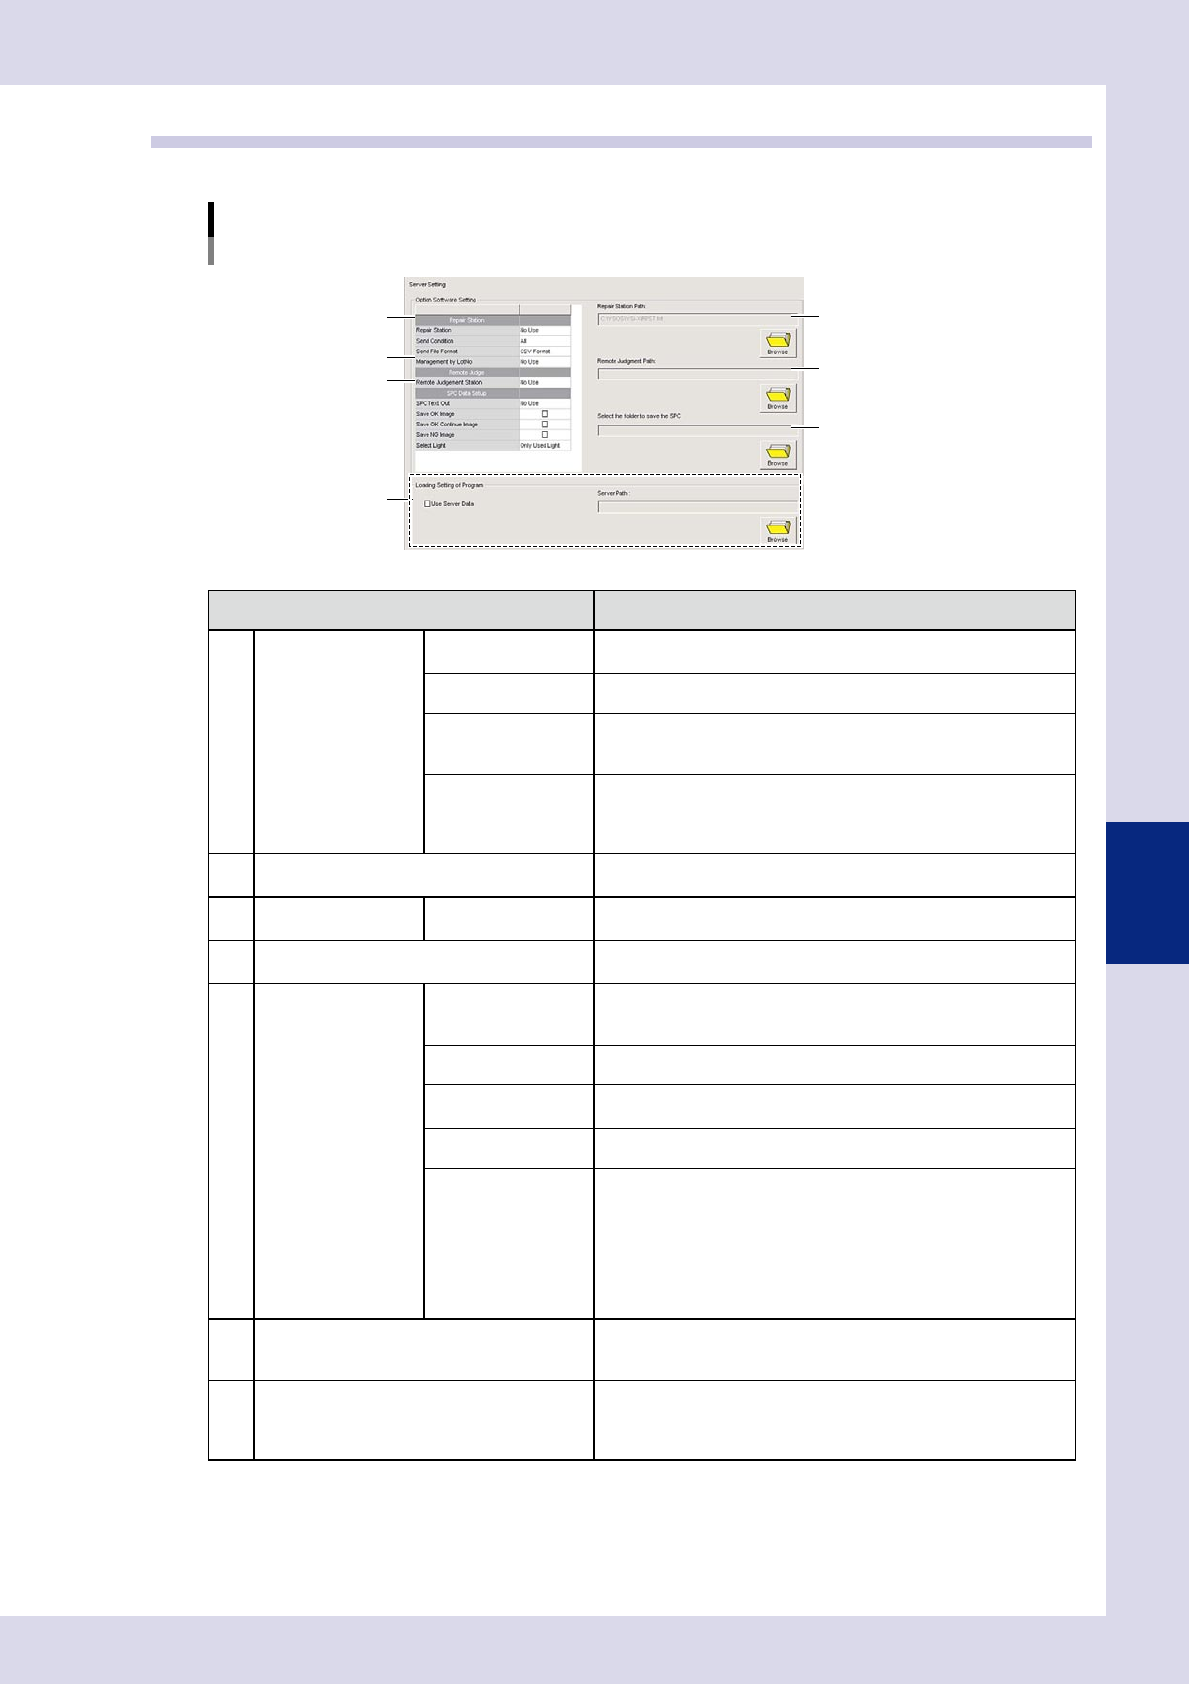
2.4 Server settings
Specifies option software settings and server path settings.
"Machine settings" screen
"Setting" m "Machine Information" m "Server Setting"
1
5
7
6
3
2
4
24514-P6-00
Item Details
1
Repair Station
(option)
*1
Repair Station Sets whether to use the Repair Station.
Send Condition Selects the data to be sent to the Repair Station.
Management by
LotNo
Sets whether to manage by lot No. By setting to "Use", data is
displayed in lot Nos. in the "Wait Judge List " used at the Repair
Station.
Notify Lot End
This is displayed when "Management by LotNo" is set to "Use".
Sets whether to notify iPro Macro (option) of the lot end. By setting
to "Use", data is gathered if receiving lot end notifications when iPro
Macro (option) is started.
2 Repair Station Path: (option)
*1
Press the [Browse] button and specify the "RPST.tdt" file located in
the folder used for storing Repair Station data.
3
Remote Judge
(option)
*2
Remote Judgment
Station
Sets whether to use remote judgment.
4 Remote Judgment Path: (option)
*2
Press the [Browse] button and specify the "RPST.tdt" file located in
the folder used for storing Repair Station data.
5 SPC Data Setup SPC Text Out
By setting to "Use", inspection results data is automatically saved to
the specified folder. Refer to "Select the folder to save the SPC" for
details on the save destination folder.
Save OK Image Select this check box to save images with "OK" inspection result.
Save OK Continue
Image
Select this check box to save images with "OK continue" inspection
result.
Save NG Image Select this check box to save images with "NG" inspection result.
Select Light
Selects the lighting used when saving images.
• Only used light
Saves images with lighting used for inspection.
• All light
Saves images with all lighting (U, H, M, L, X (YSi-X)).
• 1 light only
Saves M lighting images. If M lighting is not used, images using L
lighting are saved.
6 Select the folder to save the SPC
Set if "Use" is selected for "SPC Text Out".
Press the [Browse] button and specify the SPC data save
destination folder.
7 Loading Setting of Program
If using inspection programs saved to a location other than the
"Machine" folder, select the "Use Server Data" check box, and then
press the [Browse] button to specify the save destination folder for
inspection programs.
*1 : For details on the Repair Station, see the "Repair Station Manual" contained in the application CD.
*2 : For details on the Remote Judgment Station, see the "Remote Judgment Station Manual" contained in the
application CD.