AOI_RS_v85_en - 第38页
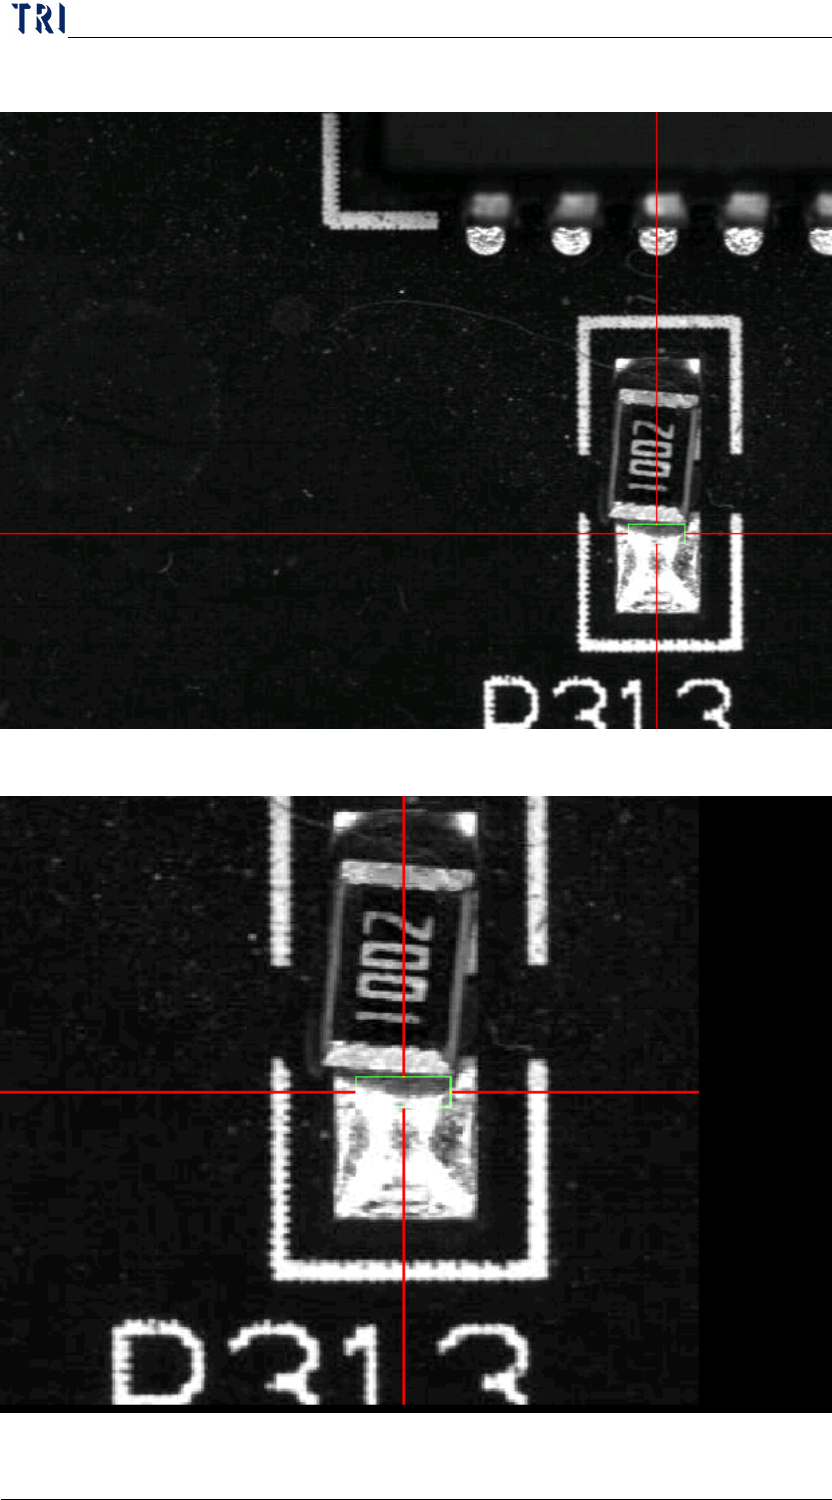
Chapter 2 Repair Station Main Progr am AOI Repair Station 34 Original image Enlarg ed image
Chapter 2 Repair Station Main Program
AOI Repair Station
33
Window] area does not necessary to enter anything if the
confirmation was selected by [Component].
Using the Mouse
Step5. The [Defect Component (the yellow area)] or the [Defect Window],
((The program will decide where to land the yellow area when you
select [Confirm Kind] during the log in. The yellow area will fall
onto [Defect Component] when [Component] is selected. The
yellow area will fall onto [Defect Windows] when [Window] is
selected); this is to confirm the problem component. (The way to
confirm is to click on the [Defect Type] of Defect AREA directly).
Do not enter any [Error Type if there is a false detection, only
need to confirm the problem component. However, select
[RPASS] in the [STATUS] of SN working area when there is
a false detection for the entire board. The [Defect Window]
area does not necessary to enter anything if the confirmation
was selected by [Component].
After the confirmation, press [Save]. Press [OnlineConfirm]
if it is [ONLINE] mode.
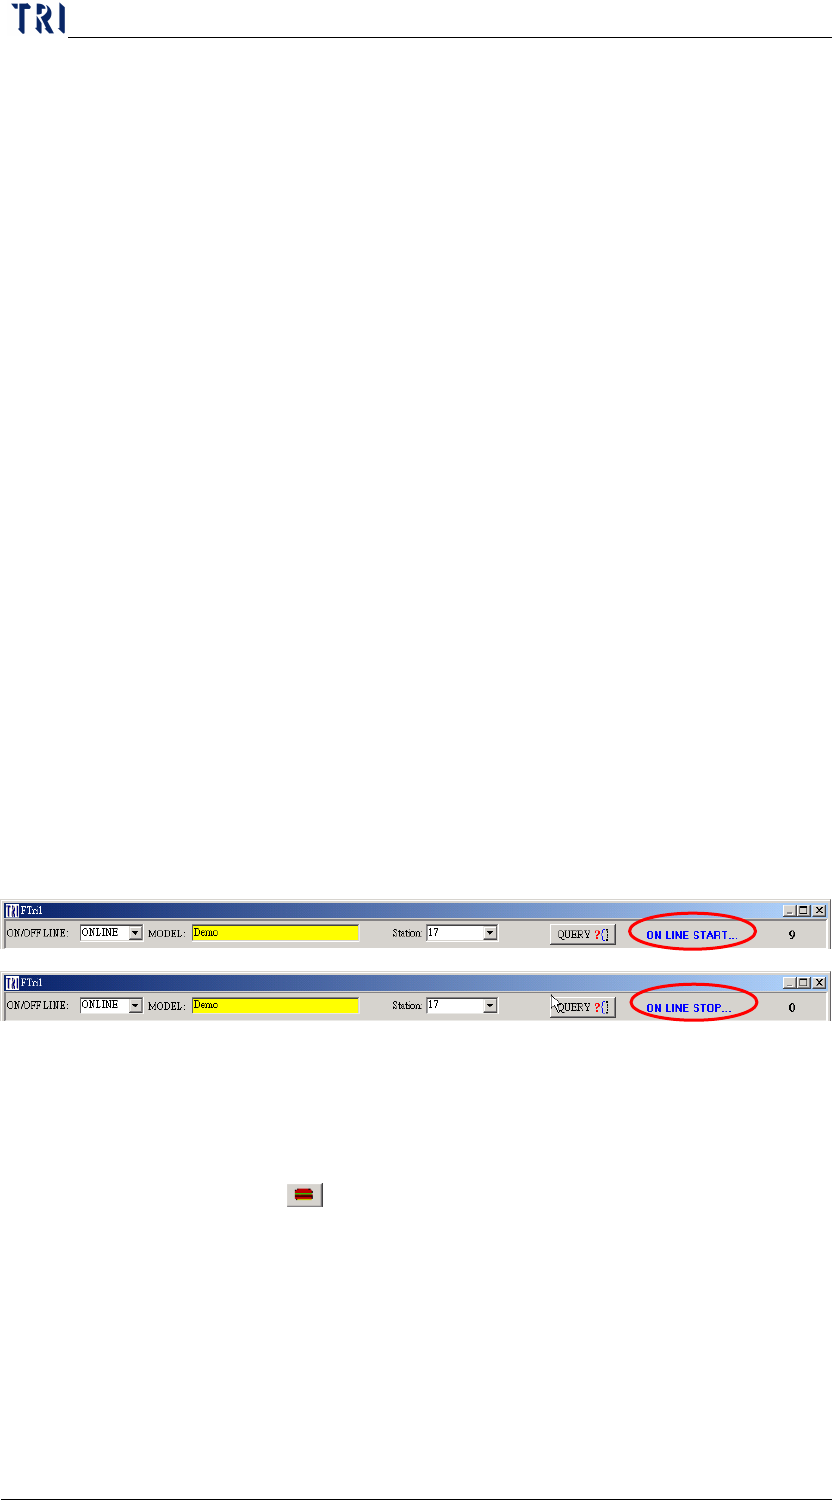
Step6. Move the mouse to [ON LINE START], left click will switch to
[ON LINE STOP] whenever the MODEL switching is being
carried out while it’s [ONLINE].
6.3 Hotkey Functions
6.3.1 [PageUp] Key-Press to enlarge and center the FOV image near the
fail component and press once again to return the original state. When
you select the
(Defect Located in the Center) button and press
this key at the same time, the fail image will be shown at the center
with original image size.
Chapter 2 Repair Station Main Program
AOI Repair Station
34
Original image
Enlarged image
Chapter 2 Repair Station Main Program
AOI Repair Station
35
6.3.2 [PageDown] Key-You can press the button to increase the brightness
of FOV image.
6.3.3 [HOME] Key-To confirm the all fails on the single board are false
alarm.
6.3.4 [END] Key-To confirm the all fails on the single board are skiped.
6.3.5 [Insert] Key-Insert a fail data manually. This function is the same
with
button.
6.3.6 [Delete] Key-Set this board to have not been confirmed.
6.3.7 [PAUSE] Key-Set this board to have not been confirmed.
6.3.8 [F5] Key (Only for TR7500)- To change the FOV image to color
image, white balanced image or weighting image.
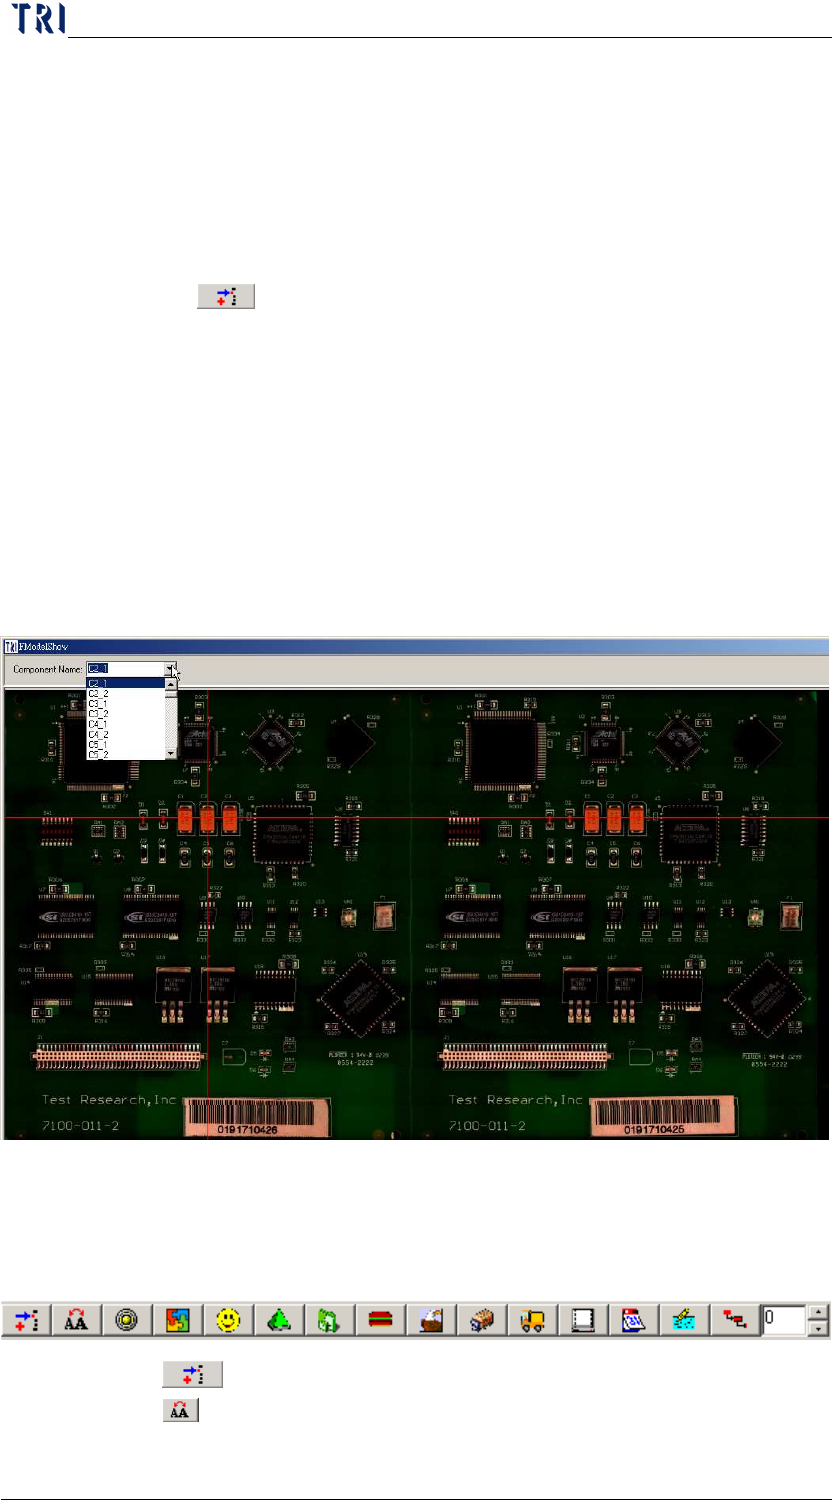
6.3.9 [F6] Key-You can press this button to display the panel map with
double size. The map file is saved in [C:
\aoi_repair_data\modelNAME2X2.bmp.]. On the map you can select a
component at the upper-left corner and the system marks the specified
component with red cross line.
6.3.10 [F9], [F10]-Moves the yellow working area to left (defect
component) or right (defect window) side.
6.4 Other Functions
6.4.1
Component Insert-Insert a fail data manually.
6.4.2
Copy Confirm Defect-To copy a particular component