AOI_RS_v85_en - 第57页
Chapter 2 Repair Station Main Progr am AOI Repair Station 53 10.4 COM POR T Select the port of handy barcode. 10.5 EXIT Press this button then the program is closed imme diately . 10.6 SETTING 10.6.1 Connect Other DB…
Chapter 2 Repair Station Main Program
AOI Repair Station
52
the data that is linked with the database system.
There must be a pair of [*.LDF] and [*.MDF] files. The file has
to be named 2 in the beginning.
Step1. Click on [Append DB], select [mdf], you may see the DB of
[20031112] on the screen after finished
Step2. Use the check mark on [SERVER MODE] for the use of
[APPEND DB] of server version.
9.4 Delete Model
Deletes panel map files in DB, this is only the image file not the
database file. Click on [–] for selected MODEL, then press the [SAVE]
key to finish.
9.5 Online Query Key Delete
Delete stacked up unconfirmed files during the [ONLINE] mode, SKIP
may be performed by selecting TIME, MODEL, AND STATION on
this page
10 Main Toolbar
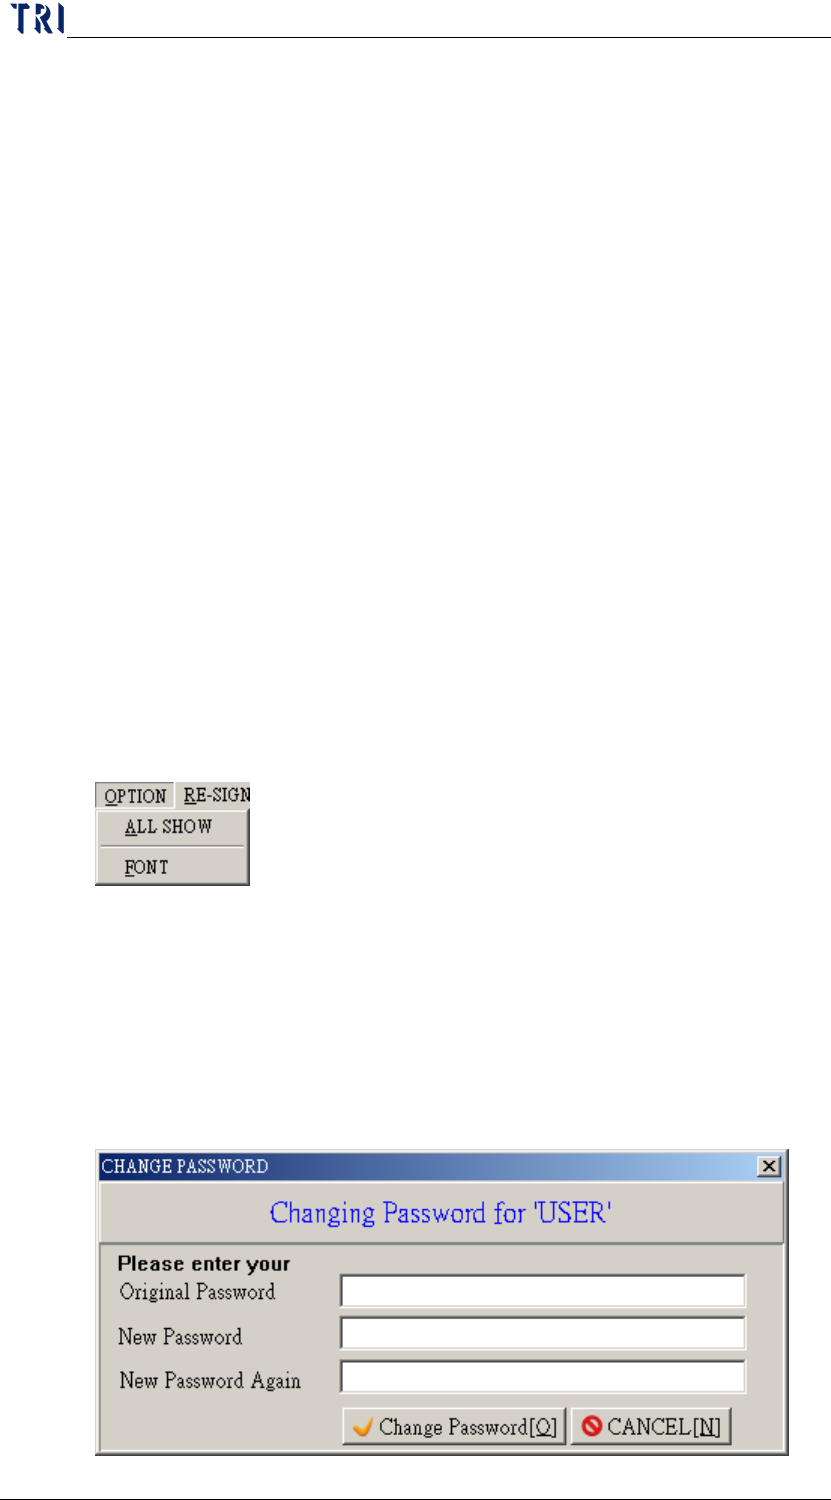
10.1 Option
ALL SHOW-Display the all menu of the tree diagram at the left side
of the window.
FONT-You can define the font to display.
10.2 RE-SIGN
Use the other user name to sign in the program.
10.3 CHANGE PASSWORD
Press this to change the password of the current user.
Chapter 2 Repair Station Main Program
AOI Repair Station
53
10.4 COM PORT
Select the port of handy barcode.
10.5 EXIT
Press this button then the program is closed immediately.
10.6 SETTING
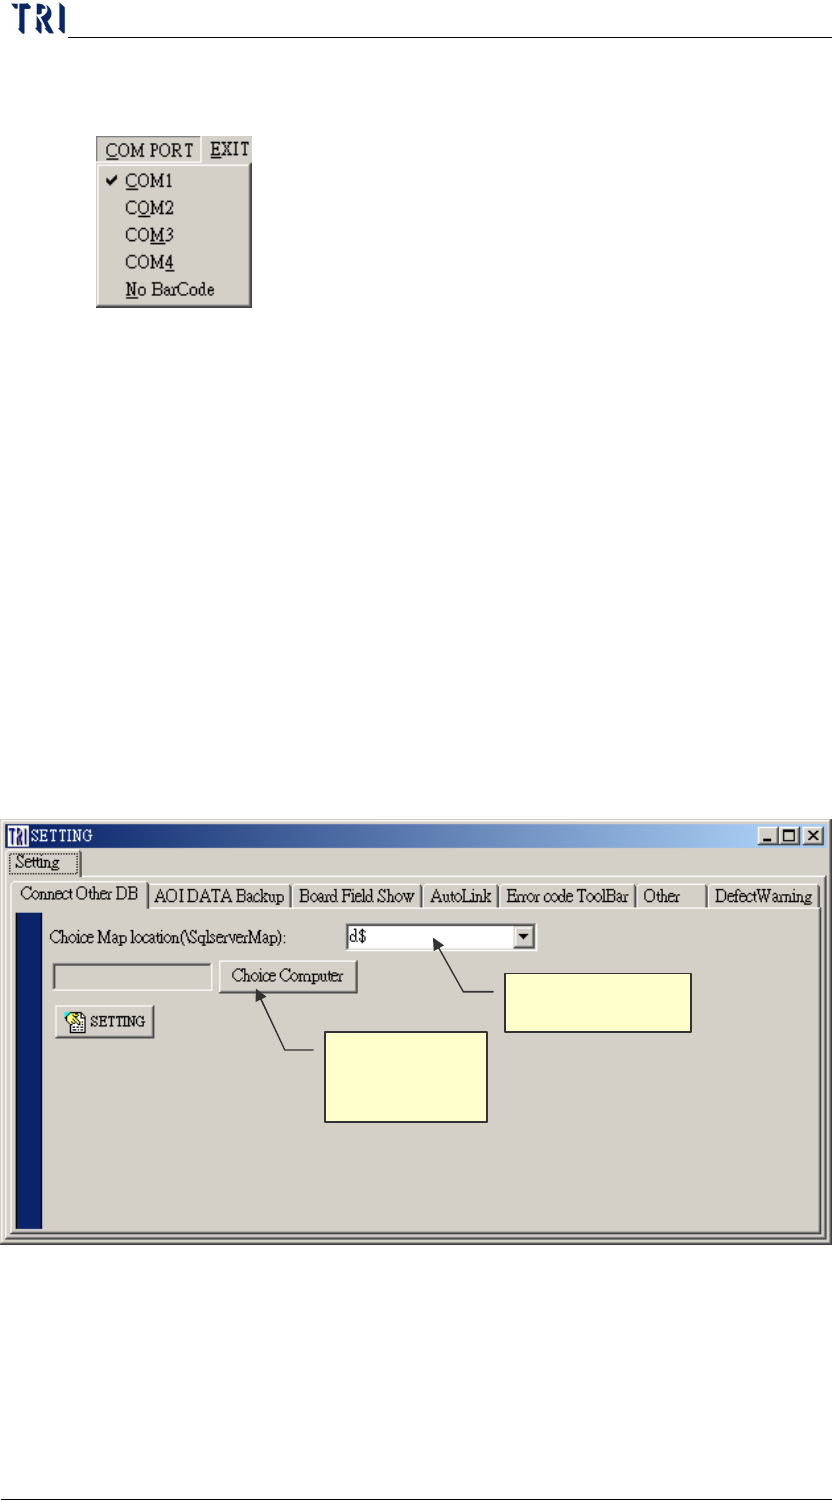
10.6.1 Connect Other DB
You can use this function to link to other computer to review or
confirm data.
Turn off the [Insertdata.exe], and the [Ptril.exe], [Spcproj.exe]
will wait till the completion of following settings to reopen.
Step1. Input the disc that the images save in at [Choice Map
Location], and press [Choice Computer] to select the
computer name that you want to connect.
Step2. Press [SETTING] to finish.
Step3. Restart [Ptri1.exe] and can see the database in the
other side computer.
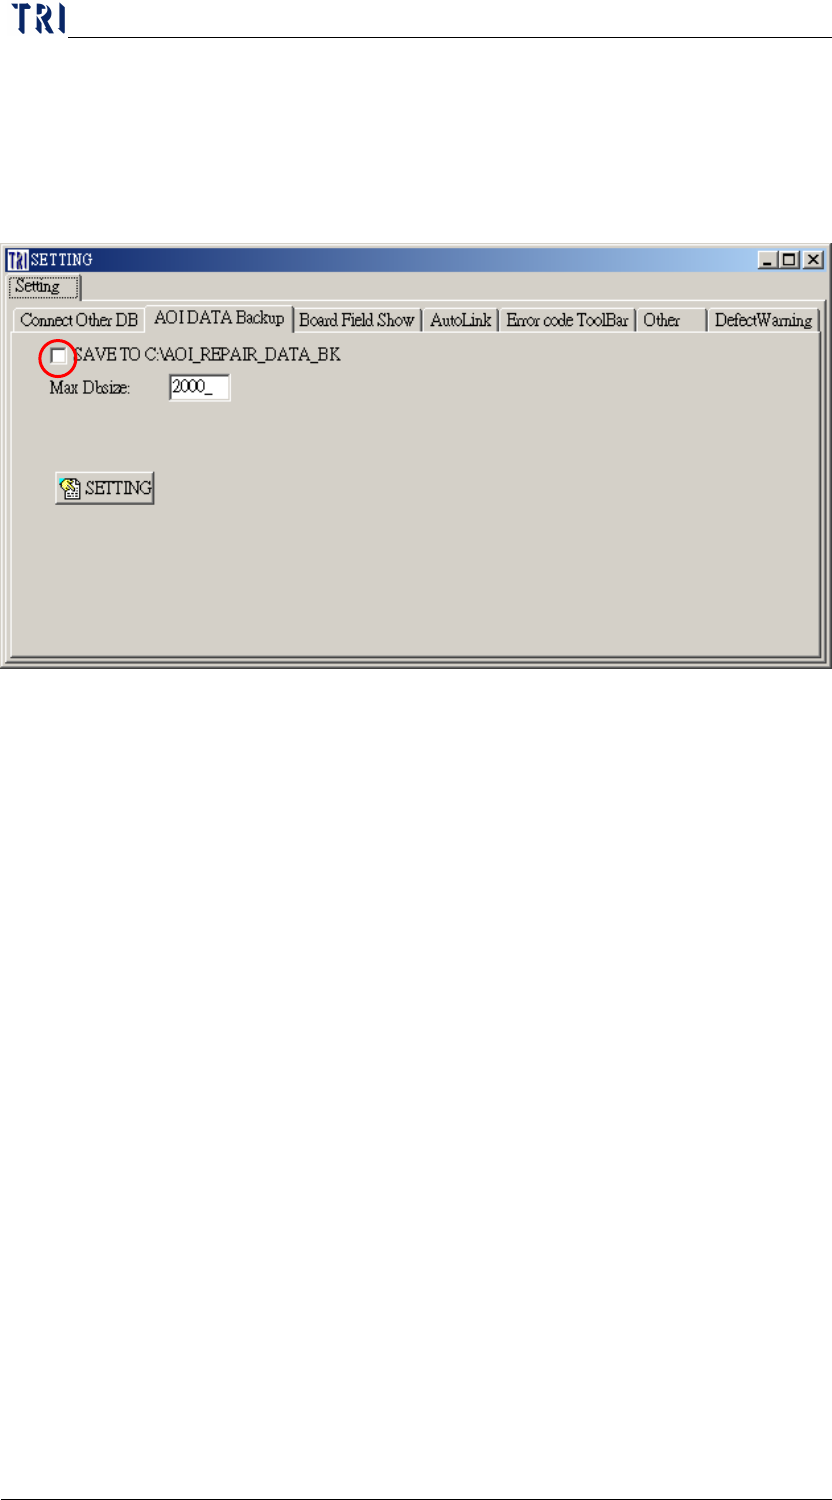
10.6.2 AOI DATA Backup
Objective Disk
Objective
Computer Path
Chapter 2 Repair Station Main Program
AOI Repair Station
54
SAVE TO C:\AOI_REPAIR_DATA_BK: When the [InsertData.exe]
transfers the data, the system copy the original data to
[C:\AOI_REPAIR_DATA_BK] folder for backup at the same time.
Turn off the [Insertdata.exe], and wait till the completion of
following settings to reopen.
Step1. Select [SAVE TO C:\AOI_REPAIR_DATA_BK].
Step2. Press [SETTING] to finish the setting.
Step3. Reopen [Insertdata.exe].