00196658-01 - IM SIPLACE Pro 7.1_en.pdf - 第29页
4 Installation of SIPLACE Pro and possible Setup Types Installation Manual Edition 11/2009 US SIPLACE Pro 7.1 27 Note Y ou can specify a dif ferent folder fo r each of the da tabase files. Indeed , having the files on di…
Installation Manual 4 Installation of SIPLACE Pro and possible Setup Types
SIPLACE Pro 7.1 Edition 11/2009 US
26
4
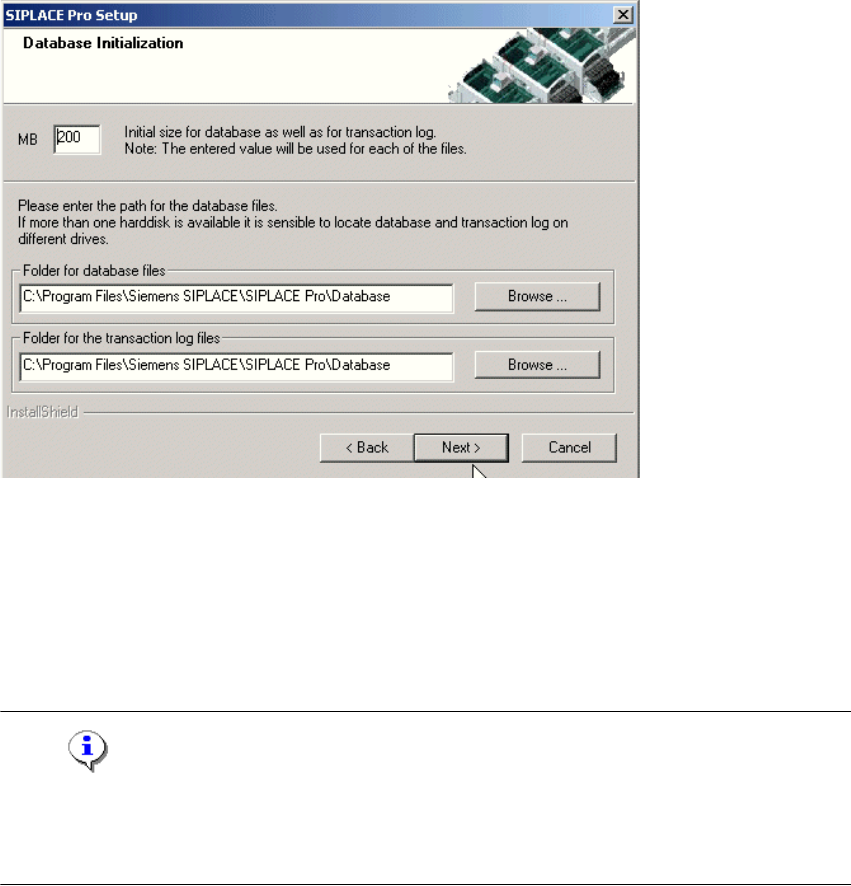
Fig. 4 - 13 "Database initialization" dialog box
The figure you enter in the MB text box defines the size of the SIPLACE Pro database files
(SIPLACE Pro Data.mdf and SIPLACE Pro Log.ldf) which are to be created during the
installation. 4
Æ Confirm the default value or
Æ enter the size you want in the MB text box.
Note
The specified size is only an initial value. The database will grow automatically as required.
However, only intervention by the database administrator is capable of freeing up unused disk
space. 4
Æ In the "database files" field, enter the directory in which the SIPLACE Pro Data.mdf file is to
be created.
Æ In the transaction log files field, enter the name of the directory in which the
SIPLACE Pro Log.ldf database file is to be created.
Æ Click Next.
4 Installation of SIPLACE Pro and possible Setup Types Installation Manual
Edition 11/2009 US SIPLACE Pro 7.1
27
Note
You can specify a different folder for each of the database files. Indeed, having the files on different
hard disks can improve disk access performance. 4
Step 6
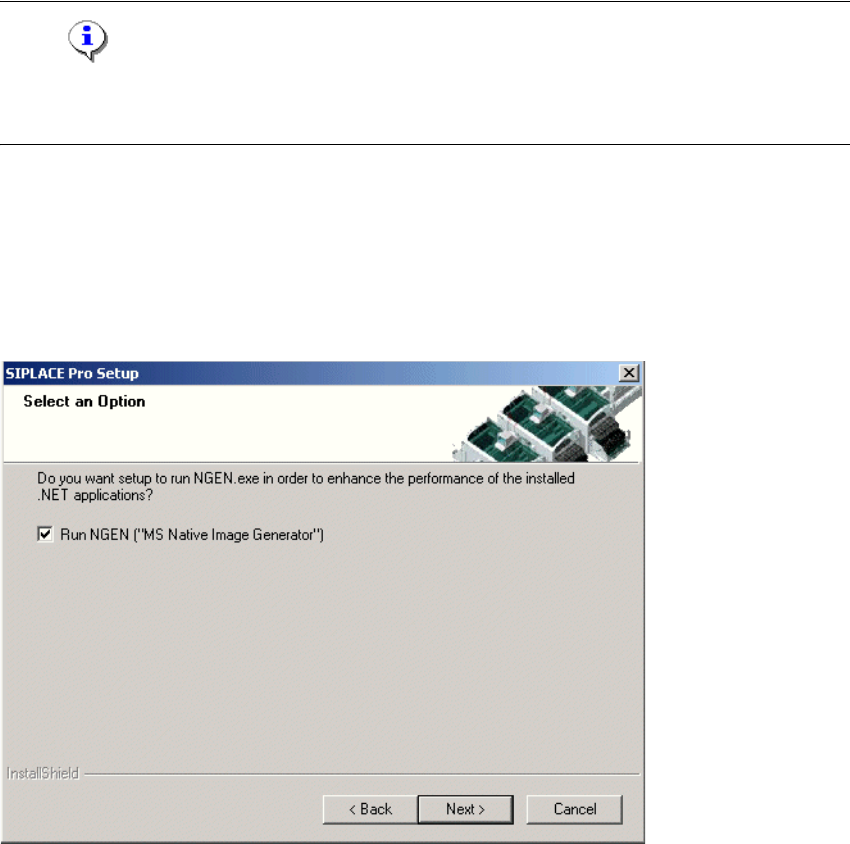
In the "Select an Option" dialog box the Native Image Generator (NGEN) may be configured. By
default this option is activated. In case the Native Image Generator is activated, this tool performs
some time-consuming optimization steps during installation. This results later on in much higher
performance each time SIPLACE Pro applications (Desk, LC GUI, LC Server) are started 4
4
Fig. 4 - 14 Native Image Generator setup
Æ Click Next to start the setup.
Step 7
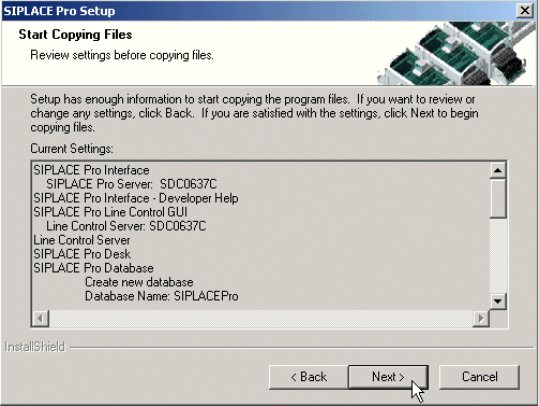
The "Start Copying Files" dialog box gives you a last chance to check the information you have
entered during the previous steps. 4
Installation Manual 4 Installation of SIPLACE Pro and possible Setup Types
SIPLACE Pro 7.1 Edition 11/2009 US
28
4
Fig. 4 - 15 The "Start Copying Files" dialog box
Æ Click Next if you accept all the information entered so far.
Æ If you want to alter one or more details, click the Back button until you get back to the dialog
box in question.
Æ There, enter your changes and click Next to continue as usual.
Step 8
The installation routine is now started. If SIPLACE Pro Server is selected for installation, one of
the installation steps requires a valid license of SIPLACE Pro on this computer. If no such license
is detected, the License Manager application will be started automatically to view or enter a
license key during the completion phase of the SIPLACE Pro installation. If no license is available
at that moment, the SIPLACE License Manager may be closed without entering a license. In this
case the system feeder import cannot be performed by the installation automatically and you are
required to invoke this application manually later on (a shortcut will be created in the subfolder
"Administration" of the SIPLACEPro start menu).
For more detailed information on entering the license key please refer to the documentation "Soft-
ware Guide OIB License Manager" (Englisch/German: Item No.:00195385-01) 4
Step 9
The InstallShield Wizard Complete window confirms that the setup has finished installing
SIPLACE Pro on your computer 4
If you are prompted to reboot the computer, be sure the CD is still in the drive and leave it there
until the computer has completely rebooted and the post boot steps are finished. In order to run
the post boot steps you must log in with the same account after reboot. 4