00197727-12_IM_SE3.11_DE.pdf - 第27页
Installations- und Konfigurationsanleitung SIPLACE Explorer 3 In stallation des SIPLACE Explorer Ausgabe 11/2020 DE 3.3 Installationsvorgang SIPLACE Explorer 3.1 1 27 Die benutzergeführte Installation von SIPLACE Expl …
3 Installation des SIPLACE Explorer Installations- und Konfigurationsanleitung SIPLACE Explorer
3.3 Installationsvorgang SIPLACE Explorer 3.11 Ausgabe 11/2020 DE
26
3.3 Installationsvorgang SIPLACE Explorer 3.11
HINWEIS
Sie müssen über Windows Administrator-Rechte verfügen, um die Installation ausführen zu
können. 3
Stecken Sie den ASM Software Collection USB Medium R20-2 USB-Stick in den USB-
Anschluss Ihres Computers. Folgen Sie den Anweisungen aus dem Dokument "Navigation
Guide for the Installation Procedure of SIPLACE Software Systems".
Ihr System wird auf die nötigen Software-Komponenten und deren Versionen überprüft. Sie
erhalten entsprechende Meldungsfenster und können alle noch benötigten Software-
Komponenten installieren. 3
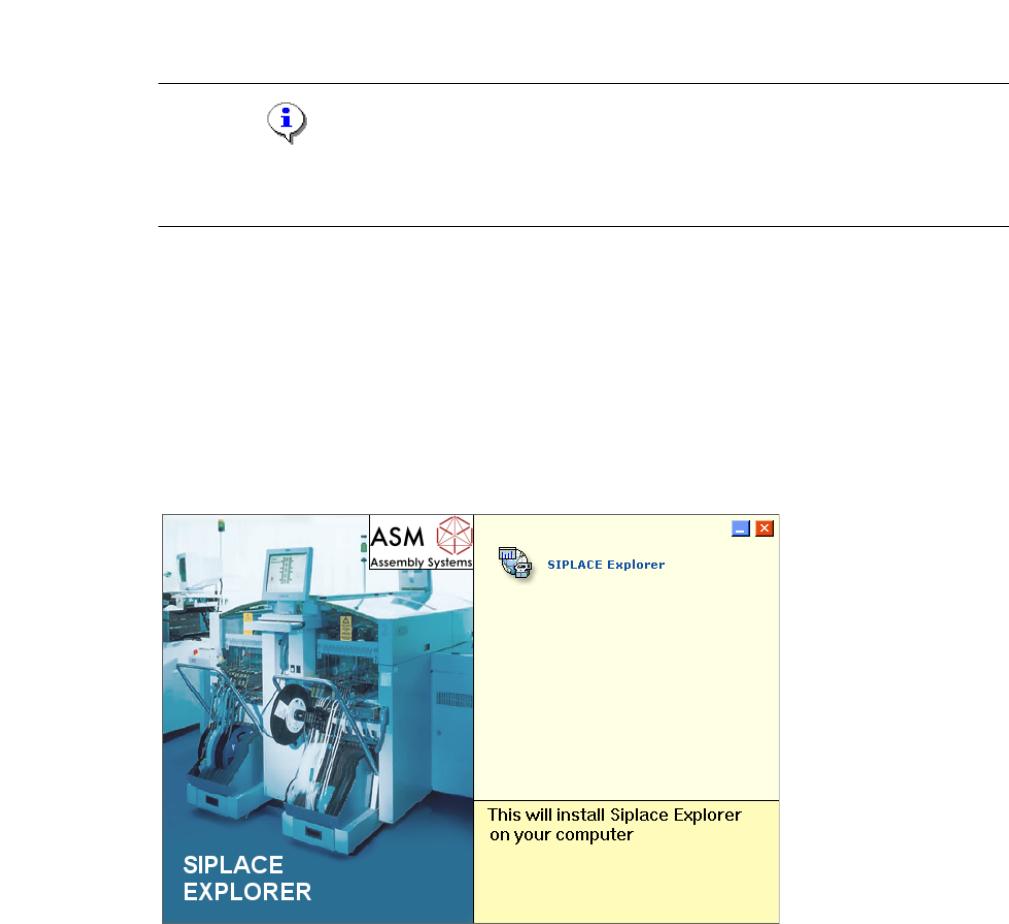
Starten Sie die SIPLACE Explorer Installation. Es erscheint der Start Screen.
3
Abb. 3 - 1 SIPLACE Explorer setup - Start Screen
Wählen Sie SIPLACE Explorer 3.11 aus.
Installations- und Konfigurationsanleitung SIPLACE Explorer 3 Installation des SIPLACE Explorer
Ausgabe 11/2020 DE 3.3 Installationsvorgang SIPLACE Explorer 3.11
27
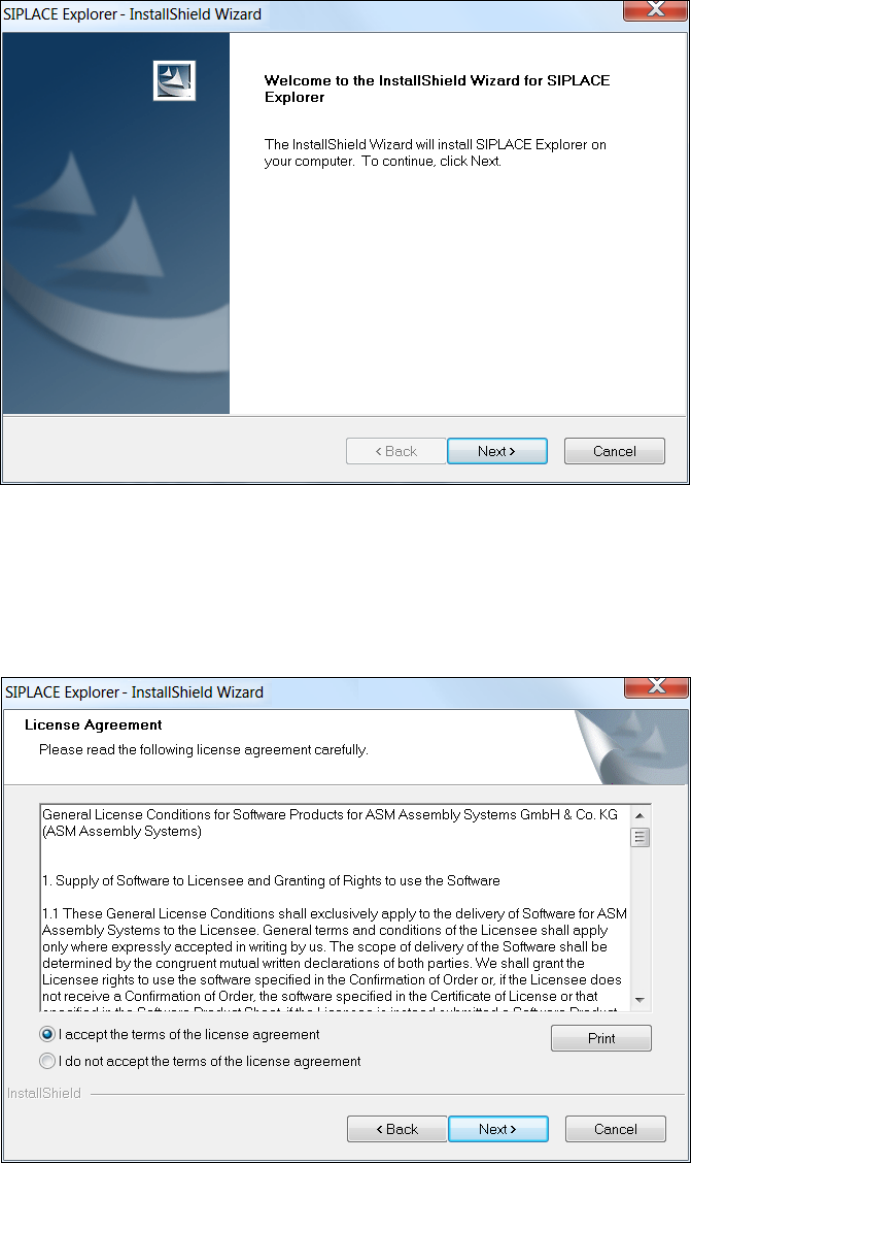
Die benutzergeführte Installation von SIPLACE Explorer wird gestartet.
3
Abb. 3 - 2 SIPLACE Explorer setup - Willkommen im SIPLACE Explorer
Beenden Sie alle anderen Programme und klicken Sie auf Next (Weiter). Das Dialogfenster
License Agreement wird geöffnet.
Lesen Sie die Lizenzbestimmungen. Wenn Sie zustimmen, I accept ... anklicken, ansonsten I
do not accept .... Wenn Sie I do not accept ... anklicken, wird die Installation beendet.
3
Abb. 3 - 3 SIPLACE Explorer Setup - Lizenzvereinbarungen
Bestätigen Sie Ihre Auswahl mit Next (Weiter).
3 Installation des SIPLACE Explorer Installations- und Konfigurationsanleitung SIPLACE Explorer
3.3 Installationsvorgang SIPLACE Explorer 3.11 Ausgabe 11/2020 DE
28
Damit SIPLACE Explorer lauffähig ist, muss Java SE Runtime Environment auf Ihrem PC
installiert sein. Wenn es bereits installiert ist, läuft das SIPLACE Explorer Setup-Programm
weiter.
Wenn beim Installationsversuch Java SE Runtime Environment nicht gefunden wird, erscheint
auf Ihrem Bildschirm das Fenster Locate J2SDK (Finden).
In diesem Fall können Sie entweder den Pfad des Ordners Java SE Runtime Environment
direkt im Textfeld eingeben oder die Schaltfläche Browse (Durchsuchen) anklicken und mit
Hilfe des Dialogfensters Open File (Datei öffnen) den Ordner Java SE Runtime Environment
suchen.
Wenn Sie den Ordner nicht korrekt angegeben haben, in dem Java SE Runtime Environment
installiert ist, erhalten Sie eine Meldung.
Klicken Sie OK, um zum vorangegangenen Dialogfenster zurückzukehren. SIPLACE Explorer
erfordert vor der Installation von SIPLACE Explorer, dass Java SE Runtime Environment
installiert wurde.
An dieser Stelle können Sie entweder den Java SE Runtime Environment Ordner nochmals
eingeben oder Cancel (Abbrechen) anklicken, um die Installation des SIPLACE Explorer
abzubrechen.
Haben Sie Cancel (Abbrechen) gewählt, installieren Sie die auf der Support Media enthaltene
Version von Java SE Runtime Environment 8u161. Beginnen Sie anschließend die Installation
des SIPLACE Explorer erneut.
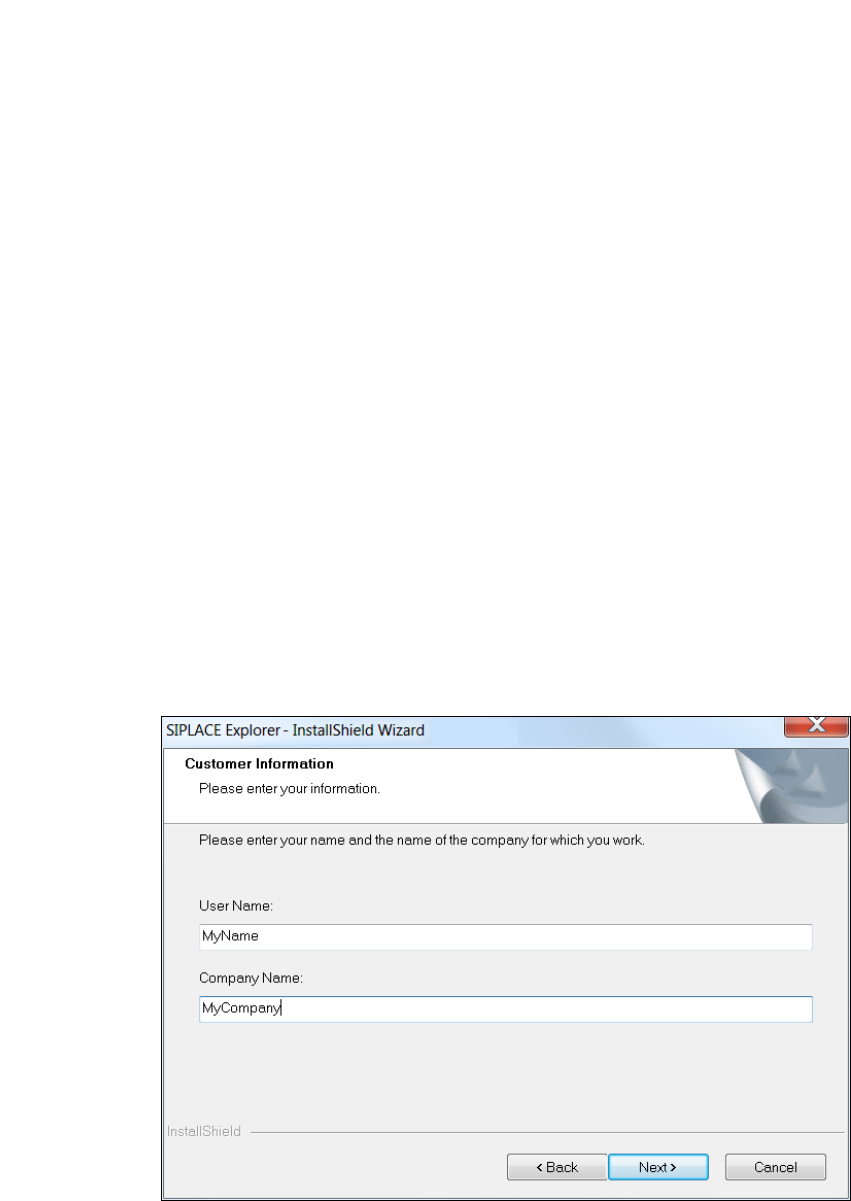
Die Installation von SIPLACE Explorer wird nach Lokalisierung von Java SE Runtime
Environment fortgesetzt. Das Dialogfenster Customer Information wird geöffnet.
3
Abb. 3 - 4 SIPLACE Explorer setup - Kundeninformation angeben