CM602all_EJM8AESM_Service Manual.pdf - 第1043页
8 6 7 5 • Pull the box towards you so that the driver can be removed easily. Remove the driver connectors. • Remove the earth cable and the driver- holding scrwes, and then the driver. • Remove the relay connector. Direc…
3
4
Remove the control-box front cover.
Remark
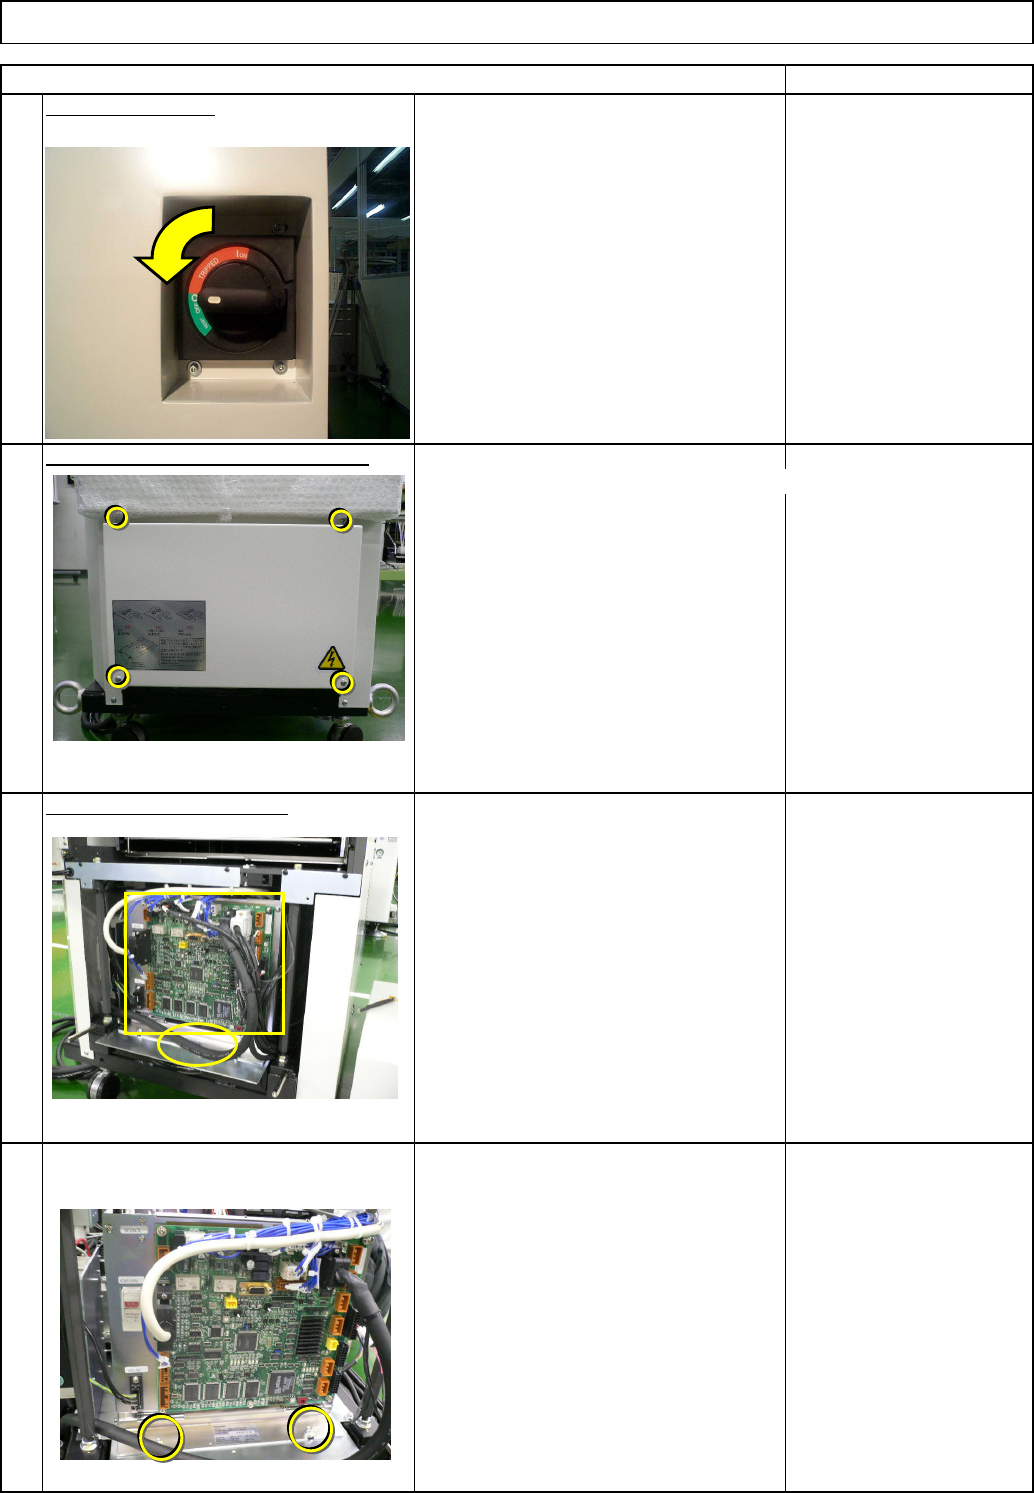
Turn off the power.
Remove the control-box front cover.
Item
Direct TrayTray
Remove the lift-axis driver.
• Remove all the connectors from the
front of the control box and from the
board.
• Remove the cable tie from the front of
the control box.
• Remove the box-holding screws.
2
1
EJM8A-E-SMA070209-A01-00
Page 7-2-9-2
8
6
7
5
• Pull the box towards you so that the driver
can be removed easily. Remove the driver
connectors.
• Remove the earth cable and the driver-
holding scrwes, and then the driver.
• Remove the relay connector.
Direct Tray
Remark
Tray
• Remove the two screws from the upper
front side of the box.
Item
Ref. side
Front: Lift-axis
Rear: Extension-axis
Ref. side
EJM8A-E-SMA070209-A01-00
Page 7-2-9-3
Check the driver parameters.
10
11
9
Item Remark
Direct Tray
• Replace the driver. Install the driver
and connect the connectors in reverse
order to Steps 3 to 8.
* Connect the correct connectors,
checking the connector labels when
connecting them.
Tray
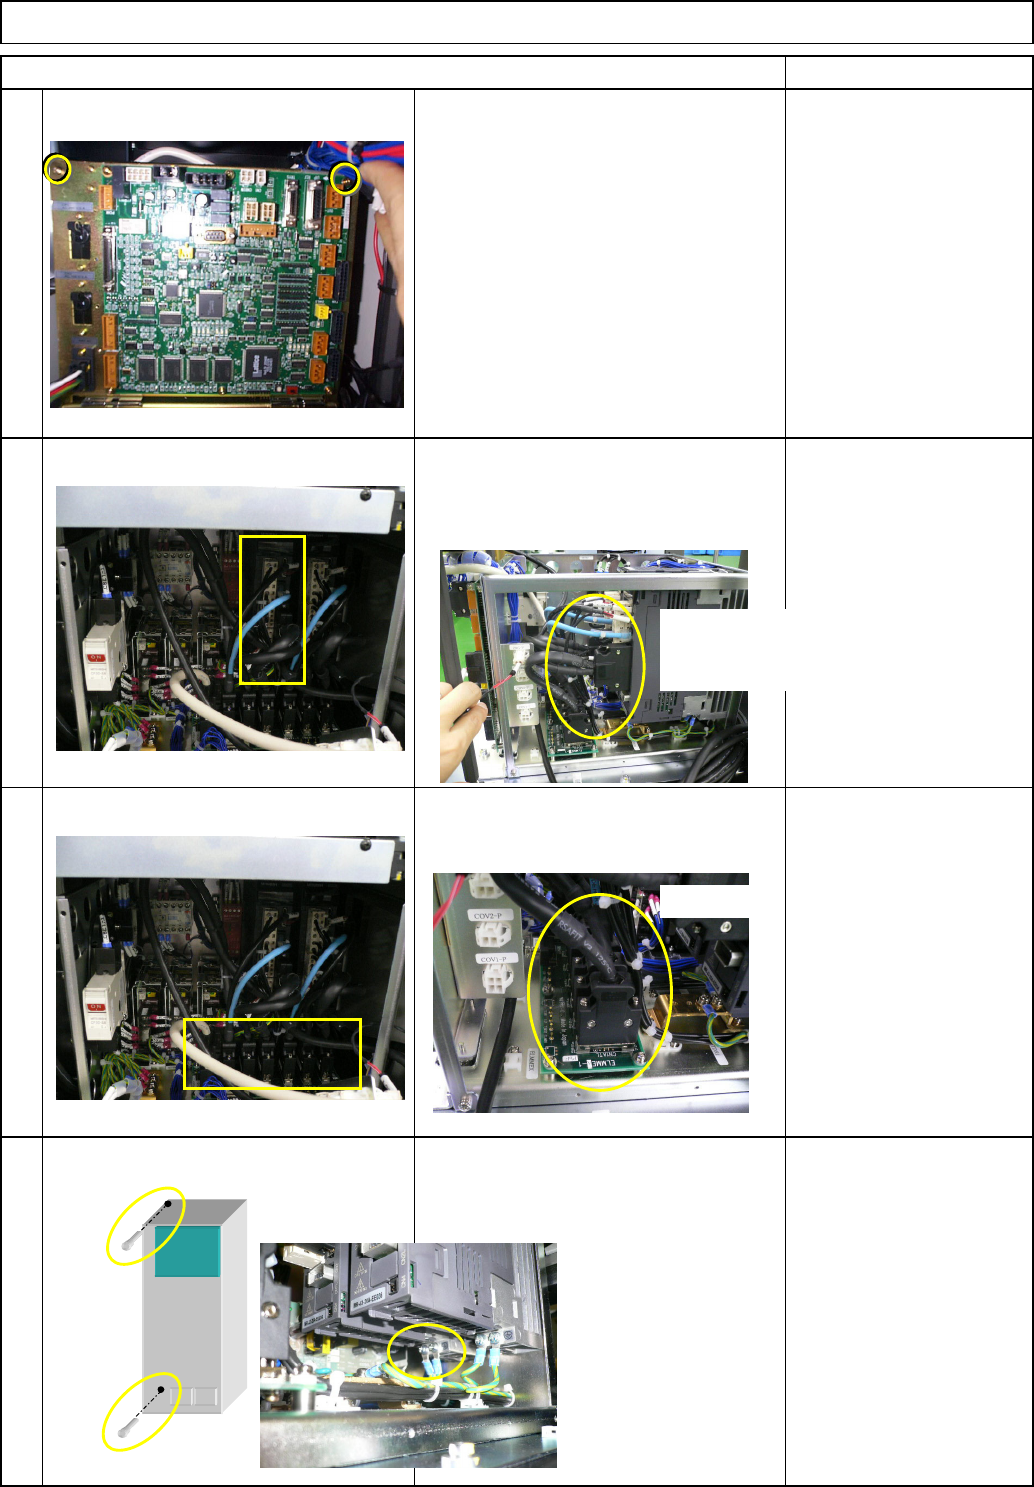
• After connecting the connectors, turn
on the power.
• Check the driver parameters.
• Open the driver-operation-panel cover.
Refering to the operation method and
the parameter list from the next page
onward, check and set the driver
parameters.
EJM8A-E-SMA070209-A01-00
Page 7-2-9-4