CM602all_EJM8AESM_Service Manual.pdf - 第212页
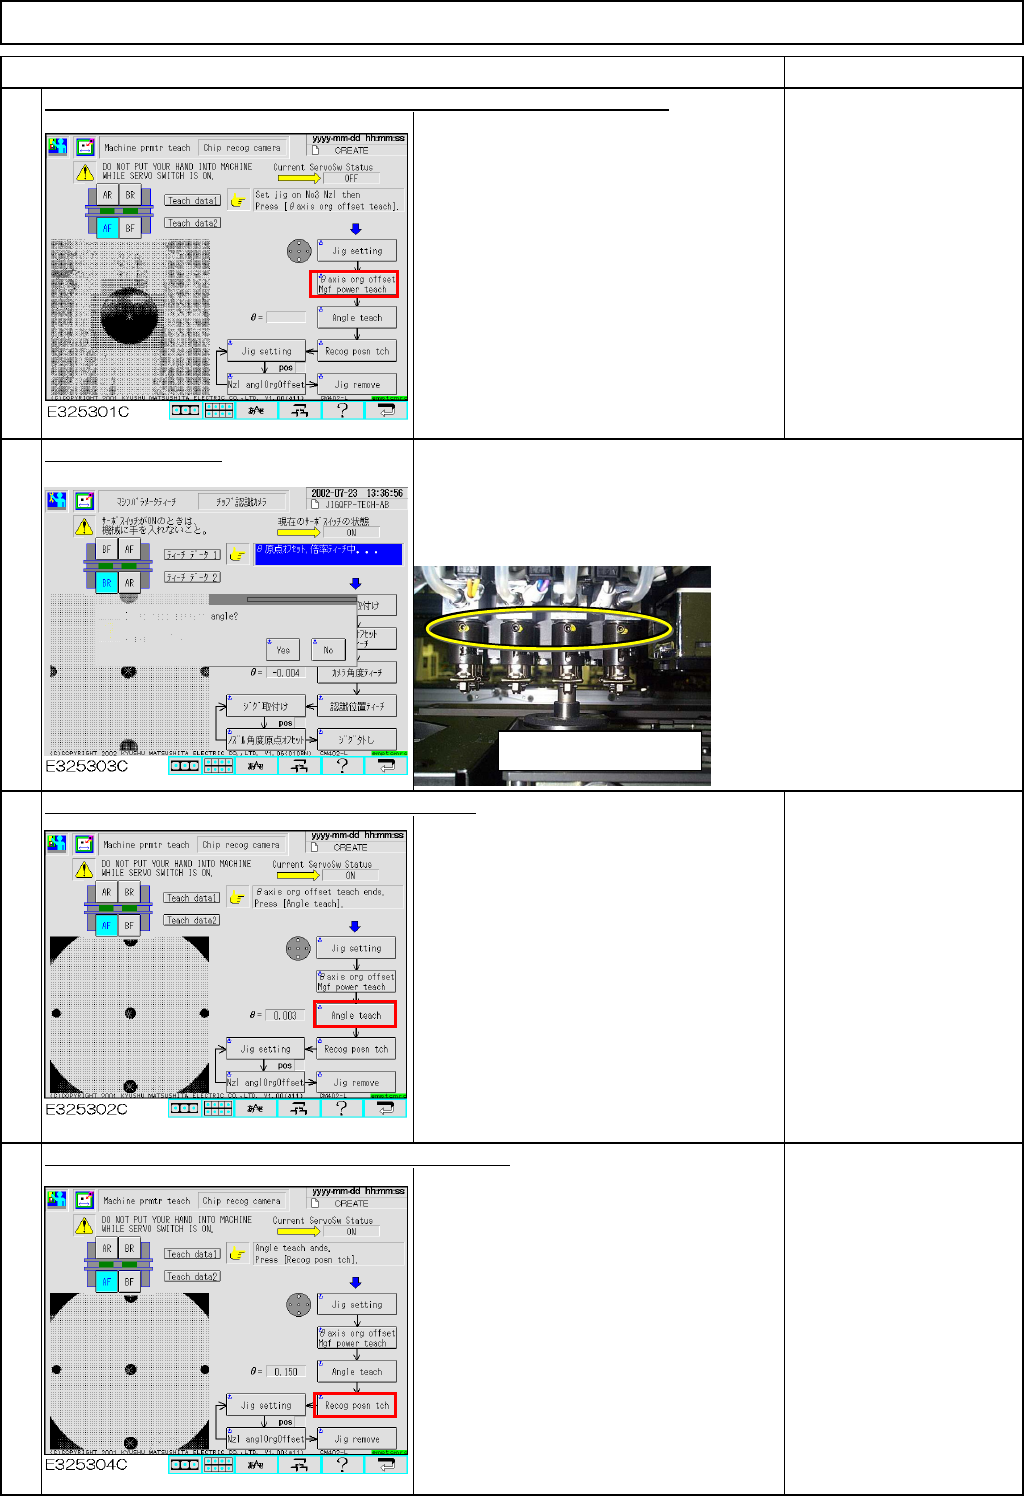
Maintenance Adjustment Light Transfer-Head Assembly (8 nozzles) Remarks Item Move the jig from 3 to Nozzle 6. Press [Unlock] and [Run] simultaneously. Nozzle Position 6 is recognized and taught automatically. The recogni…
Maintenance Adjustment Light Transfer-Head Assembly (8 nozzles)
Remarks
Item
Press [Unlock] and [θaxis or
g
offset M
g
f power teach] simultaneousl
y
.
The jig is recognized automatically so
that the θangle origin and the camera
magnification offsets are entered.
Select [Yes] or [No].
Press [Unlock] and [Angle teach] simultaneously.
Recognition is carried out automatically
so that the angle offset is entered.
If θ is 0.05 or larger, an
error will occur.
In this case, adjust the
chip recognition camera.
Refer to Section 4-1-1
"Chip Recognition
Camera Theta
Positioning."
Press [Unlock] and [Recog posn tch] simultaneously.
Recognition is carried out automatically
so that the recognition position offset is
entered.
* If the nozzle holder set screw faces you: Select [NO].
Recognition will start immediately.
* If the nozzle holder set screw faces opposite: Select [YES].
The nozzle holder will rotate 180° and recognition will be carried
out.
6
5
7
8
Be careful of position of set
screw.
EJM8A-E-SMA040204-A01-00
Page 4-2-4-3
Maintenance Adjustment Light Transfer-Head Assembly (8 nozzles)
Remarks
Item
Move the jig from 3 to Nozzle 6.
Press [Unlock] and [Run] simultaneously.
Nozzle Position 6 is recognized and
taught automatically. The recognition
position offset will be entered.
Press [Unlock] and [Jig setting] simultaneously.
The head moves to the jig setting
position (over the NG box).
Set the jig.
Move the jig to Nozzle
Position 4.
9
10
11
12
EJM8A-E-SMA040204-A01-00
Page 4-2-4-4
Maintenance Adjustment Light Transfer-Head Assembly (8 nozzles)
Remarks
Item
Press [Unlock] and [Nzl angleOrgOffset] simultaneously.
An offset for each θangle origin is
entered.
Teach in the following
order: Positions 4, 5, 6, 7,
8, 1 and 2, repeating
Steps 10 to 12.
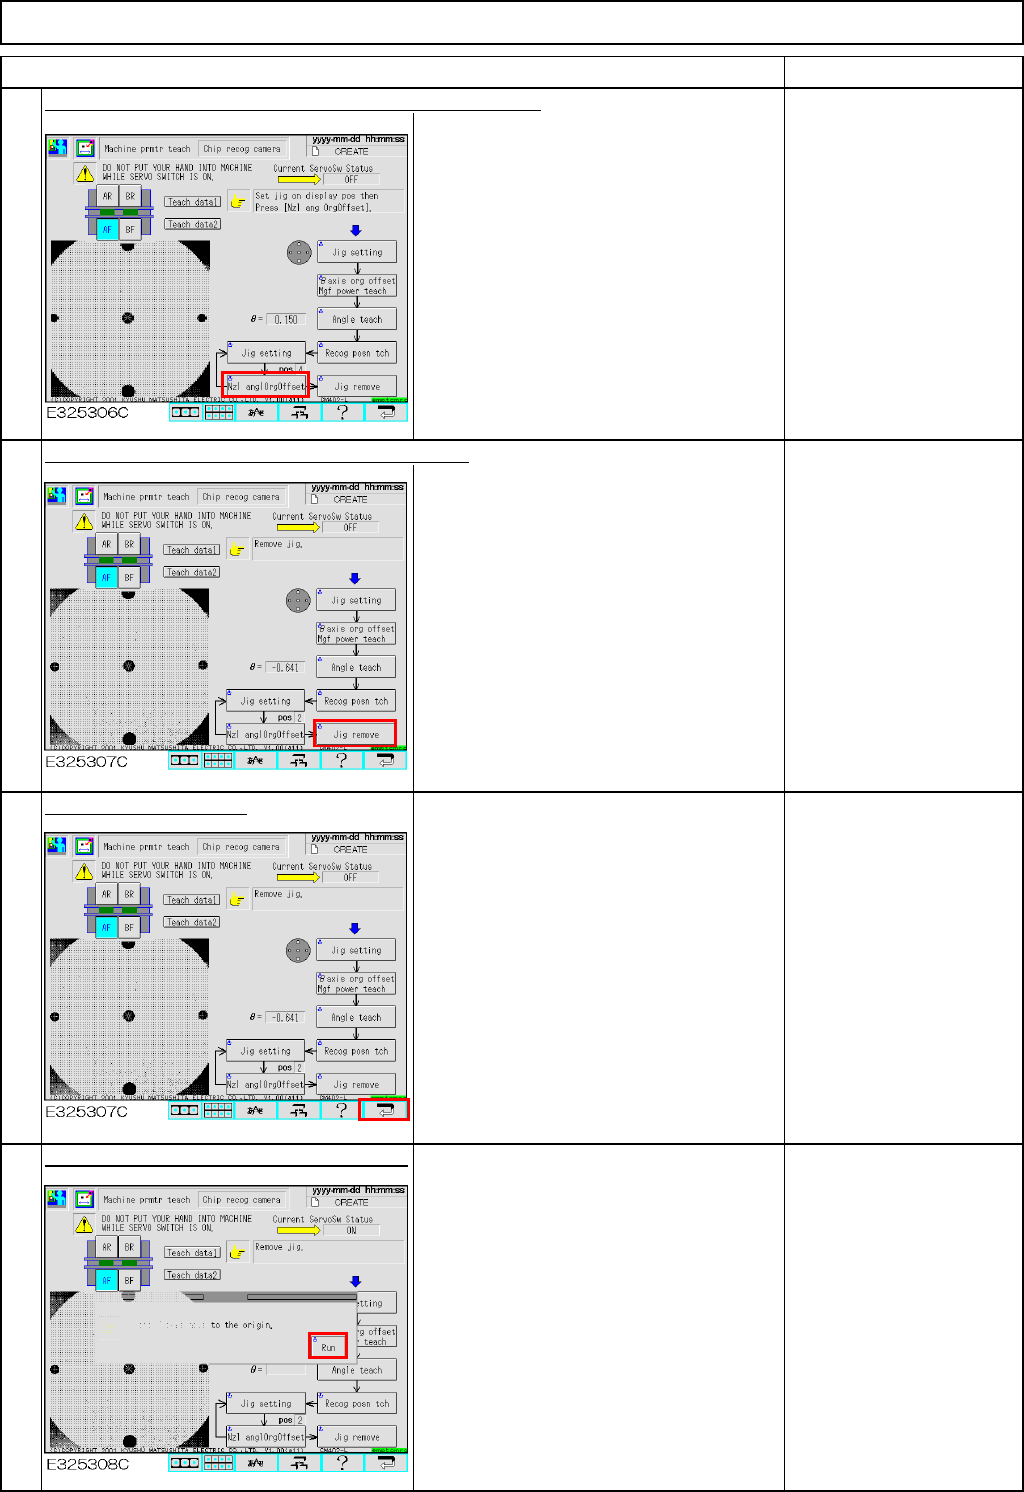
Press [Unlock] and [Jig remove] simultaneously.
The head moves to the jig setting
position (over the NG box).
Remove the jig from
Position 2, which is the
last position.
Press the [Return] key.
Press [Unlock] and [Run] simultaneously.
All axes of the selected stage return to
the origin.
14
15
13
16
EJM8A-E-SMA040204-A01-00
Page 4-2-4-5