CM602all_EJM8AESM_Service Manual.pdf - 第339页
Machinery Part Replacement Main Body Remarks Item Put the bottom cover back on. Phillips screwdriver #2 Screw M4 4 pcs. Put the lower chute back on. Allen key 4 mm Screw M5x12mm 4 pcs. Thick washer 4 pcs. 21 22 Chute hol…
Machinery Part Replacement Main Body
Remarks
Item
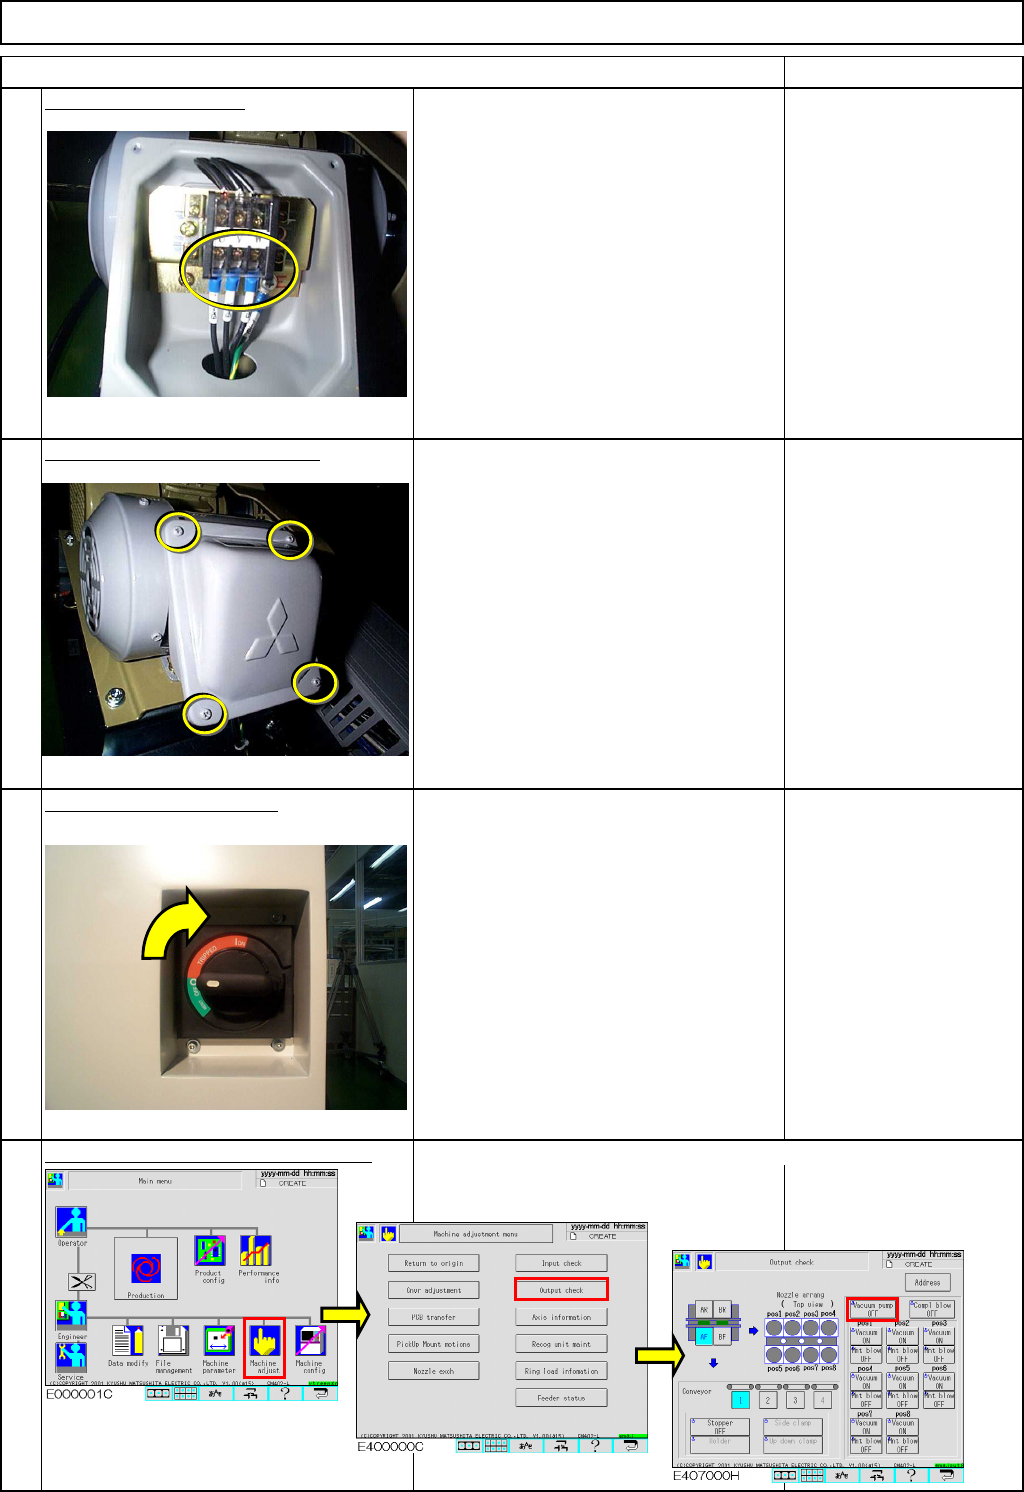
Connect the terminals.
Phillips screwdriver #2
Screw M4 4 pcs.
Put the terminal cover back on.
Phillips screwdriver #2
Screw M4 4 pcs.
Switch on the main power.
Turn the switch to the right.
Check the direction of motor rotation.
If the motors rotates in the reverse direction,
return to Step 17 and change the phase. Specification:
Vacuum pressure:
96 kpa or higher
17
18
19
20
EJM8A-E-SMA050104-A01-00
Page 5-1-4-6
Machinery Part Replacement Main Body
Remarks
Item
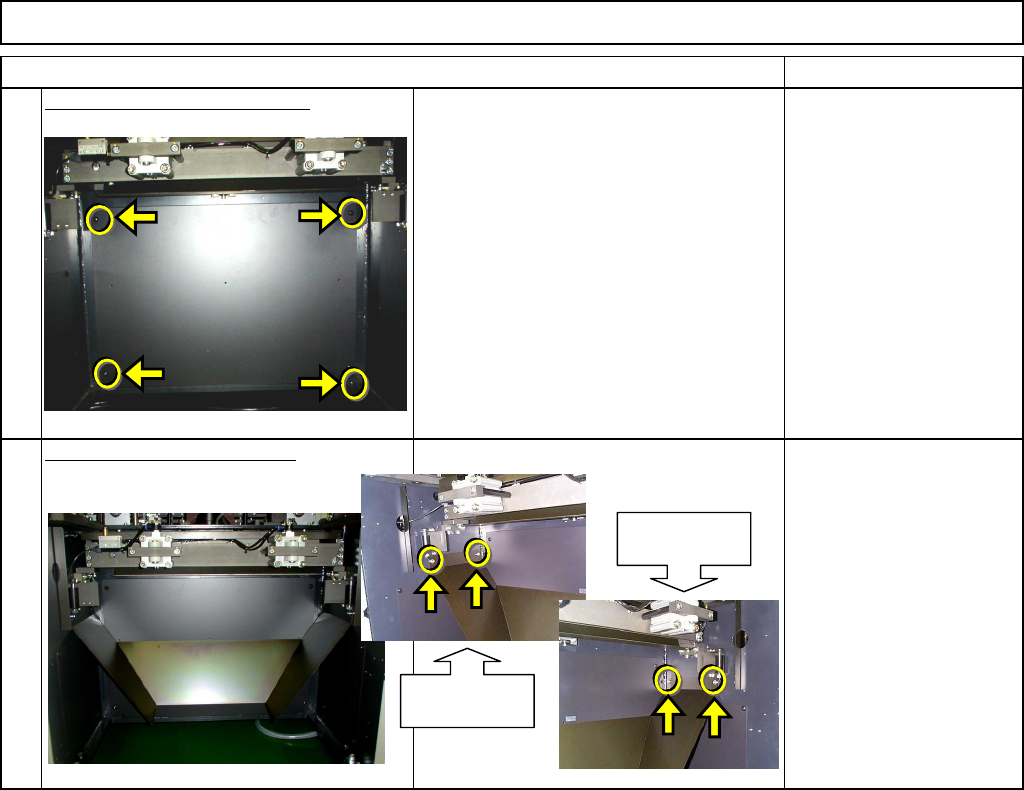
Put the bottom cover back on.
Phillips screwdriver #2
Screw M4 4 pcs.
Put the lower chute back on.
Allen key 4 mm
Screw M5x12mm 4 pcs.
Thick washer 4 pcs.
21
22
Chute holding
section (left)
Chute holding
section (right)
EJM8A-E-SMA050104-A01-00
Page 5-1-4-7
Machinery Part Replacement Main Body
This section describes the procedures for replacing the vacuum pump fan.
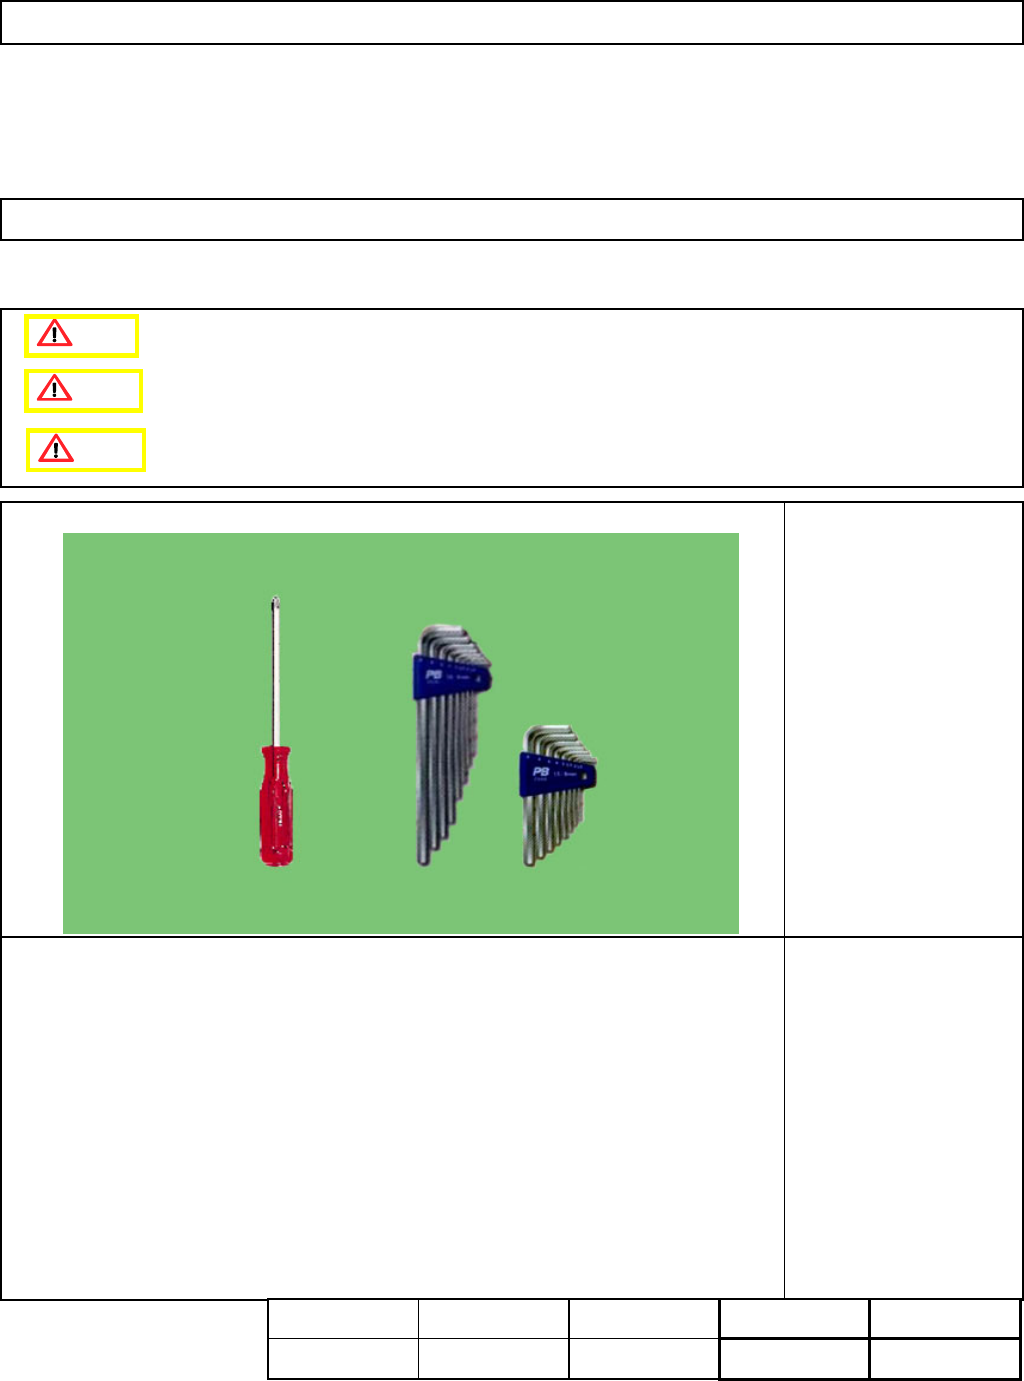
・Tools
Phillips screwdriver #2
Allen key 4 mm
Allen key 6 mm
・Jig
None
5-1-5 Vacuum Pump Cooling Fan Replacement
Assembly
Adjustment
10min.
Teaching
min.
Total Time Weight of
Part
Removal
Disassembly
10min.
20min. kgs
Caution
Dange
r
Warning
EJM8A-E-SMA050105-A01-00
Page 5-1-5-1