CM602all_EJM8AESM_Service Manual.pdf - 第351页
Remove one set of two parts in the order of "upper" to "lower." Remove the bolts from the cover. Non-magnetic Allen key (M4) Short-processed For tightening lightly Not for securely. Main Body Machine …
Replacement stage AF
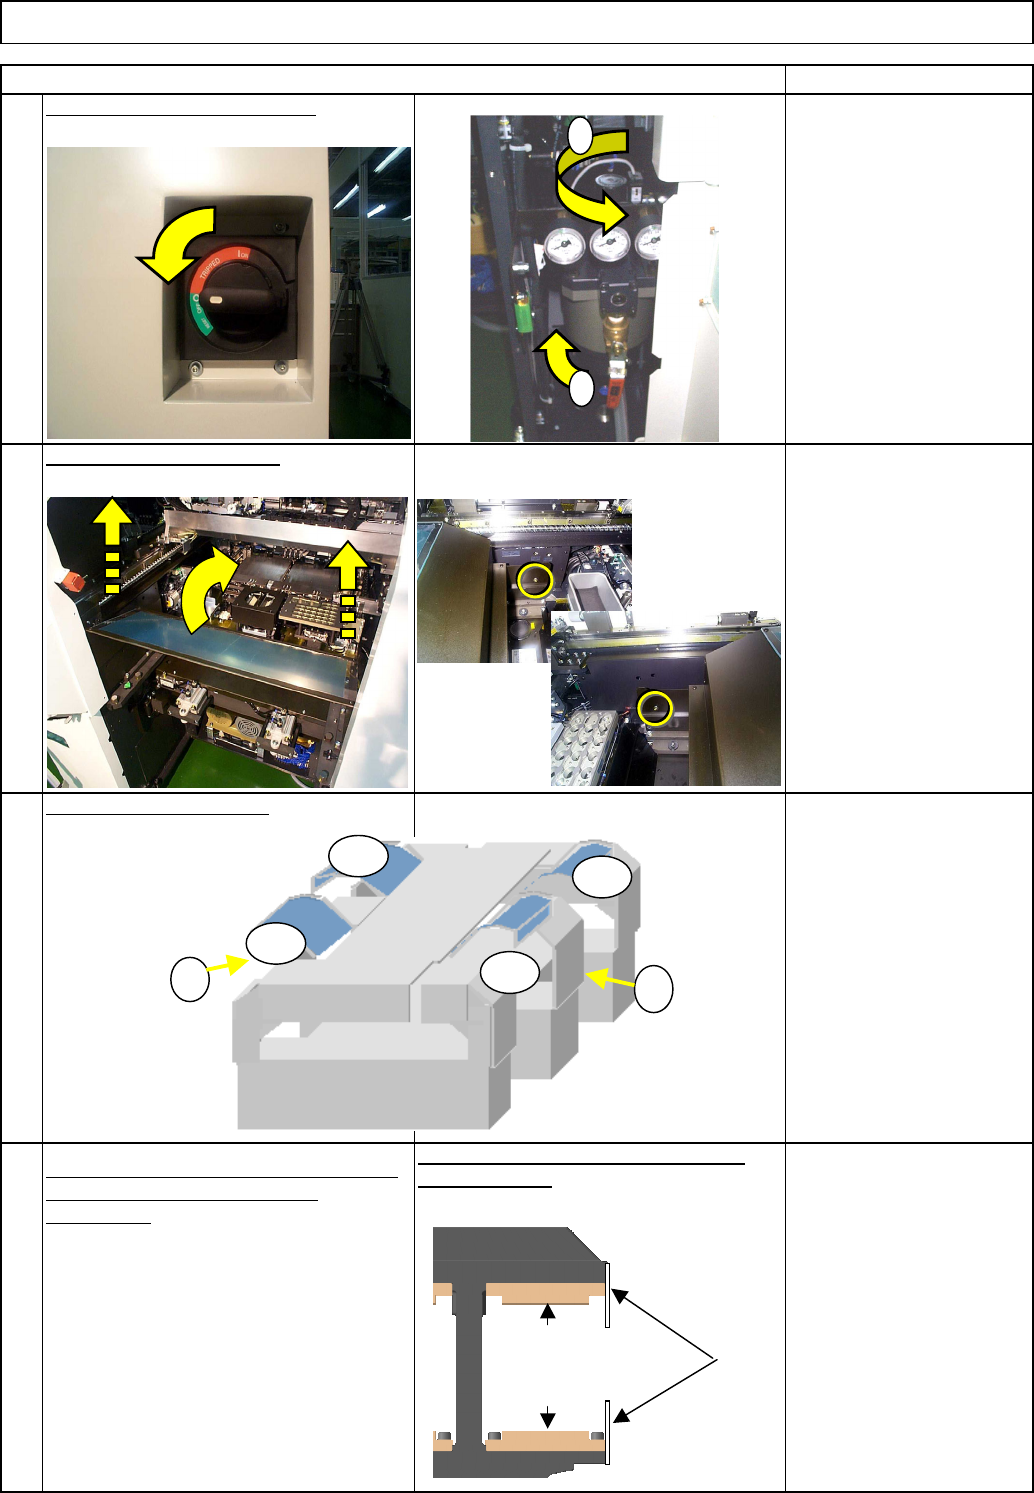
Turn off the power and the air.
2
Machine Part Replacement Main Body
1
Item
Remove the feeder cover.
Remove the side covers.
Allen key 3 mm
Screw M4 (Special) x 2
Remarks
3
4
Move the beam from the replacement stage
so that it will not interfere with the
replacement.
Remove the covers from the sides of the
secondary parts.
Move the AF and AR
beams to the end of the
AR Y-axis.
1
2
AF
BR
AR
BF
1
2
Cover
Center frame
Upper secondary part
Lower secondary part
EJM8A-E-SMA050107-A01-00 Page 5-1-7-2
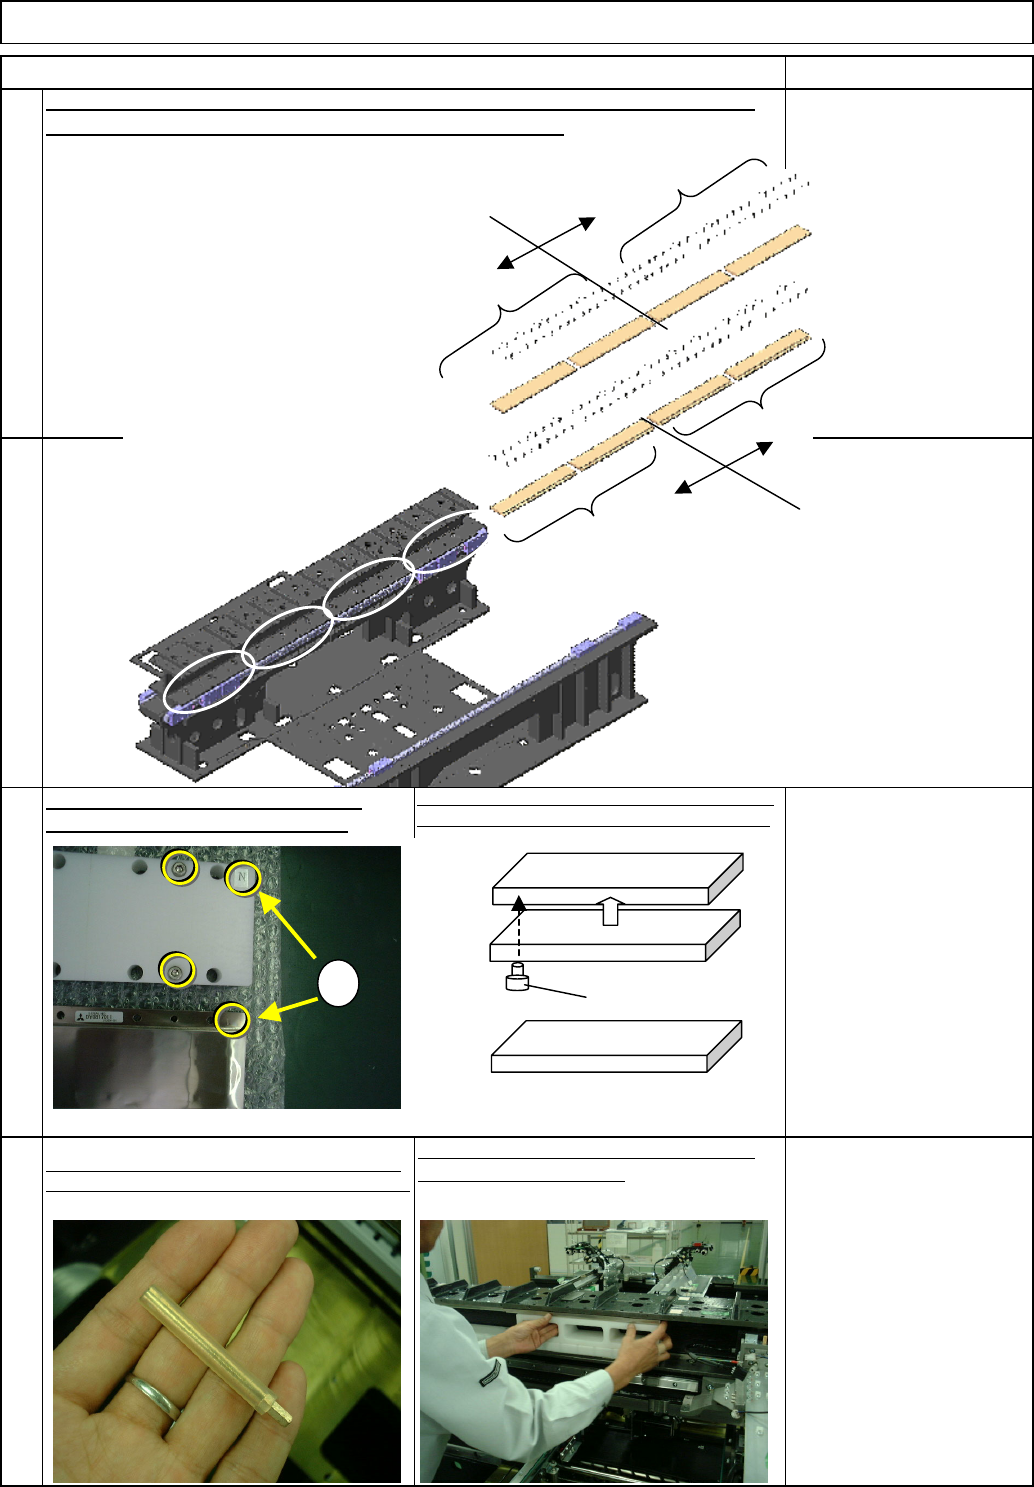
Remove one set of two parts in the order of "upper" to "lower."
Remove the bolts from the cover.
Non-magnetic Allen key
(M4)
Short-processed
For tightening lightly
Not for securely.
Main BodyMachine Part Replacement
5
Remarks
Put a cover over the secondary part (1)
shown above, aligning the "N" marks.
6
7
8
Insert one bolt after another. Otherwise bolts may be
attracted by the lower secondary part and may drop.
Once a bolt comes close to the upper part, it will not
drop.
Since there are secondary parts above and beneath,
use a non-magnetic wrench to tighten the cover bolts.
Item
The secondary parts are divided into two stages: front and rear. And each stage
is also divided into two sets. One set consists of two parts.
Put the secondary-part installing jig under
the upper secondary part.
N
Secondary part
Lower secondary part
Cover
Bolt
Cover
Upper secondary part
Lower rear
secondary-part
Lower front
secondary-part
Upper front
secondary-part
Upper rear
secondary-part
(1)
(2)
(3)
(4)
EJM8A-E-SMA050107-A01-00 Page 5-1-7-3
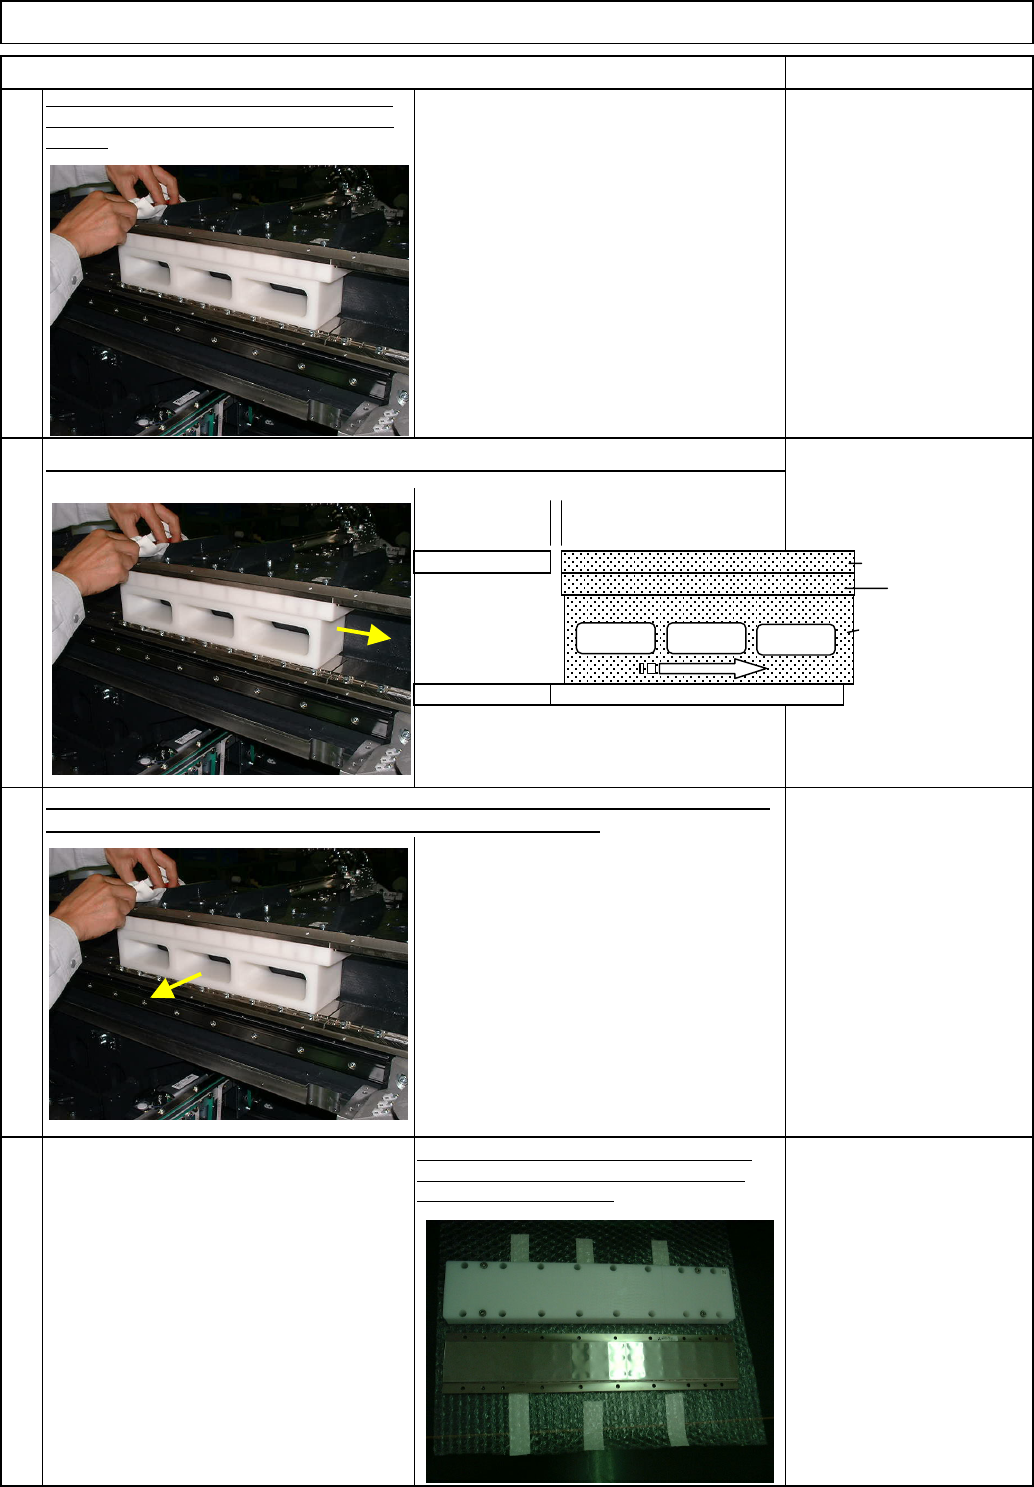
Secure secondary-part storing place
beforehand. Do not put a magnetic
material close to the part.
Before removing the cover from the part,
prepare a substitute cover (non-
magnetic).
Remove the cover from the secondary part. (That
cover will be used for the Upper Part (2)) * Put a
substitute cover immediately.
The secondary parts (1) and (2) are attracted each other. Separate them by sliding as show
Keep the upper secondary part (1), the cover and the secondary-part installing jig aligned,
and pull them out from the center frame in the arrow direction below.
Non-magnetic Allen key
(M4)
Short-processed
For tightening lightly
Not for securely.
11
12
10
9
Machine Part Replacement
Item
From the upper surface of the center frame, loosen
the 18 upper secondary-part holding bolts. Remove
the bolts.
Main Body
Remarks
Upper
secondary part
Cover
Secondary-part
installing jig
Upper
secondary part
EJM8A-E-SMA050107-A01-00 Page 5-1-7-4