CM602all_EJM8AESM_Service Manual.pdf - 第372页
Turn off the power and the air. Main Body Remove the side covers. Remove the scale holding plate. Machine Part Replacement 2 1 Item Remove the feeder cover. Remarks Allen key 3 mm Screw M4 (Special) x 2 Phillips screwdri…
Min.45 Min.
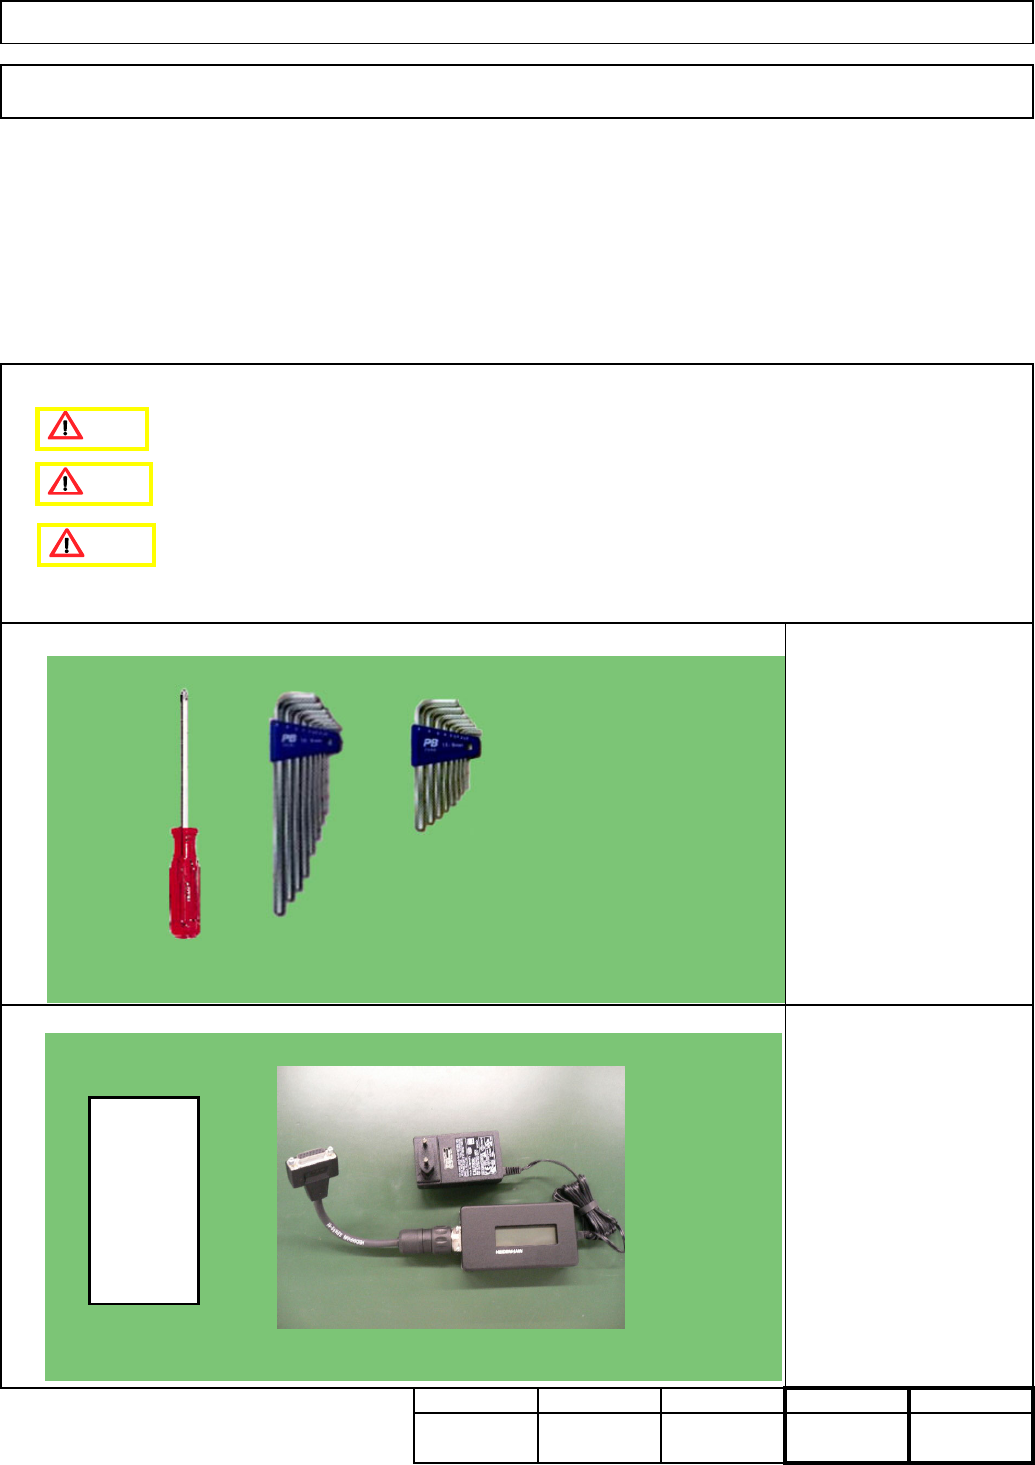
Phillips screwdriver #2
Allen keys 3 mm
Allen keys 4 mm
Cloth
Teaching
Tools
Jig
Min.70
kg
235
Min.
• This section describes the procedures for replacing the X-axis linear scale.
Total Time Part Weight
Assembly/AdjustmentRemoval/Disassembly
120
Special shim (0.15 mm)
Linear-scale adjustment jig
PWT18
5-1-11 X-axis Linear Scale Replacement
Main BodyMachinery Part Replacement
0.15 mm
32.0
75.0
Caution
Danger
Warning
EJM8A-E-SMA050111-A01-00
Page 5-1-11-1

Turn off the power and the air.
Main Body
Remove the side covers.
Remove the scale holding plate.
Machine Part Replacement
2
1
Item
Remove the feeder cover.
Remarks
Allen key 3 mm
Screw M4 (Special) x 2
Phillips screwdriver #2
Flat head screw M3x5L
2 pcs.
3
4
1
2
AF
BR
AR
BF
1
2
EJM8A-E-SMA050111-A01-00
Page 5-1-11-2

A
F: Put the scale in the direction shown belo
w
(Scale origin should be on Rough origin PH side.)
When inserting the scale,
Remove the joint section. Remove the encoder along with the bracket. Fit a new encoder
onto the bracket. Install it on the head plate.
5
Remarks
Allen key 3 mm
Screw M4x16L 2 pcs.
Remove the scale from the scale holder. Put a new scale into the holder.
* Scale orientation (For each stage)
Align the scale with the end of the scale
holder. Fix the scale with the plate.
Phillips screwdriver #2
Flat head screw M3 x
5L
2 pcs.
Item
Machine Part Replacement Main Body
6
7
8
Scale
D-mark sticker
Origin mark
AF
BF
AR BR
Origin
Origin
Origin
Origin
Align the scale
with the end of
the holder
Align the scale
with the end of
the holder
Encoder (Head)
Joint
handle it with care.
scratch, break, screw, dirt
EJM8A-E-SMA050111-A01-00
Page 5-1-11-3