CM602all_EJM8AESM_Service Manual.pdf - 第467页
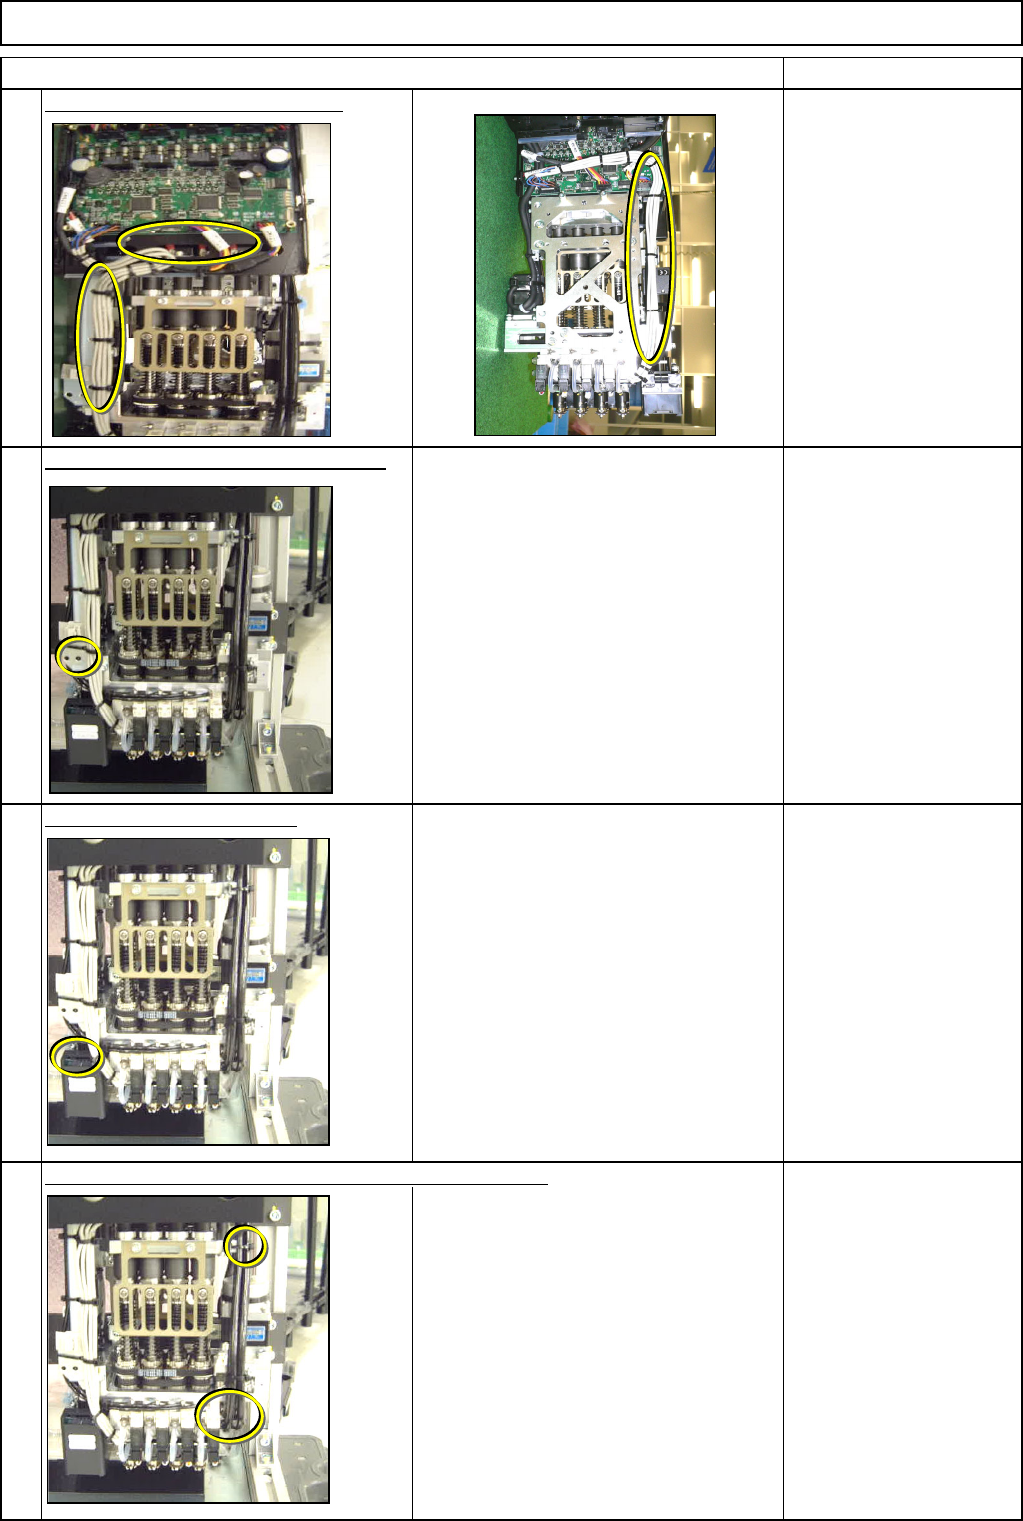
Machinery Part Replacement Remarks Transfer Head Assembly (8-nozzle type) Item When placing the cable, be careful of the cabling on the rear side. Nipper Cable ties Install the head assembly. 1-000279 Refer to "Tran…
Machinery Part Replacement
Remarks
Transfer Head Assembly (8-nozzle type)
Item
Secure the cables with cable ties. Rear side
Put the cable holding bracket back on.
Allen key 3 mm
Screw M4 1 pc.
Connect the LED connector.
Phillips screwdriver #1
Connector screw 2 pcs.
Connect the vacuum tubes. Secure them with cable ties.
Both front and rear sides.
Nipper
21
23
24
22
EJM8A-E-SMA050313-A01-00
Page 5-3-13-7
Machinery Part Replacement
Remarks
Transfer Head Assembly (8-nozzle type)
Item
When placing the cable, be careful of
the cabling on the rear side.
Nipper
Cable ties
Install the head assembly.
1-000279
Refer to "Transfer Head Assembly."
Section 5-3-1
Switch on the main power and air supply.
カバー達
Teaching
Board Recognition Camera
--- X and Y-axis Origin Offset
Z-axis Origin Offset
Chip Recognition Camera
and Theta-axis Origin Offset
Determining the Mounting Height
and Positioning the Board
Mounting Position
Pickup Position
Nozzle Exchange Position
Section 4-2-2
Section 4-2-3
Section 4-2-4
Section 4-2-5
Section 4-2-7
Section 4-2-8
Section 4-2-9
27
28
25
26
Connect the theta motor connector. Secure the cable with cable ties.
1
2
EJM8A-E-SMA050313-A01-00
Page 5-3-13-8
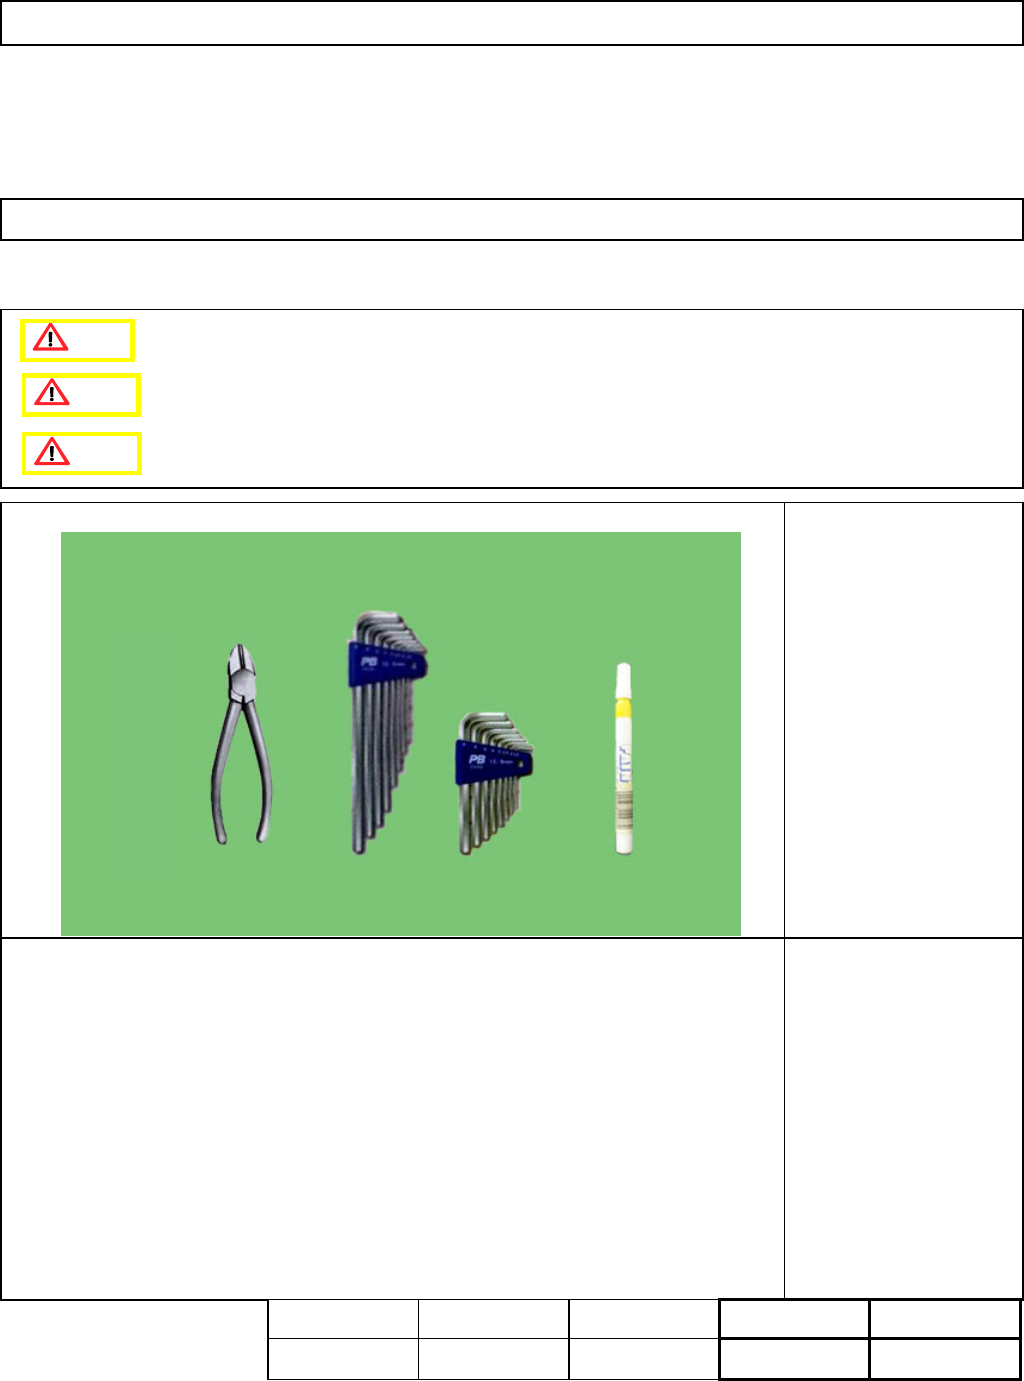
Machinery Part Replacement
This section describes the procedures for replacing the spline shafts.
・Tools
Allen key 3 mm
Nipper
Magic marker
・Jig
None
5-3-14 Separating the Z-Unit from the Board
[Check before replacement!!]
All head driver software versions should be the same.
If all the versions are not the same, trouble may occur.
L
ight Transfer-Head Assembly (8-nozzle type
)
Caution
Dange
r
Warning
Assembly
Adjustment
50min.
Teaching
min.
Total Time Weight of
Part
Removal
Disassembly
50min.
100mi kgs
EJM8A-E-SMA050314-A01-00
Page 5-3-14-1