CM602all_EJM8AESM_Service Manual.pdf - 第480页
Machinery Part Replacement Remarks Switch off the main power and air supply. Remove the feeder cover. Place bubble wrap over the table. カバー達 Phillips screwdriver #2 Screw M4 2 pcs. Remove the head cover. 2-000157 、 0001…
Machinery Part Replacement
This section describes the procedures for replacing the head unit.
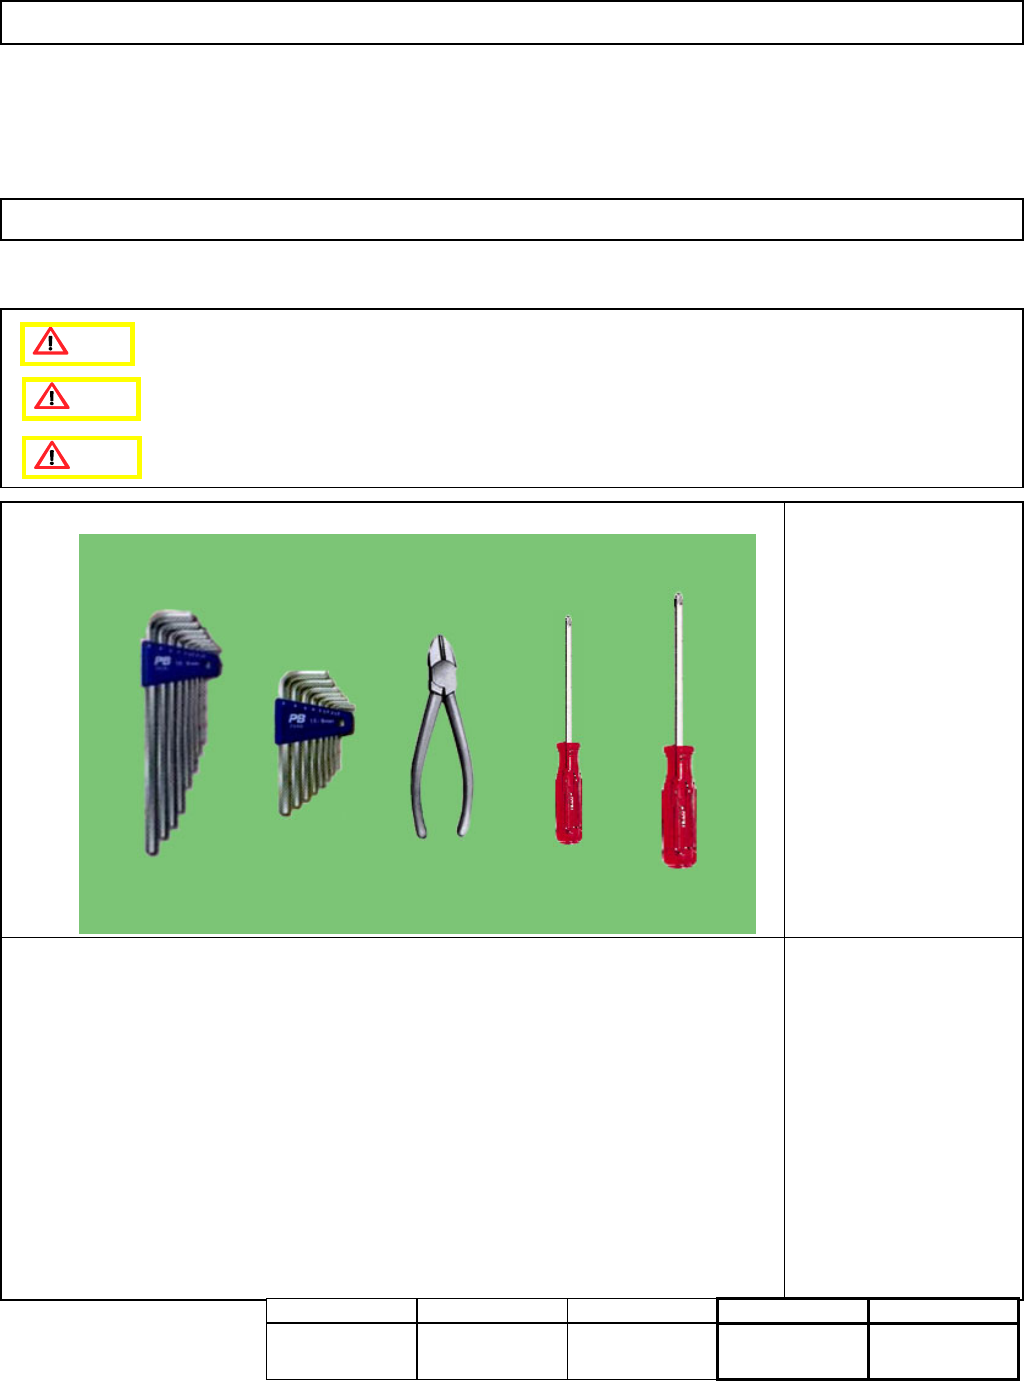
• Tools
Phillips screwdriver #1
Phillips screwdriver #2
Allen key 3mm
Nipper
Cable tie
• Jigs
None
Light Transfer-Head Assembly (3-nozzle type)
5-4-2 Head Unit Replacement
Caution
Dange
r
Warning
Assembly/Adjustment
20 min.
Teaching
95 min.
Removal/Disassembly
20 min.
Total Time
135 min.
Part Weight
k
g
s.
EJM8A-E-SMA050402-A01-00
Page 5-4-2-1
Machinery Part Replacement
Remarks
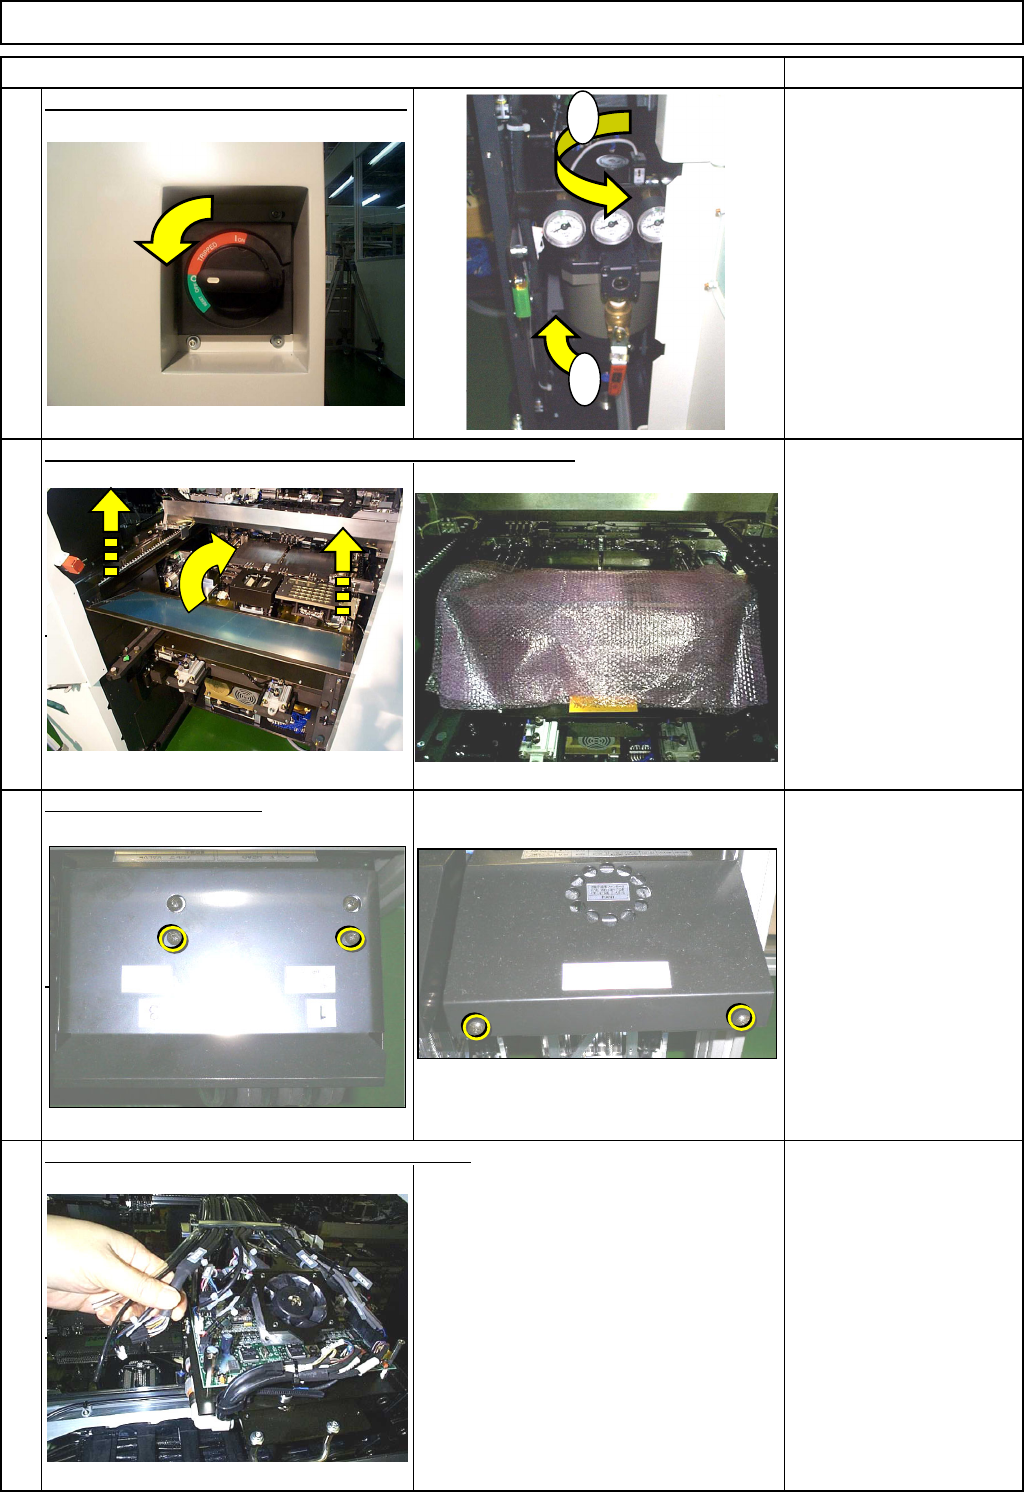
Switch off the main power and air supply.
Remove the feeder cover. Place bubble wrap over the table.
カバー達
Phillips screwdriver #2
Screw M4 2 pcs.
Remove the head cover.
2-000157、000158
Phillips screwdriver #1
Phillips screwdriver #2
Screw M3 2 pcs.
Screw M4 2 pcs.
Remove the connectors from the unit to replace.
2-000163
4
1
Item
2
Light Transfer-Head Assembly (3-nozzle type)
3
1
2
EJM8A-E-SMA050402-A01-00
Page 5-4-2-2
Machinery Part Replacement
Remarks
Item
Light Transfer-Head Assembly (3-nozzle type)
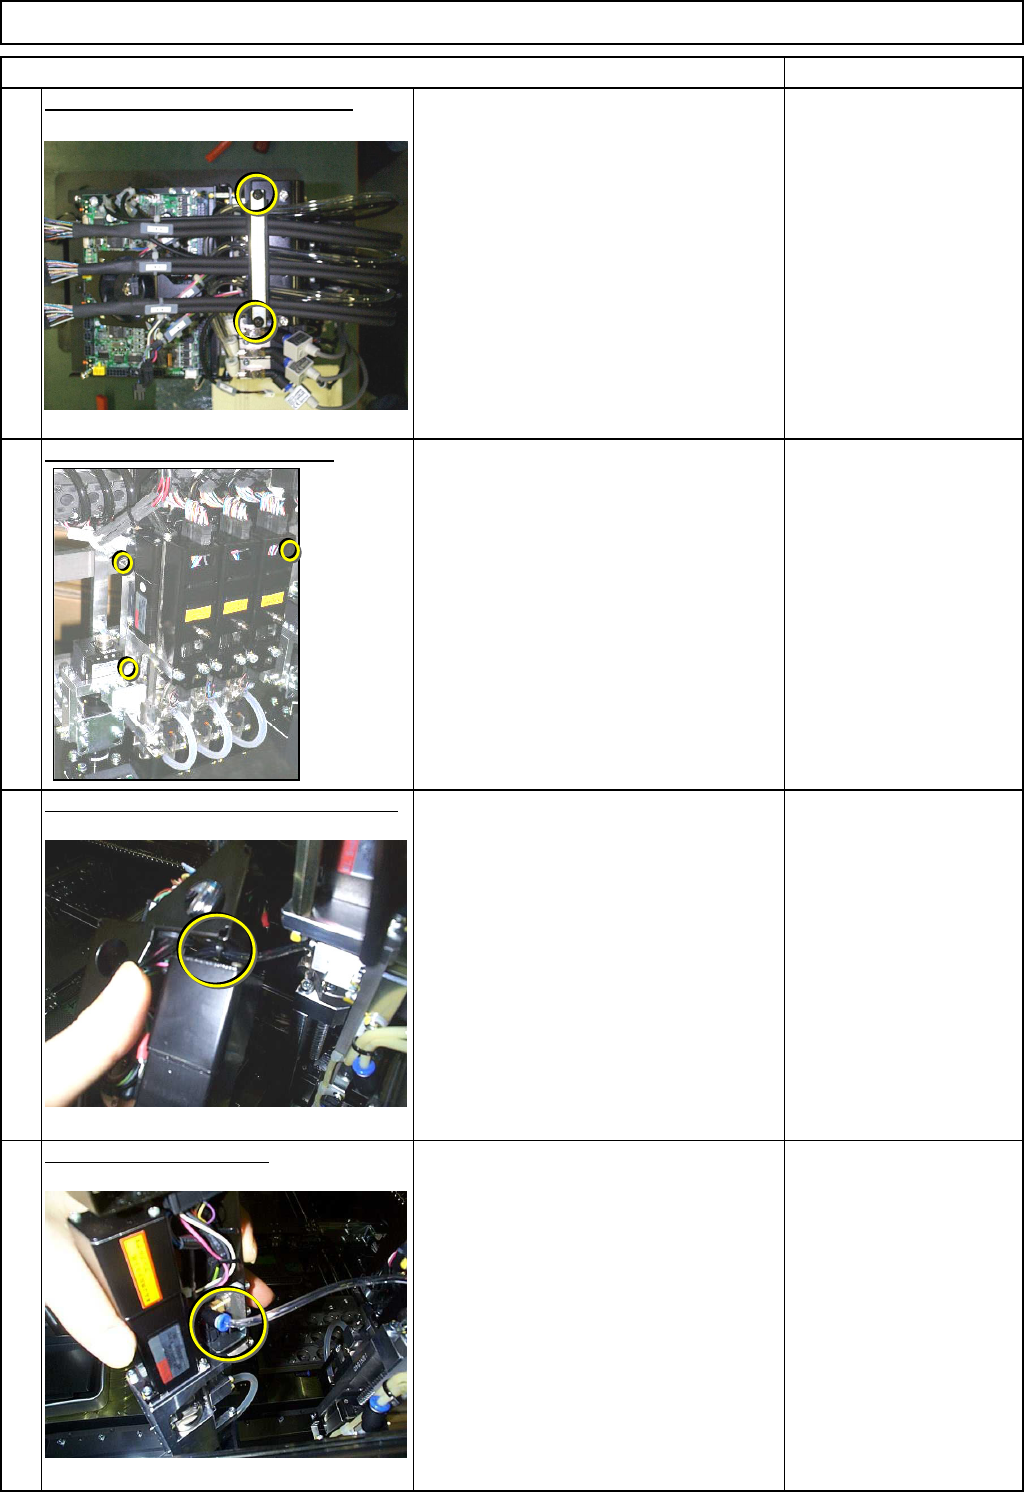
Remove the cable-holding bracket.
5
Phillips screwdriver #2
Screw M4 2 pcs.
Remove the unit-holding screws.
Allen key 3 mm
Screw M4 3 pcs.
Cut the cable tie out of the grease hose.
2-000168
Nipper
Remove the grease tube.
2-000169
Wipe the released grease with cloth.
6
7
8
EJM8A-E-SMA050402-A01-00
Page 5-4-2-3