CM602all_EJM8AESM_Service Manual.pdf - 第500页
Machinery Part Replacement Remarks Switch off the power and the air supply. Remove the feeder cover. Put bubble wrap over the table. Phillips screwdriver #2 Screw M4 2 pcs. Remove the head cover. Phillips screwdriver #1 …
Machinery Part Replacement
This section describes the procedures for replacing the head assembly.
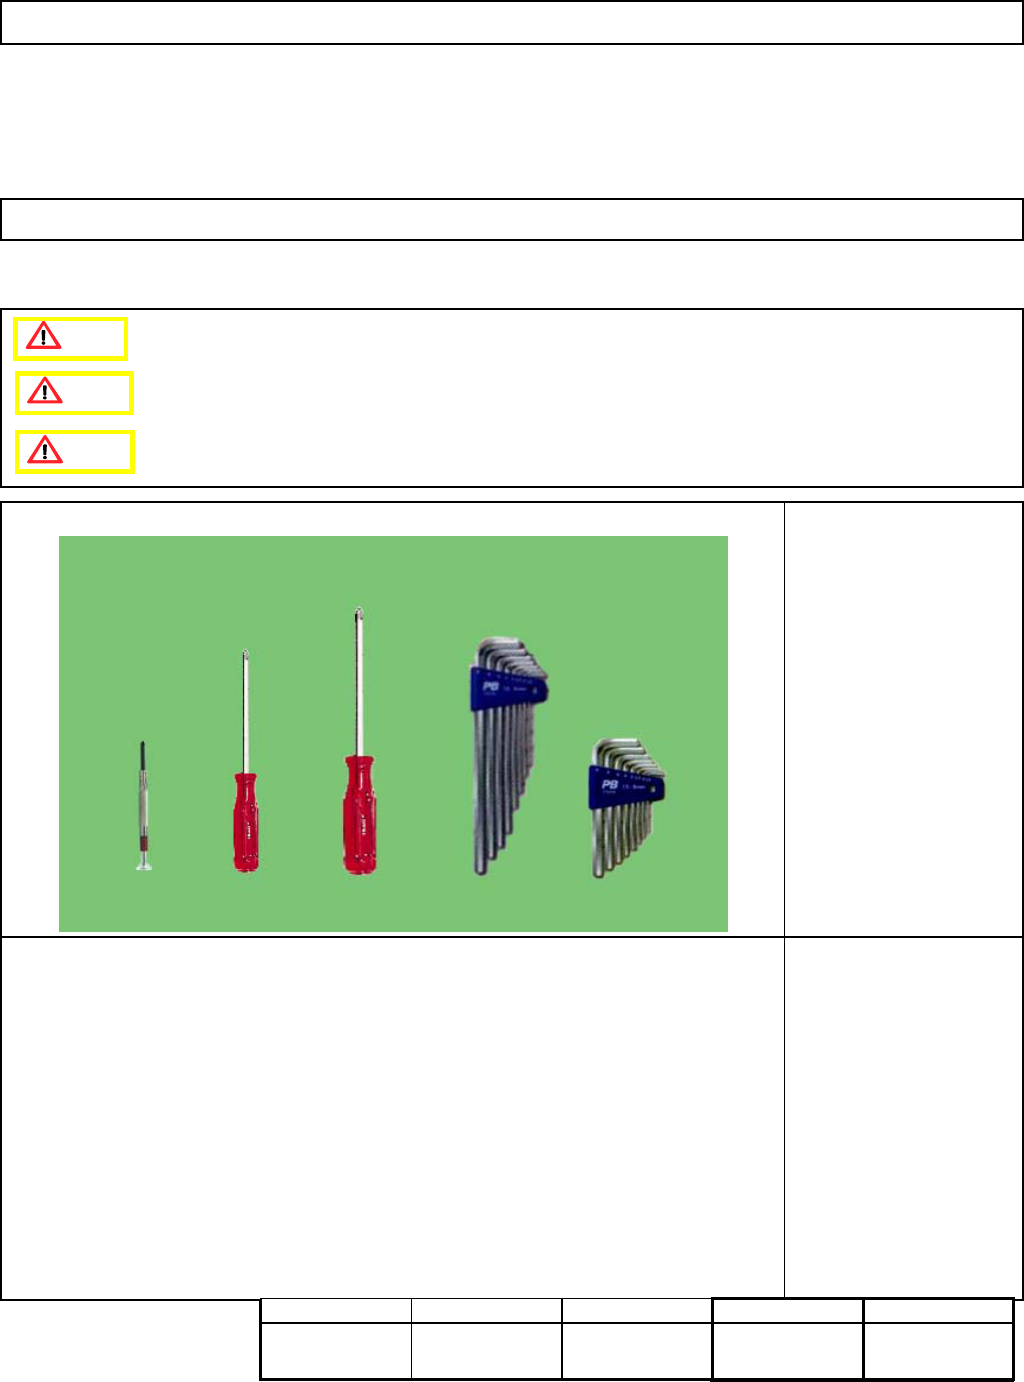
・Tools
Precision screwdriver
Phillips screwdriver #1
Phillips screwdriver #2
Allen key 3 mm
・Jig
None
Z Unit (3-nozzle type)
5-5-2 Head Assembly Replacement
Be sure to remove the nozzles from the head beforehand.
(Otherwise nozzles may be broken.)
[Check before replacement!!]
All head driver software versions should be the same.
If all the versions are not the same, trouble may occur.
Caution
Dange
r
Warning
組立・調整
20分
ティーチ
77分
取外・分解
10分
作業時間計
107分
部品重量
9.1kg
Assembly/Adjustment
20 min.
Teaching
77 min.
Removal/Disassembly
10 min.
Total Time
107 min.
Part Weight
k
g
s.
9.1
EJM8A-E-SMA050502-A01-00
Page 5-5-2-1
Machinery Part Replacement
Remarks
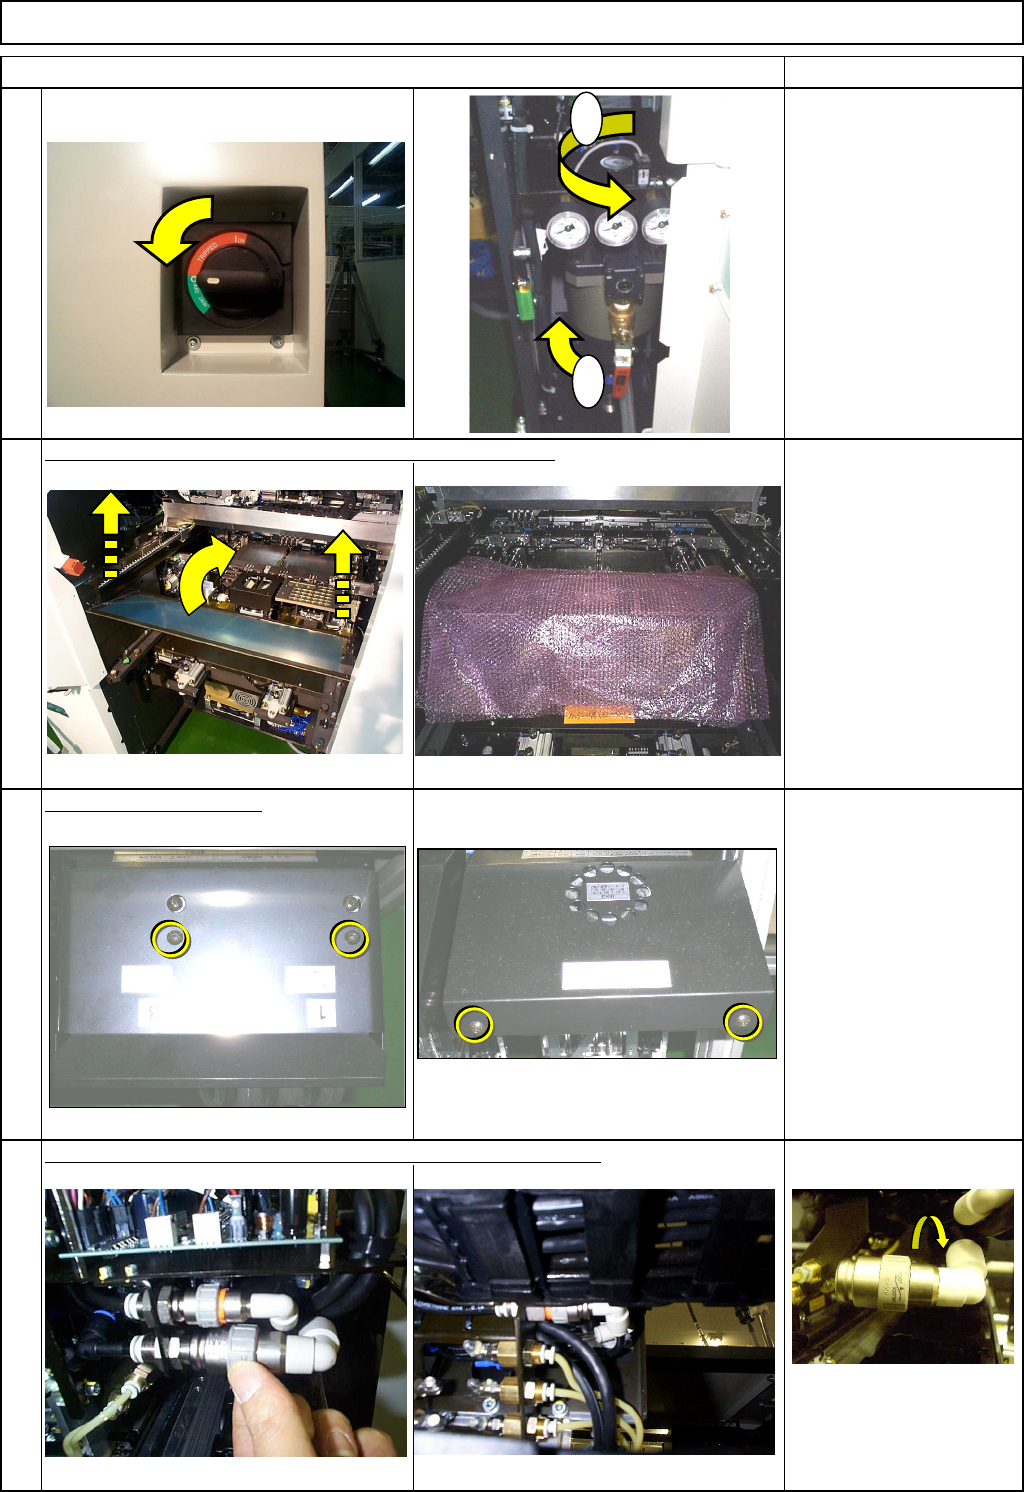
Switch off the power and the air supply.
Remove the feeder cover. Put bubble wrap over the table.
Phillips screwdriver #2
Screw M4 2 pcs.
Remove the head cover.
Phillips screwdriver #1
Phillips screwdriver #2
Screw M3 2 pcs.
Screw M4 2 pcs.
Remove the air, vacuum and electropneumatic regulator tubes.
1
2
3
4
Z Unit (3-nozzle type)
Item
1
2
EJM8A-E-SMA050502-A01-00
Page 5-5-2-2
Machinery Part Replacement
Remarks
Z Unit (3-nozzle type)
Item
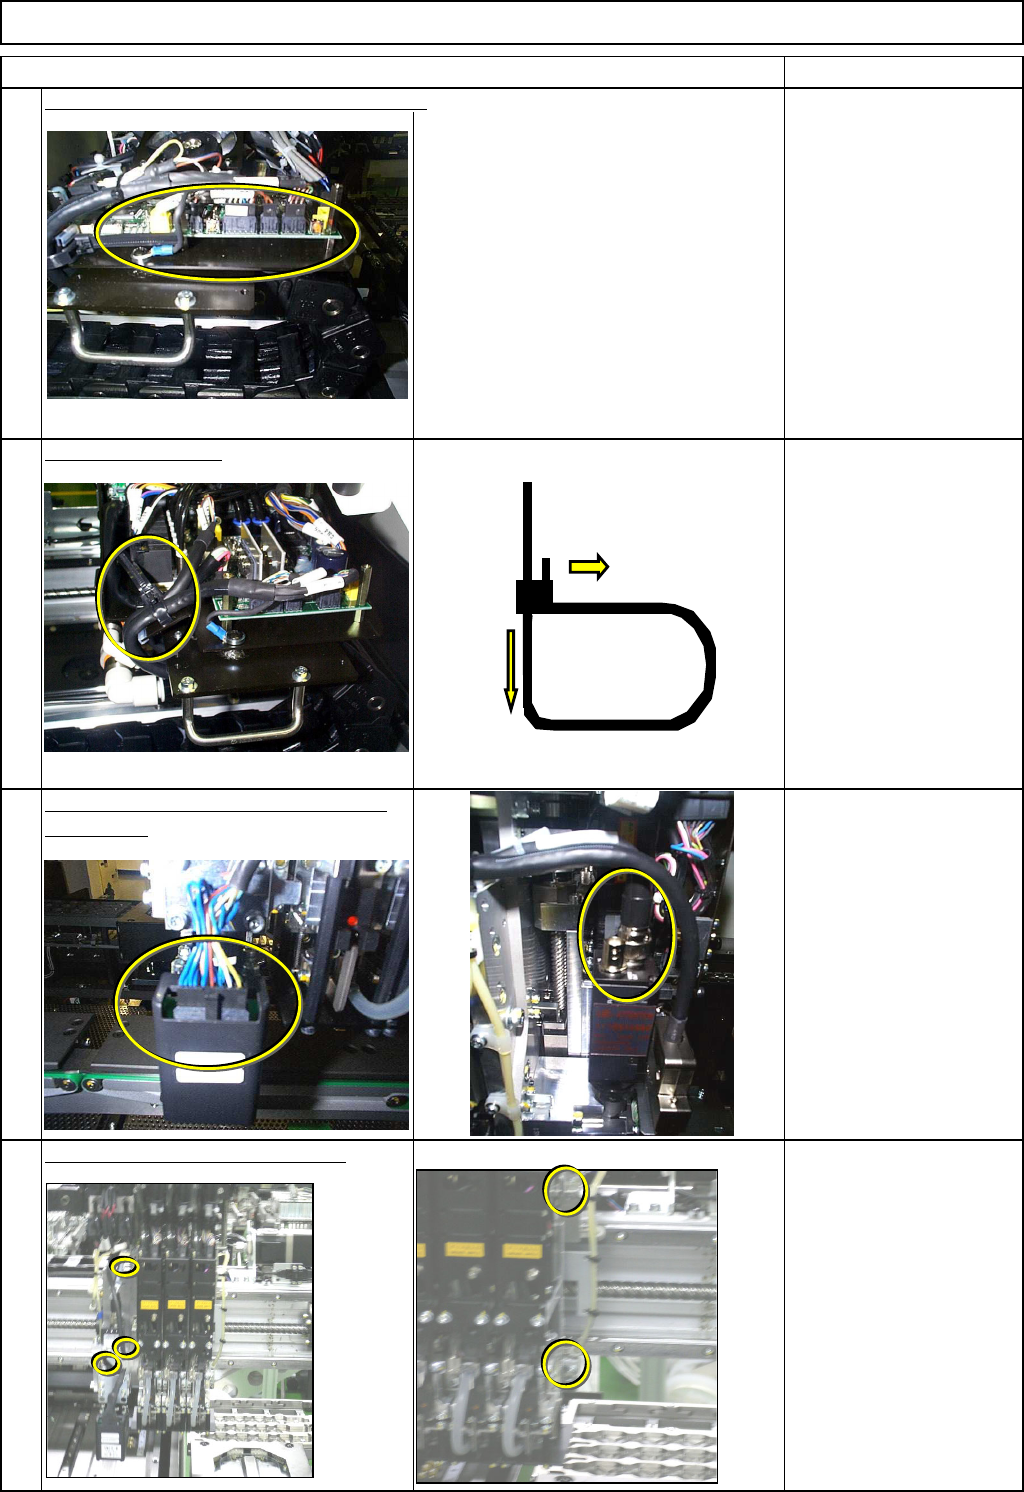
Remove the earth cable and the connector.
5
Phillips screwdriver #2
Truss screw M4 1 pc.
Cut off the cable tie.
取り直し
Disconnect the camera and LED lamp
connectors.
Remove the head-holding screws. Hold the head to avoid letting it fall.
Allen key 3 mm
Screw M4 5 pcs.
6
7
8
Put the pin down.
Pull it out.
EJM8A-E-SMA050502-A01-00
Page 5-5-2-3