CM602all_EJM8AESM_Service Manual.pdf - 第578页
28 Switch on the power. 27 Put the feeder cover back on. Phillips screwdriver #2 Screw M4 2 pcs. 26 Put the chute back on. Allen key 3 mm Screw M4 x 10mm 3 pcs. Thick washer 3 pcs. 25 Put the feeder cover bracket back on…
24
Put the side covers back on.
23
Connect the cart installation check
sensor connector.
22
Remove the grease hose.
Item Remarks
21
Secure the sensor cable with a cable tie.
Nipper
Machinery Part Replacement Feeder Cart Installing Section
EJM8A-E-SMA050802-A01-00
Page 5-8-2-7
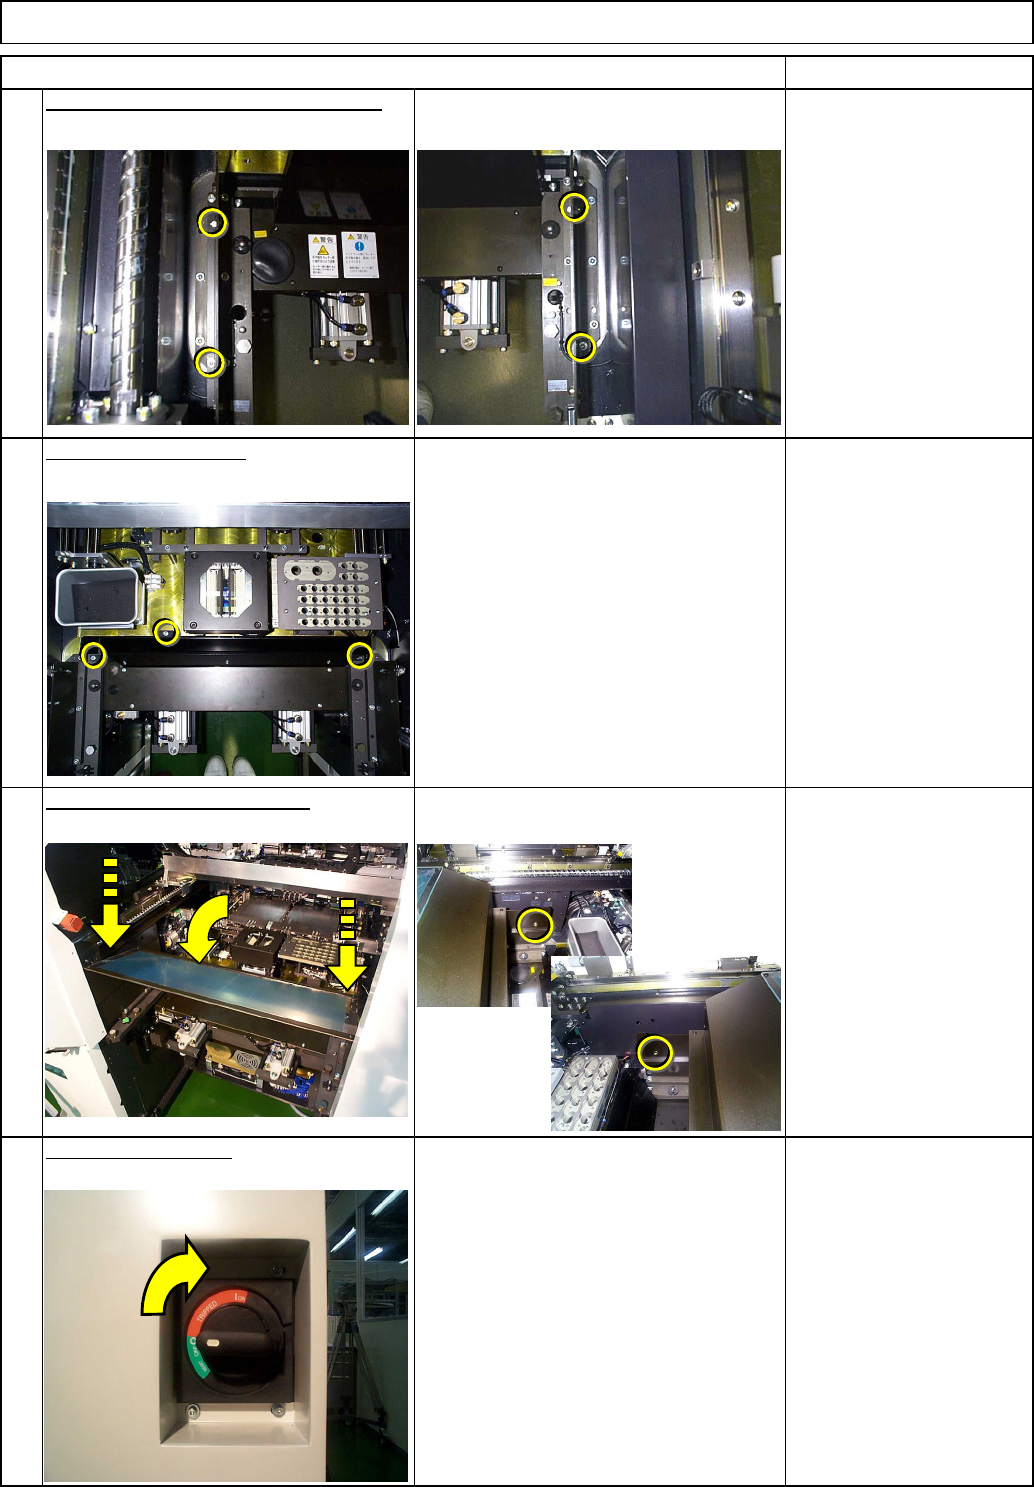
28
Switch on the power.
27
Put the feeder cover back on.
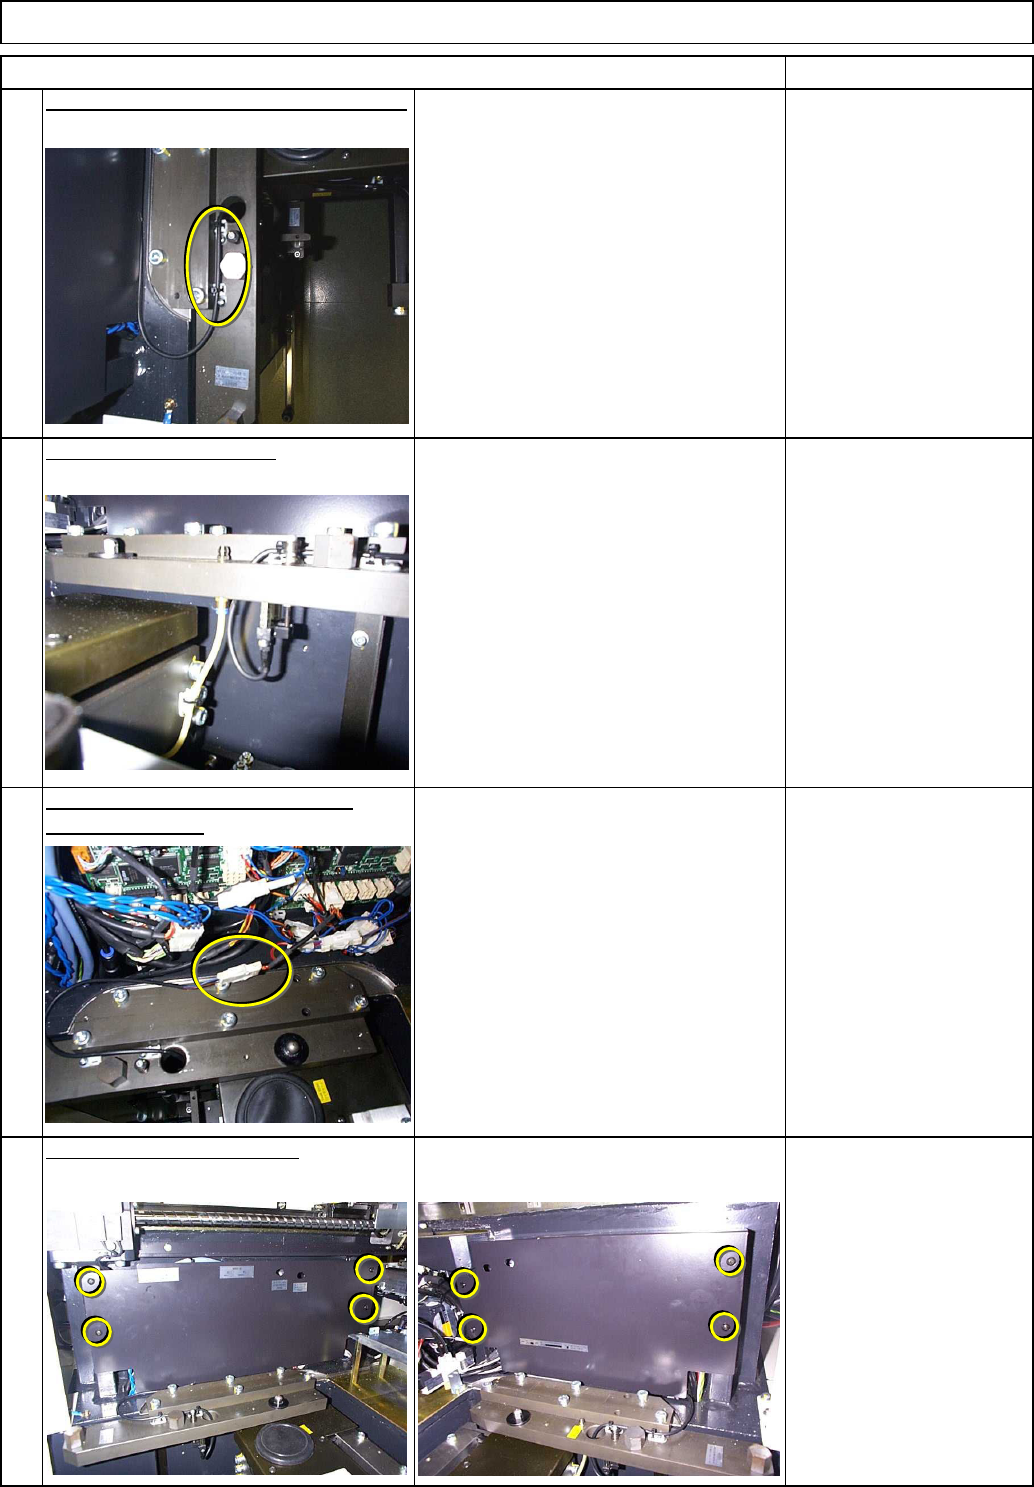
Phillips screwdriver #2
Screw M4 2 pcs.
26
Put the chute back on.
Allen key 3 mm
Screw M4 x 10mm 3 pcs.
Thick washer 3 pcs.
25
Put the feeder cover bracket back on.
Item Remarks
Feeder Cart Installing Section
Close the cover.
Tighten the left
and the right
screws.
EJM8A-E-SMA050802-A01-00
Page 5-8-2-8
Machinery Part Replacement
This section describes the procedures for replacing the cutter blades.
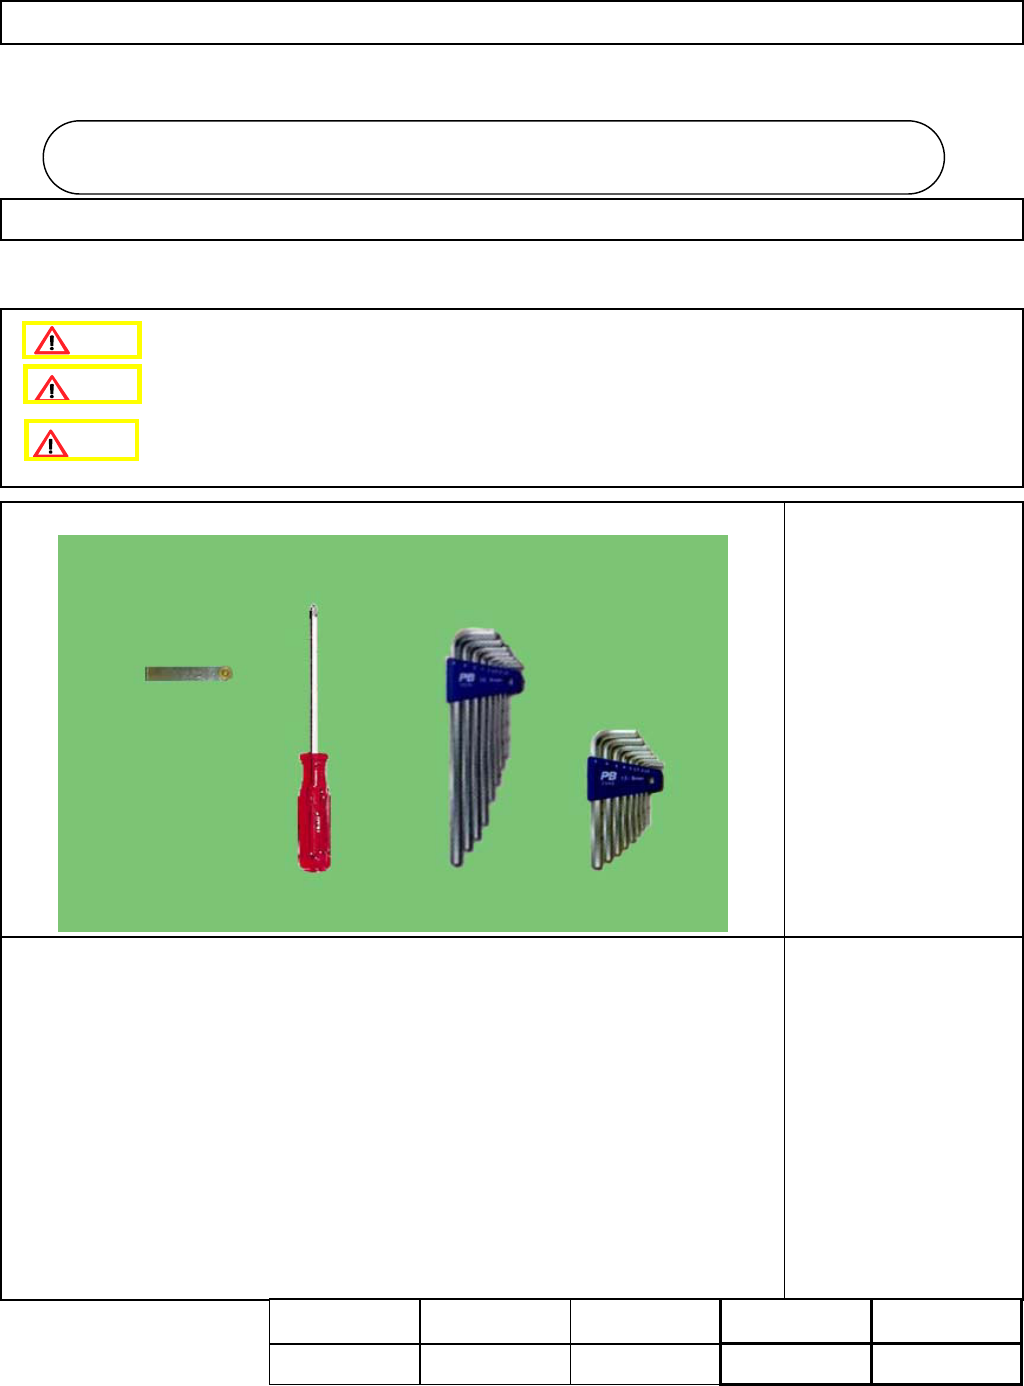
・Tools
Phillips screwdriver #2
Allen key 3 mm
Allen key 4 mm
Feeler gauge
・Jig
None
Cutting Unit
Be very careful not to get your hand cut.
5-9-1 Cutter Blade Replacement
Cuttin
g
Unit
5-9
Assembly
Adjustment
15min.
Teaching
min.
Total Time Weight of
Part
Removal
Disassembly
15min.
30min.
4kgs
Caution
Dange
r
Warning
EJM8A-E-SMA050901-A01-00
Page 5-9-1-1