CM602all_EJM8AESM_Service Manual.pdf - 第623页
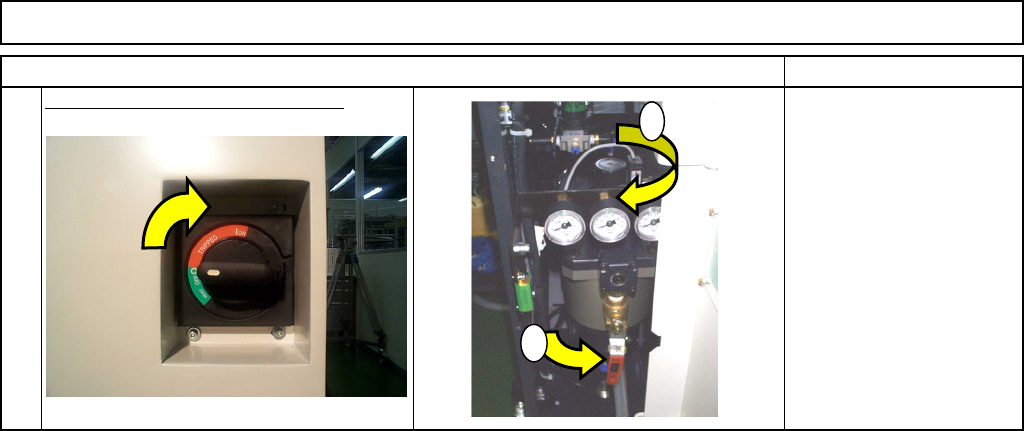
Machinery Part Replacement Remark Item 12-Nozzle Head Unit Turn on the power and air supply. 8 1 2 EJM8A-E-SMA051003-A01-00 Page 5-10-3-4
Machinery Part Replacement
Remark
Item
12-Nozzle Head Unit
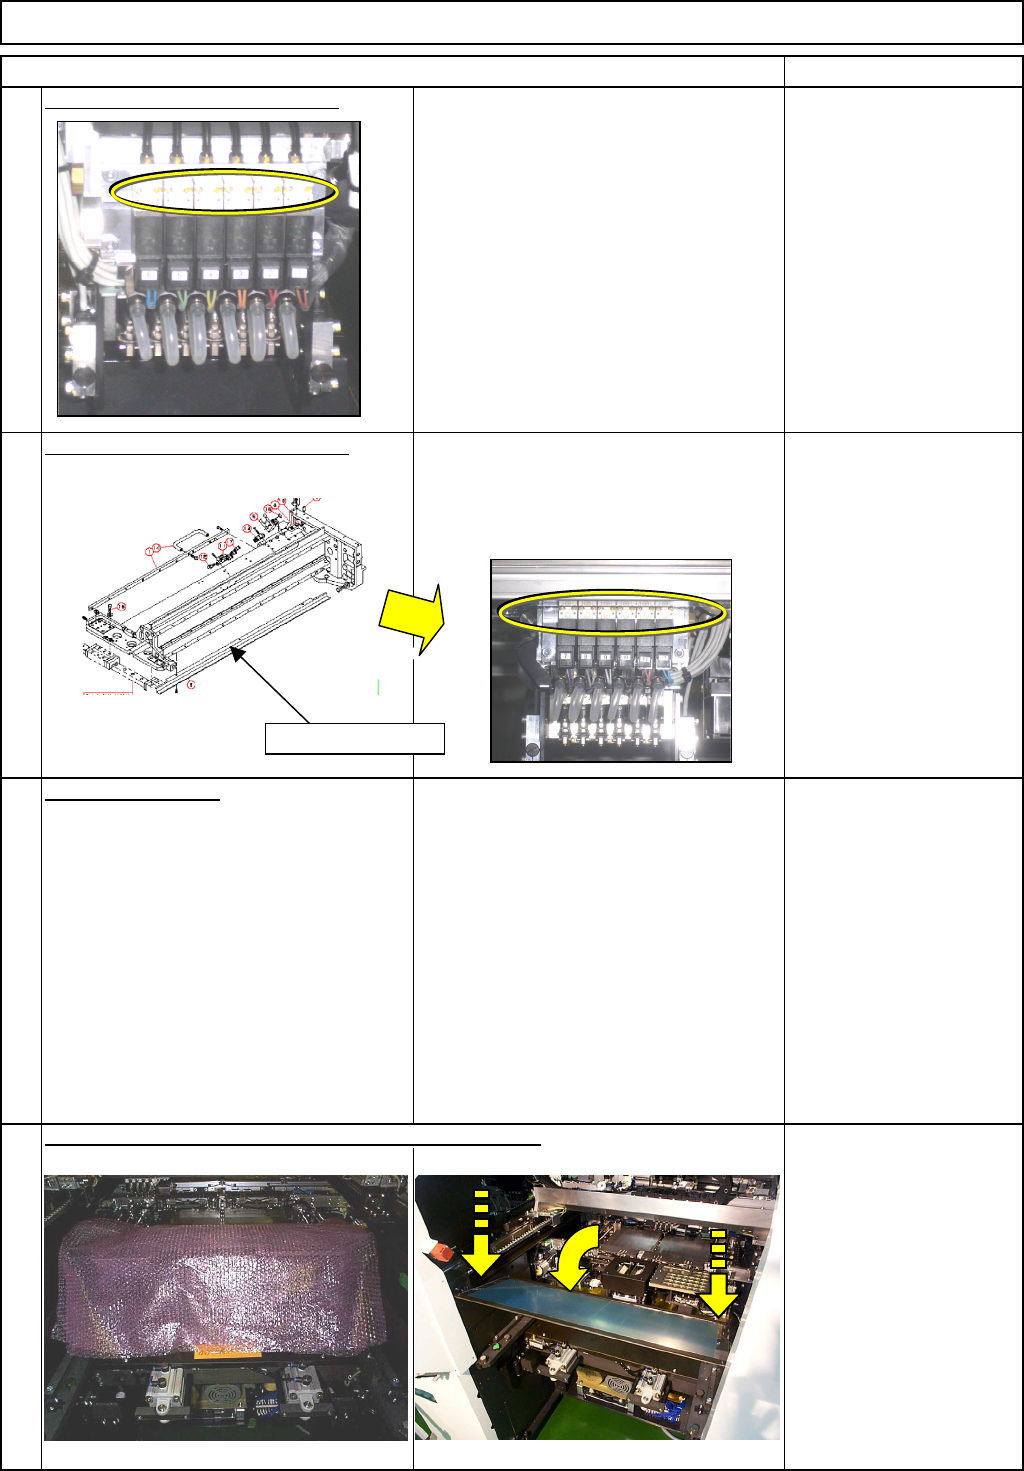
Remove the valves. (FWD side.)
Loosen the holding bots and remove the
valves.
Precision screwdriver
Remove the valves. (REAR side.)
Remove the cover from under the X-axis
beam. Loosen the valve bolts, and
remove the valves.
Precision screwdriver
Allen key
Replace the valves.
7
Take Steps 3 to 6 in reverse order.
<Caution>
Check the valve-installing section for
dust, dirt and foreign matter.
8
Phillips screwdriver #2
Bubble wrap
M4 screw 2 pcs.
Remove the bubble wrap. Put the feeder cover back on.
5
6
Remove the cover.
EJM8A-E-SMA051003-A01-00
Page 5-10-3-3
Machinery Part Replacement
Remark
Item
12-Nozzle Head Unit
Turn on the power and air supply.
8
1
2
EJM8A-E-SMA051003-A01-00
Page 5-10-3-4
Machinery Part Replacement
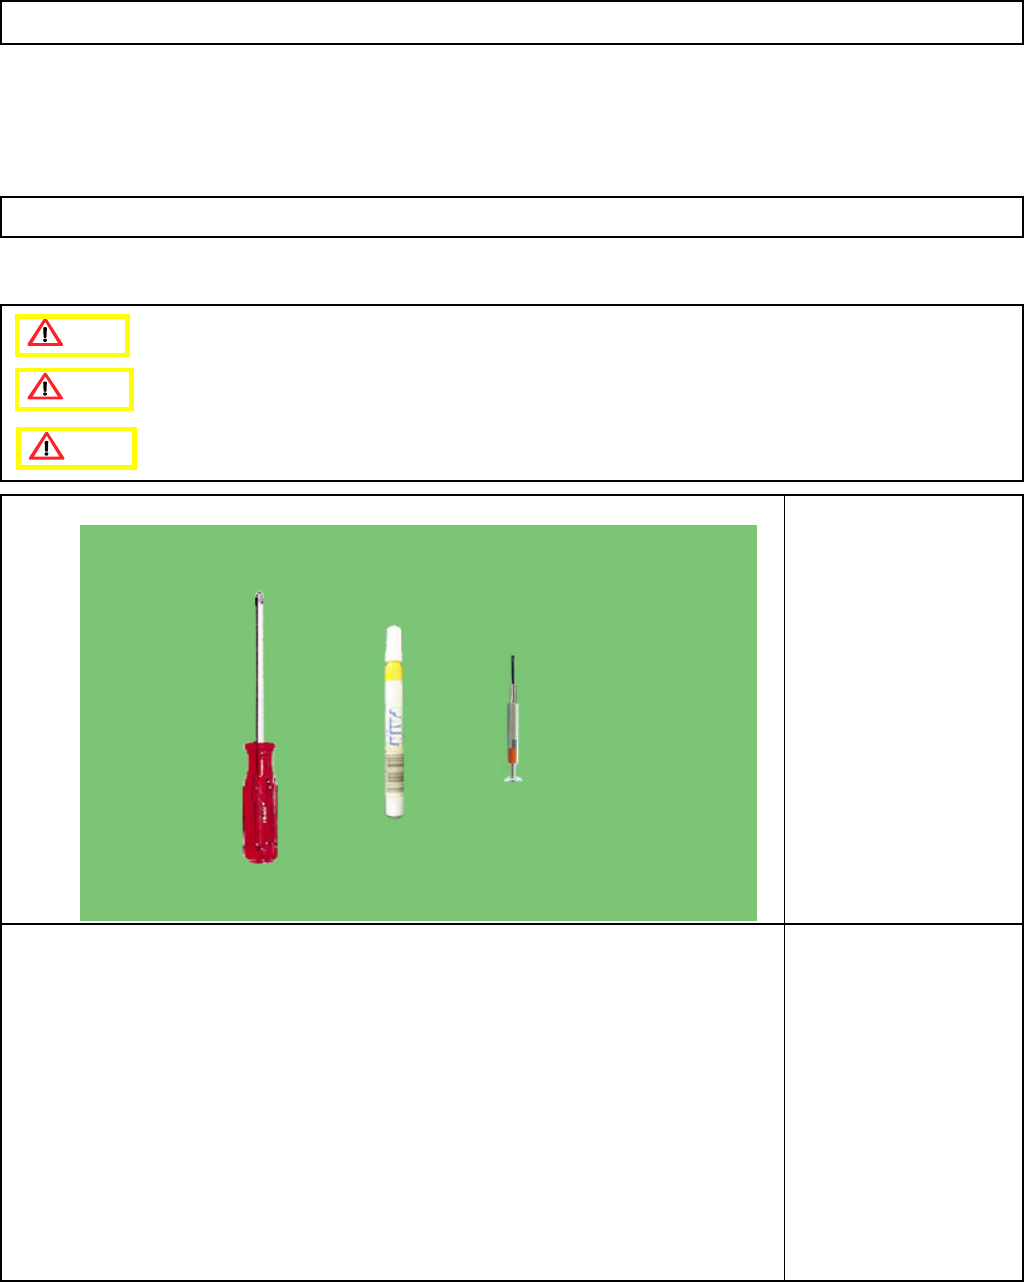
This section describes the procedures for replacing the blow valve.
Tools
Precision screwdriver
Phillips screwdriver #2
Magic marker
Jig
None
12-Nozzle Head Unit
5-10-4 Blow-Valve Replacement
Caution
Dange
r
Warning
EJM8A-E-SMA051004-A01-00
Page 5-10-4-1