CM602all_EJM8AESM_Service Manual.pdf - 第674页
Machinery Part Replacement Remarks Press [Zaxis origin offset]. Select the stage to teach. Select [Gang]. Press [Return to origin]. 12-Nozzle Head Teaching Item 1 2 3 4 When NOT selecting [Gang]: Select the head number. …
Machinery Part Replacement
・Tools
None
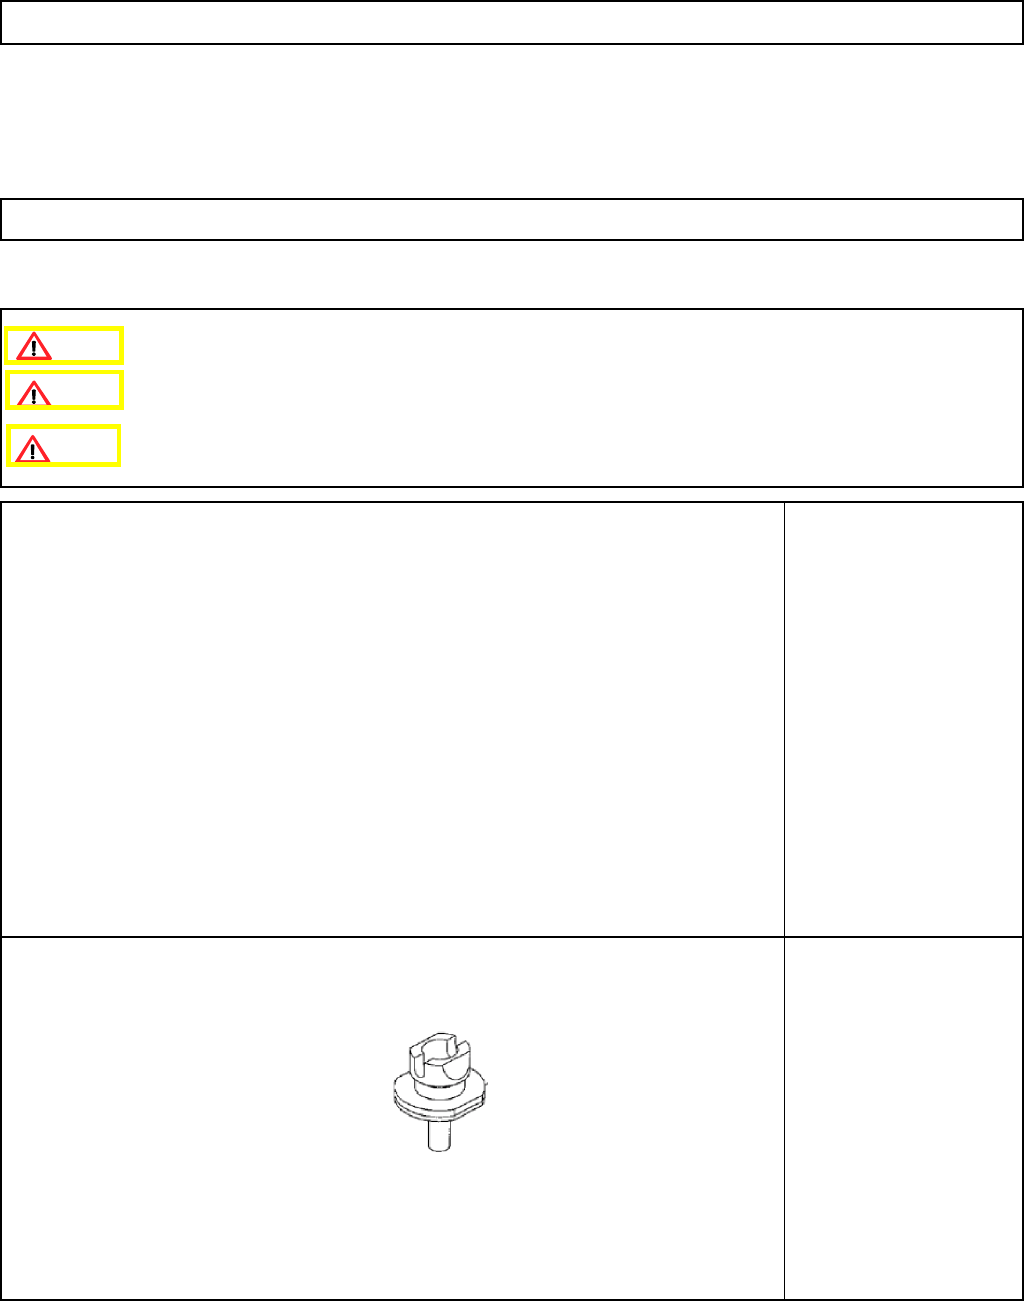
・Jig
Nozzle 130S:
1 pc or 8 pcs.
12-Nozzle Head Teaching
5-11-3 Z-axis Origin Offset
Clean the upper surface of the thermal correction pole beforehand.
Remove the feeder cover.
This section describes the procedures for setting the offset for the Z-axis origin.
Caution
Dange
r
Warning
EJM8A-E-SMA051103-A01-00
Page5-11-3-1

Machinery Part Replacement
Remarks
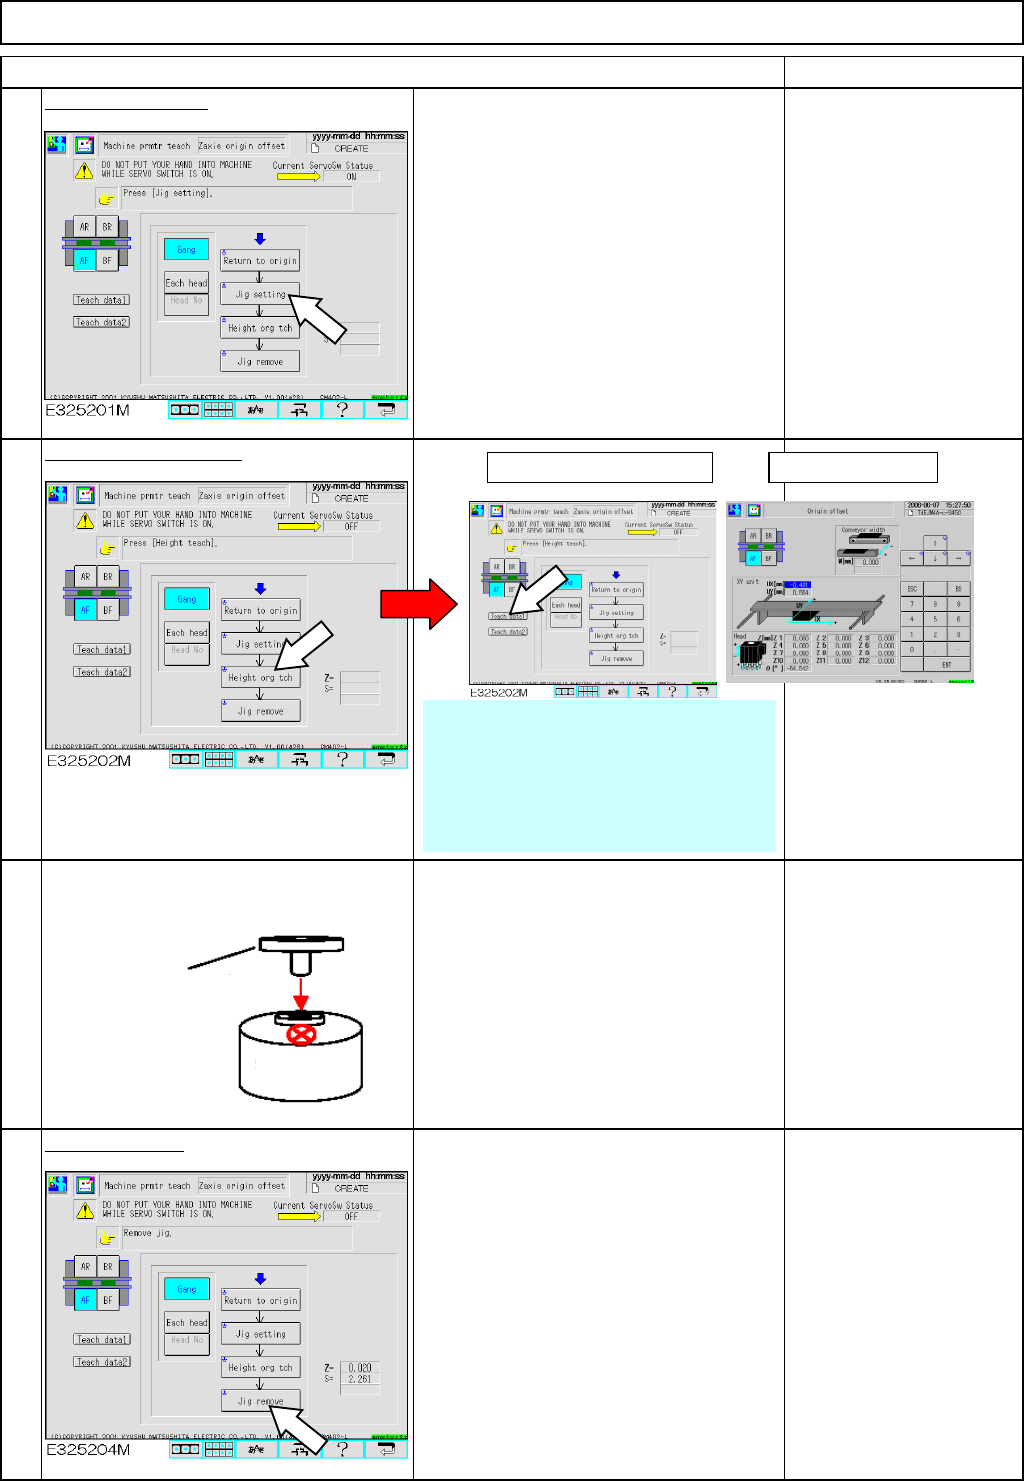
Press [Zaxis origin offset].
Select the stage to teach.
Select [Gang].
Press [Return to origin].
12-Nozzle Head Teaching
Item
1
2
3
4
When NOT selecting [Gang]:
Select the head number.
3-1 Press [Each head].
Pressing [Each head] highlights [Head No.] below.
3-2 Press [Head No.].
Pressing [Head No.] changes the head
numbers from1 to 12 one by one.
EJM8A-E-SMA051103-A01-00
Page5-11-3-2
Machinery Part Replacement
Remarks
12-Nozzle Head Teaching
Item
Press [Jig setting].
When selecting [Gang]:
Fit twelve nozzles (130S).
When selecting [Head No.]:
Fit twelve nozzles (130S).
Press [Height org tch].
• During height origin teaching, the
nozzle descends to the top (X mark) of
the thermal correction pole until the
vacuum pressure rises to approximately
90 with vacuum ON.
• After that, the nozzle ascends 0.1 mm,
and descends at a pitch of 0.01 mm.
Remove the jig.
7
8
5
6
Check
確認
(1) Press [Teach data1]. (2) Check offsets.
Origin offset range for
each nozzle
⇒ -0.5 mm to + 0.5
mm
* After teaching, check the height of
the nozzle visually.
* Since the vacuum is measured
during teaching, check the ends of the
nozzles to use are not worn or
deformed before teaching.
Nozzle 130S
Thermal
correction
EJM8A-E-SMA051103-A01-00
Page5-11-3-3