CM602all_EJM8AESM_Service Manual.pdf - 第815页
Option Part and Accessory Replacement Component-Thickness-Measuring Unit Remark Select the head number. When teaching the Z-axis only: * Press [Chip Thickness] so that it will not be selected. When teaching chip thicknes…

Option Part and Accessory Replacement
Component-Thickness-Measuring Unit
Remark
Press [Z-axis origin offset].
Select the table to be taught.
Press [Each head].
(B) When one Nozzle 130S is used with the component-thickness sensor (Head-mounted type) used (Each-
head teaching):
1
Item
2
3
* A component-thickness sensor is (head-mounted type) is an option for the high-speed head (12-nozzle
type). The following procedures are applied to the high-speed head (12-nozzle type) only.
Each head
Gang
Head No.1
Each head
Gang
Head No.1
1
2
3
EJM8A-E-SMA060403-A01-00
Page 6-4-3-7

Option Part and Accessory Replacement
Component-Thickness-Measuring Unit
Remark
Select the head number.
When teaching the Z-axis only:
* Press [Chip Thickness] so that it will
not be selected.
When teaching chip thickness only:
* Press [Z axis] so that it will not be
selected.
Turn off (O) the servo switch.
Open the safety cover.
5
Item
Press [UNLOCK] on the operation panel and [Return to origin] simultaneously.
Press [UNLOCK] on the operation panel and [Jig setting] simultaneously.
7
4
6
Each head
Gang
Each head
Gang
Each head
Gang
Head No.1
4
5
6
EJM8A-E-SMA060403-A01-00
Page 6-4-3-8
Option Part and Accessory Replacement
Component-Thickness-Measuring Unit
Remark
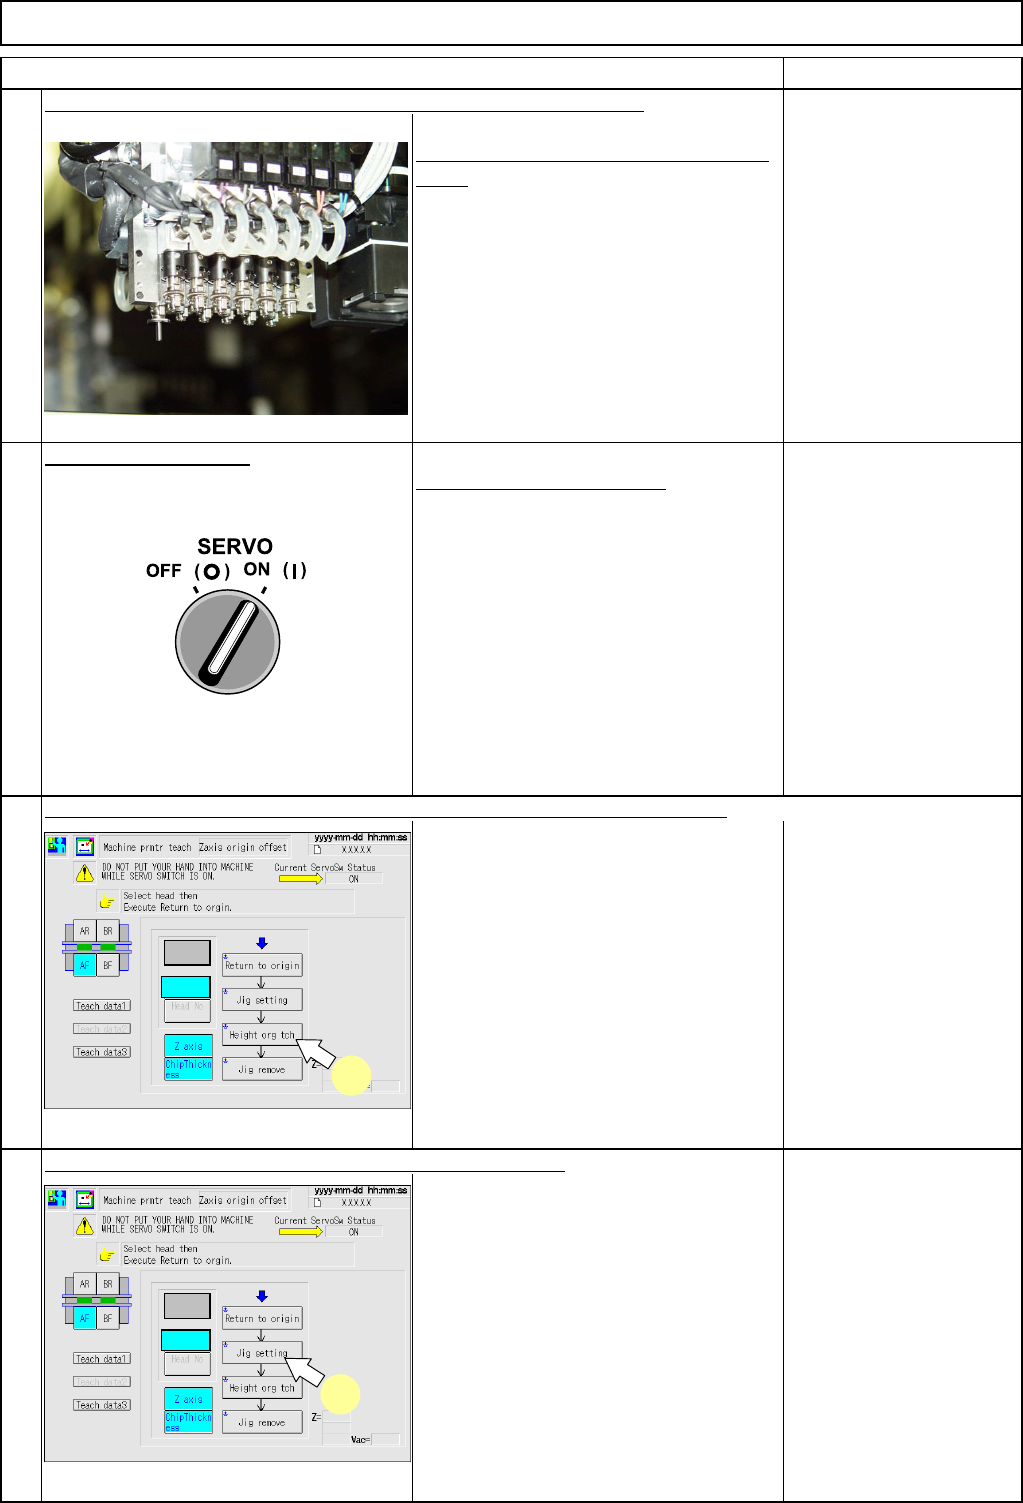
• Nozzle 120S can substitute for Nozzle
130S.
* See the picture.
Close the safety cover.
Turn on (I) the servo switch.
Fit the Nozzle 130S on the nozzle position displayed on the screen.
Item
8
9
Press [UNLOCK] on the operation panel and [Height org tch] simultaneously.
10
11
Repeat Steps 6 to 10 to teach the nozzle positions 2 to 12.
Each head
Gang
Each head
Gang
10
11
EJM8A-E-SMA060403-A01-00
Page 6-4-3-9