CM602all_EJM8AESM_Service Manual.pdf - 第876页
PCB-Warp-Sensor Unit Option Part and Accessory Replacement Close the safet y cover. Turn on (I) the servo switch. Press [UNLOCK] on the operation panel and [Run] simultaneously. Press the function key . 21 20 22 21 22 EJ…
PCB-Warp-Sensor Unit
Option Part and Accessory Replacement
Remarks
Close the safety cover.
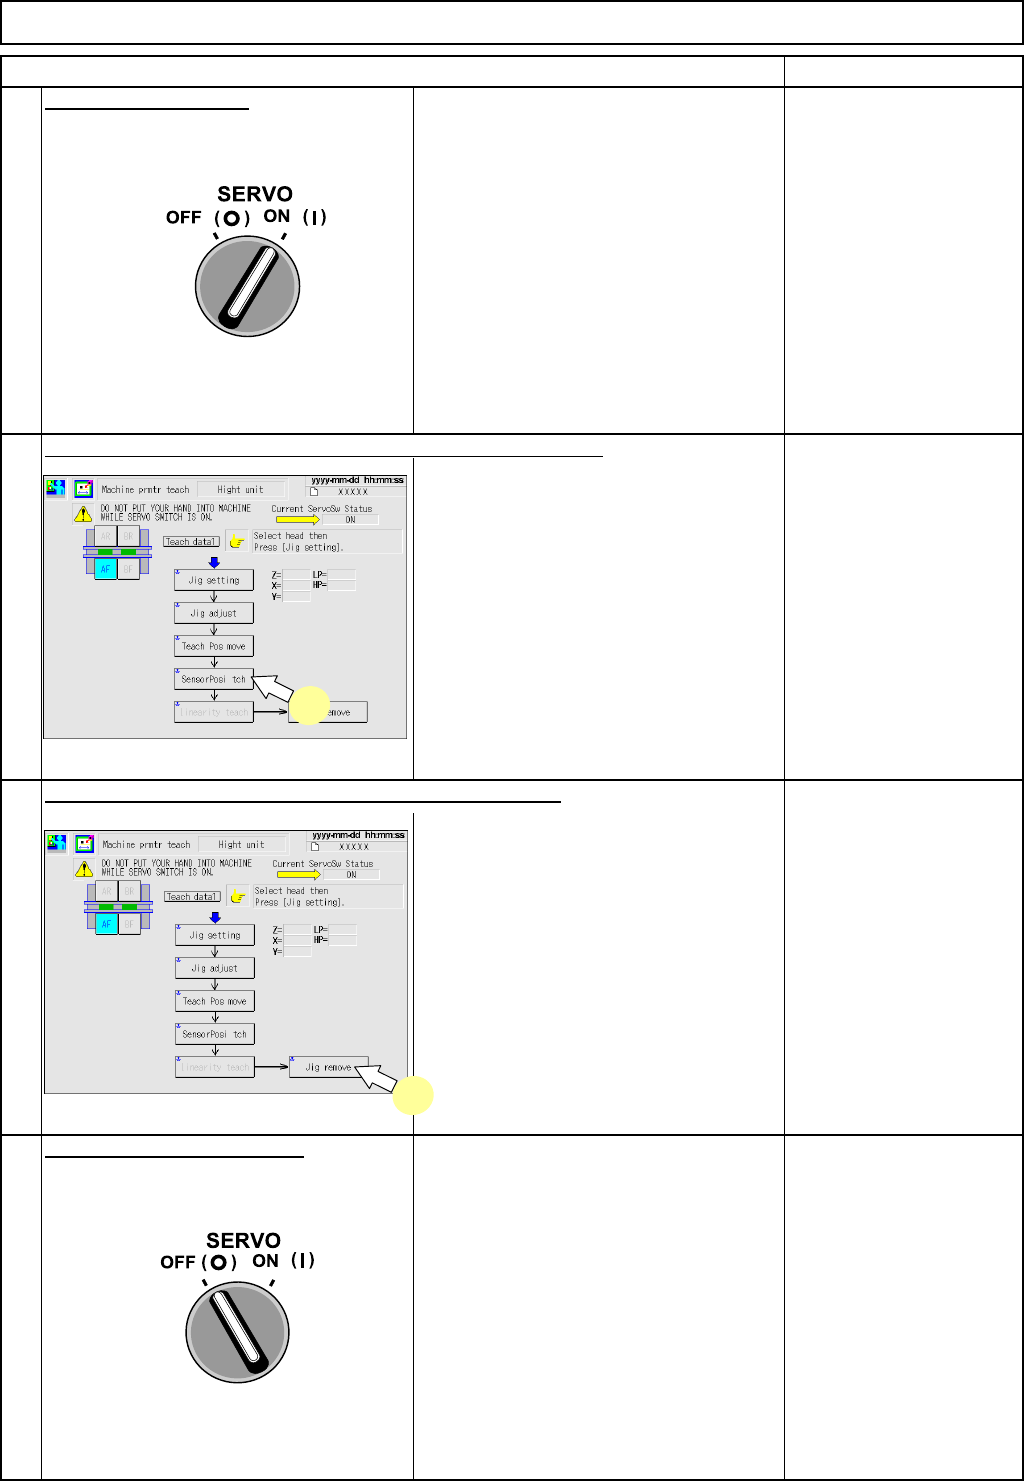
Turn on (I) the servo switch.
• The coordinates in which the PCB-
warp-sensor light comes is captured.
If any teaching result
cannot be captured, it is
necessary to carry out
sensor-installation
adjustment again.
See Section 6-5-3 PCB-
Warp-Sensor
Replacement (8-Nozzle
Head Spec.).
• The transfer head moves to the
evacuation position.
Turn off
(
O
)
the servo switch.
Open the safety cover.
Remove the height-measuring jig from
the PCB holder.
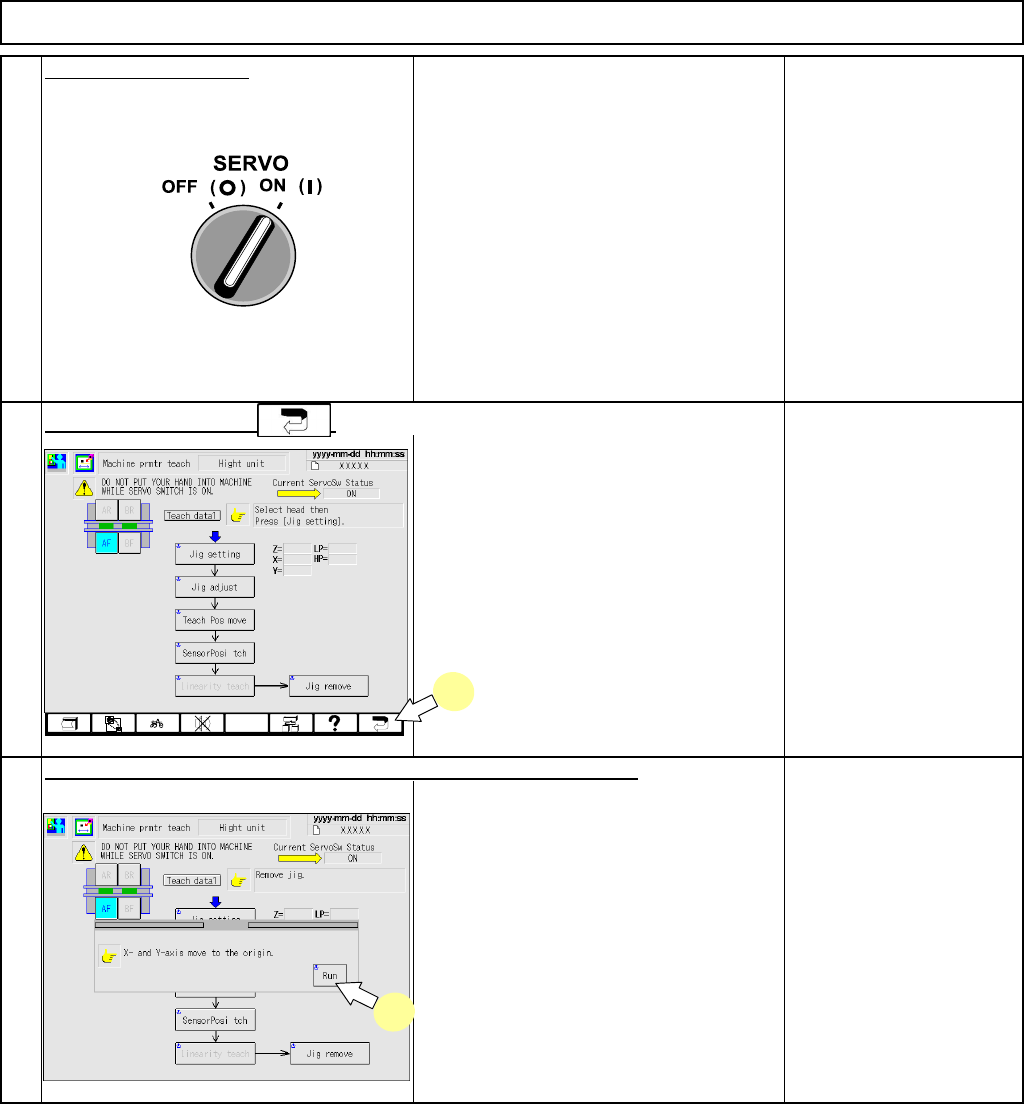
Press [UNLOCK] on the operation panel and [SensorPosi tch] .
Item
Press [UNLOCK] on the operation panel and [Jig remove].
19
17
16
18
17
18
EJM8A-E-SMA060505-A01-00
Page 6-5-5-7
PCB-Warp-Sensor Unit
Option Part and Accessory Replacement
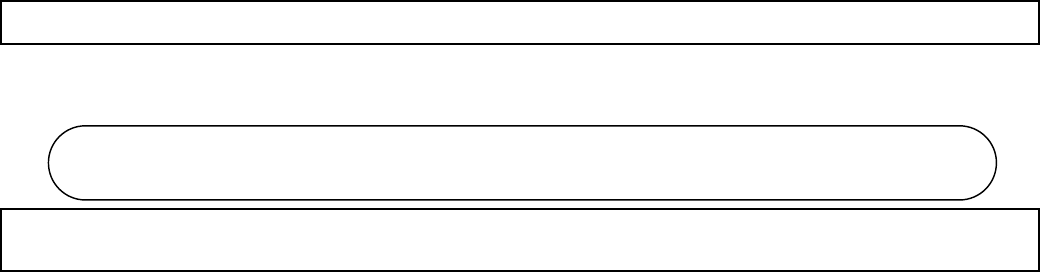
Close the safet
y
cover.
Turn on (I) the servo switch.
Press [UNLOCK] on the operation panel and [Run] simultaneously.
Press the function key .
21
20
22
21
22
EJM8A-E-SMA060505-A01-00
Page 6-5-5-8
6-6-1 List of Jigs and Tools
Jigs and Inspection DevicesOption Part and Accessory Replacement
Ji
g
s and Ins
p
ection Devices
6-6
1. List of special jigs and tools ................................................. P. 2 - 3
• This section describes the special jigs and tools that are used for installing, adjusting and teaching the
component-thickness-measuring unit and PCB-warp sensor.
EJM8A-E-SMA060601-A01-00
Page 6-6-1-1