User Manual - SIPLACE Glue Feedeer - 第78页
5 Cleaning and Maintenance 5.4 Cleaning and Inspecting the Gluing Unit 78 User Manual SIPLACE Glue Feeder 05/2020 5.4.2.5 Rinsing/Ultrasound Bath ► Rinse all glue unit parts thoroughly with clean wa- ter. Ultrasound bath…
5 Cleaning and Maintenance
5.4 Cleaning and Inspecting the Gluing Unit
User Manual SIPLACE Glue Feeder 05/2020 77
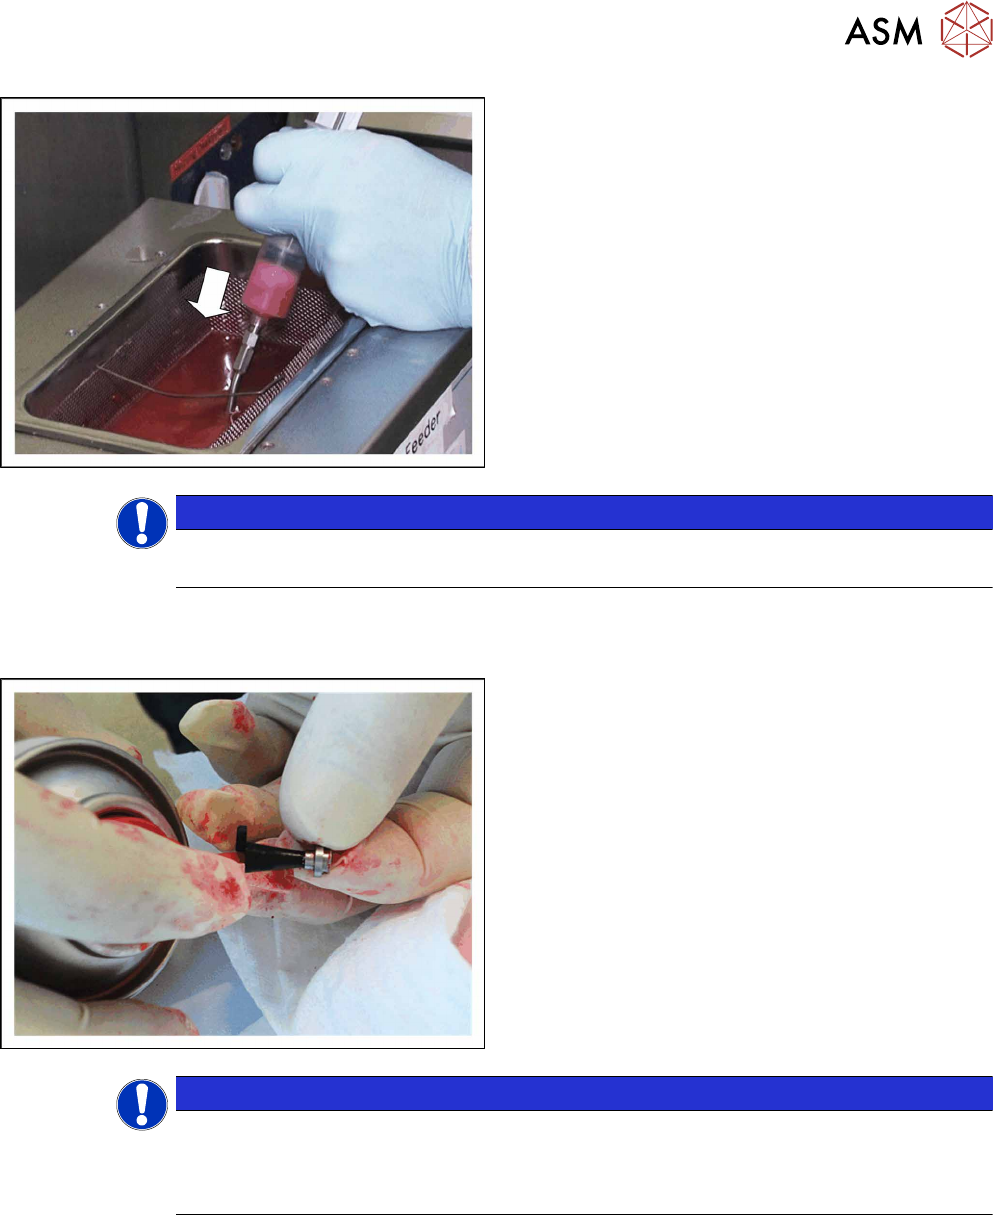
► Use the syringe to pull up glue remover and then
press this back down again through the jet block.
► Repeat this procedure until the glue has been
roughly removed from the cartridge pipe. (approx.
10 times).
► Rinse the jet block with clear water in a separate
bin.
► Unscrew the syringe again.
NOTICE
Residue glue could become hard
Make sure that any remaining glue is removed completely from the cartridge pipe.
5.4.2.4 Cleaning the Dispenser Nozzle
This description applies equally to both flat and needle nozzles.
► Hold the dispenser nozzle over a cleansing tis-
sue.
► Now use the cleaning spray to spray the glue out
of the dispenser nozzle.
NOTICE
Sight check
Hold the dispenser nozzle with the opening against the light and check (sight check) that
the nozzle opening is freely visible, the nozzle duct clean and free of glue residues. If this is
not the case, repeat the cleaning procedure.
5 Cleaning and Maintenance
5.4 Cleaning and Inspecting the Gluing Unit
78 User Manual SIPLACE Glue Feeder 05/2020
5.4.2.5 Rinsing/Ultrasound Bath
► Rinse all glue unit parts thoroughly with clean wa-
ter.
Ultrasound bath (optional)
To optimize the cleaning procedure, it may be helpful to place individual parts of the glue unit into
the ultrasound bath for about 5 minutes; the temperature of the bath may not exceed 50C. How-
ever, this step is not essential.
NOTICE
Residue glue can harden if too much heat is present in the ultrasound bath.
Make sure that any residue glue has been completely removed from the glue unit before
using the ultrasound bath. Residue glue can harden if too much heat is generated during
longer use of the ultrasound bath.
If there is still residue glue on the glue unit parts, remove this with a bristle brush or other
suitable brush and glue remover before using the ultrasound bath.
5.4.2.6 Drying
► Check (sight check) that all parts of the glue unit are clean and that there is no residue glue
on them. Clean the dirty parts again if necessary.
► Then place the individual gluing unit parts onto a clean cleansing tissue to dry.
► If you have compressed air available, you can
speed up the drying process with this. Blow the
moisture out of the channels of the jet block and
cartridge pipe.
NOTICE
Sight check
Hold the dispenser nozzle with the opening against the light and check (sight check) that
the nozzle opening is freely visible, the nozzle duct clean and free of glue residues. If this is
not the case, repeat the cleaning procedure.
5 Cleaning and Maintenance
5.4 Cleaning and Inspecting the Gluing Unit
User Manual SIPLACE Glue Feeder 05/2020 79
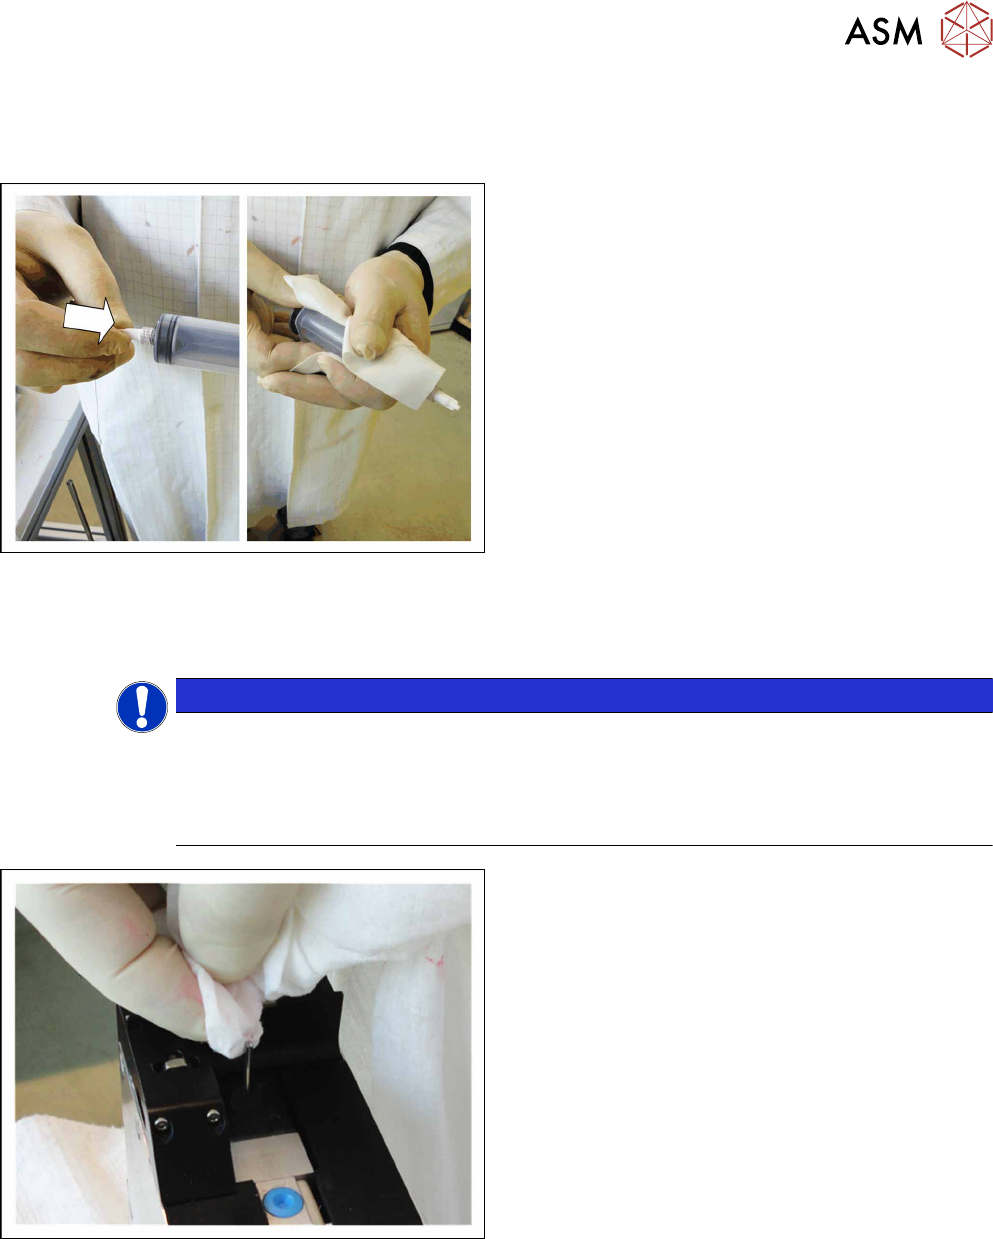
5.4.2.7 Cleaning the Syringe
If you have not used the syringe for a long time and before you place it back in the maintenance
case, you should close it and clean it on the outside.
If you do not need the syringe for a longer period:
► Place the cap on the nozzle at the tip of the syr-
inge.
► Wipe the syringe with a cleansing tissue.
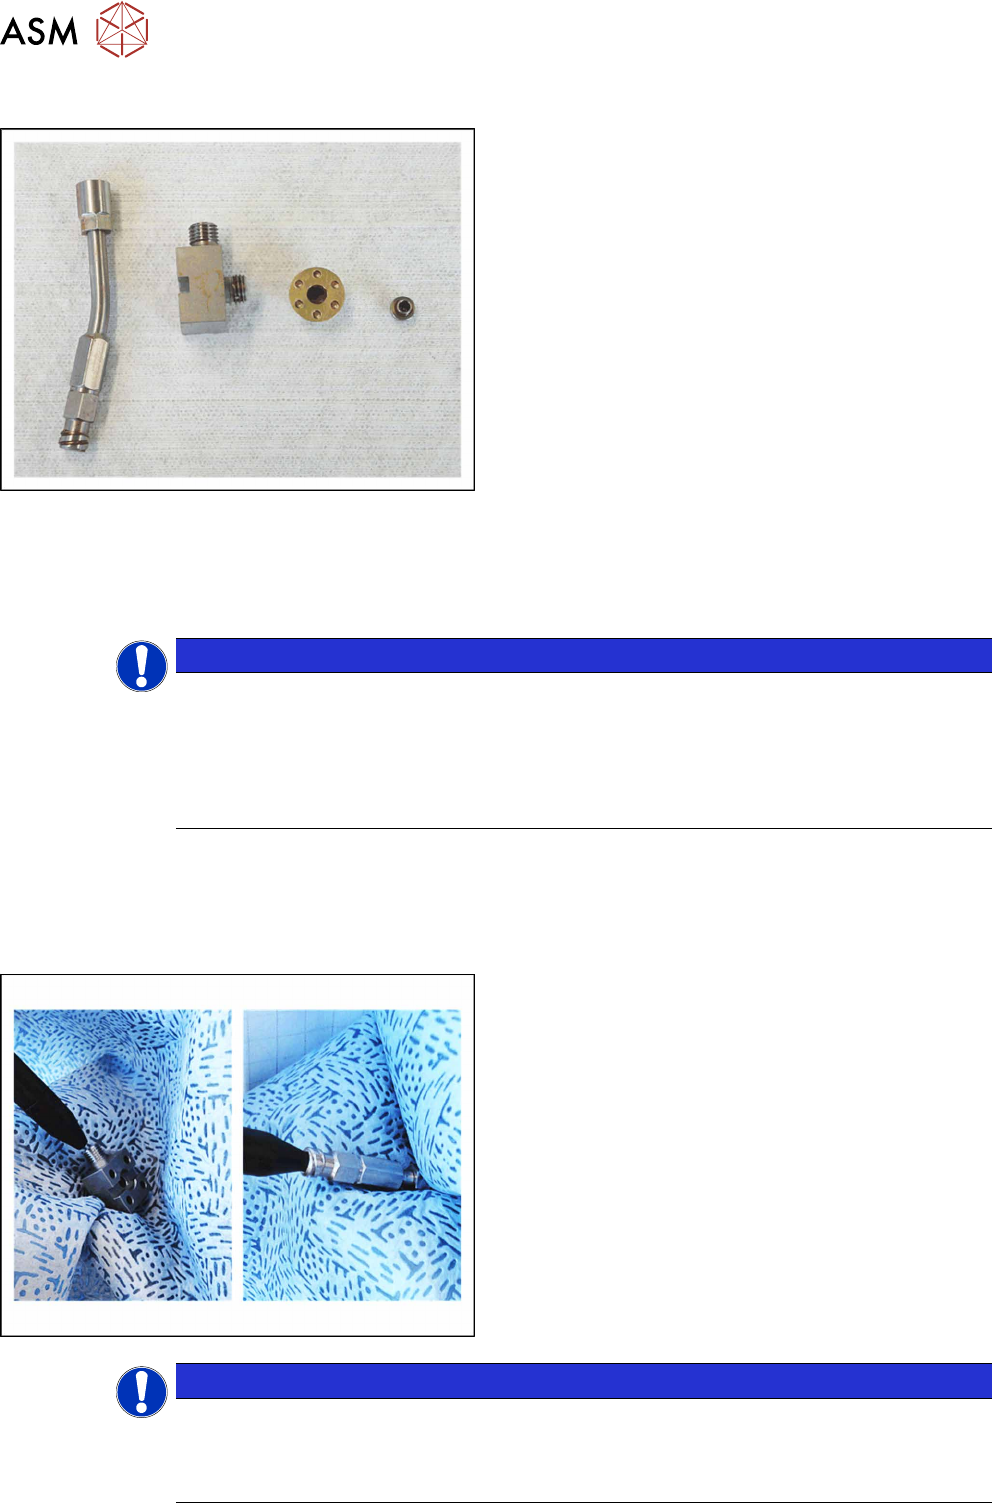
5.4.3 Fitting the Gluing Unit
5.4.3.1 Inserting the O Rings at the Plunger
NOTICE
Replacing O-rings
Damaged O-rings are no longer able to fulfil their sealing function. As a result, the pressure
required at the jet valve can not be produced to its full extent and glue may protrude, con-
taminating the inside of the Glue Feeder.
We therefore recommend that you replace the O-rings each time you clean the gluing unit.
► Clean the jet plunger with a cleansing tissue and
a little glue remover.