wire-bonder.pdf - 第51页
WEST•BOND MODEL 454647E SER IES INSTRUCTION MANUAL 45 PROGRAMMING Learn to Setup Device In this menu the operator is a sked to specify the number of bond s for each W IRE T YPE . Two bonds equal one loop, three bonds wil…
WEST•BOND MODEL 454647E SERIES INSTRUCTION MANUAL
44
PROGRAMMING
Learn to Setup Device
This option is designed to take the operator through an simple part setup. Other, more advanced
parameters may need to be adjusted for optimum bonding results, but this quick setup will cover all of the
basics.
ϑ To call “Learn to Setup Device”
From the H
OME menu press 4 (EDIT) and then press G (LEARN MODE).
LEARN TO SETUP DEVICE 1:
5=Go To
7=Prev device 8=Device 1 9=Next device
A=Prev menu G=OK
Æ
PRESS KEY G
Å
This menu is the only place where the name of the Device can be set or changed and it can only be
accessed through this L
EARN MODE.
EDIT NAME OF DEVICE 1: _
4=”A” 5=Increase 6=”Z”
7=Left 8=”_” 9=Right
A=Prev option 0=Decrease G=OK
Æ
PRESS KEY G
Å
See page 43 for a description of W
IRE TYPES.
DEVICE 1: HOW MANY WIRE TYPES? 1
4=Key in 5=Increase
A=Prev option 0=Decrease G=OK
Æ
PRESS KEY G
Å
Here the operator is asked to specify the number of wires desired in each W
IRE TYPE. This menu will
repeat itself - one time for each wire type specified (i.e. if 6 was entered in the previous menu, the
machine will ask for the number of wires required in each type by repeating this menu 6 times).
HOW MANY WIRES FOR TYPE 1? 0
(0 wire means repeat this type forever.)
4=Key in 5=Increase
A=Prev option 0=Decrease G=OK
Æ
PRESS KEY G
Å
WEST•BOND MODEL 454647E SERIES INSTRUCTION MANUAL
45
PROGRAMMING
Learn to Setup Device
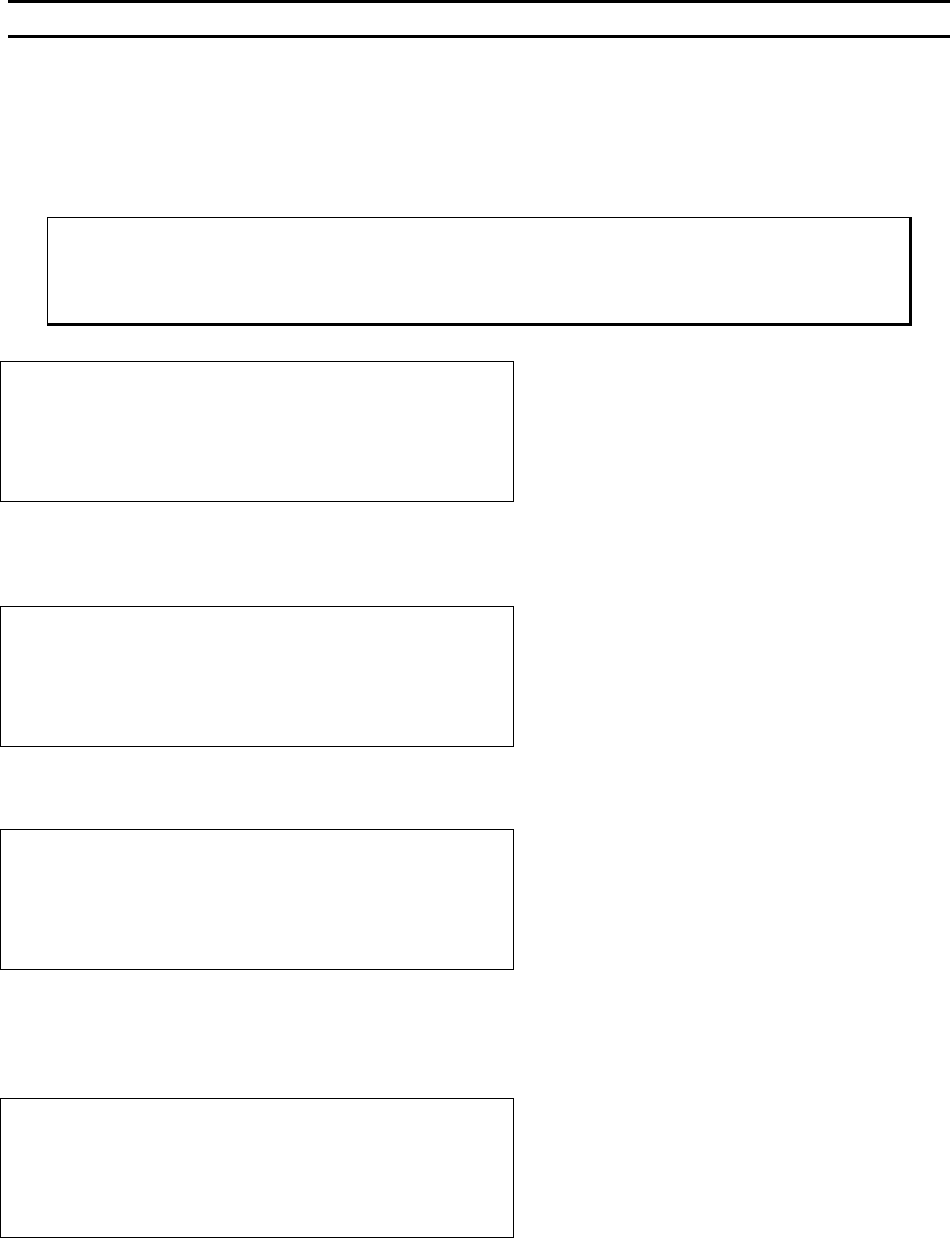
In this menu the operator is asked to specify the number of bonds for each WIRE TYPE. Two bonds equal
one loop, three bonds will create two loops, and so on. As with the afore mentioned menu, this menu will
repeat itself - one time for each wire type specified.
HOW MANY BONDS FOR TYPE 1? 2
4=Key in 5=Increase
7=Prev type 8=Type 1 9=Next type
A=Prev option 0=Decrease G=OK
Æ
PRESS KEY G
Å
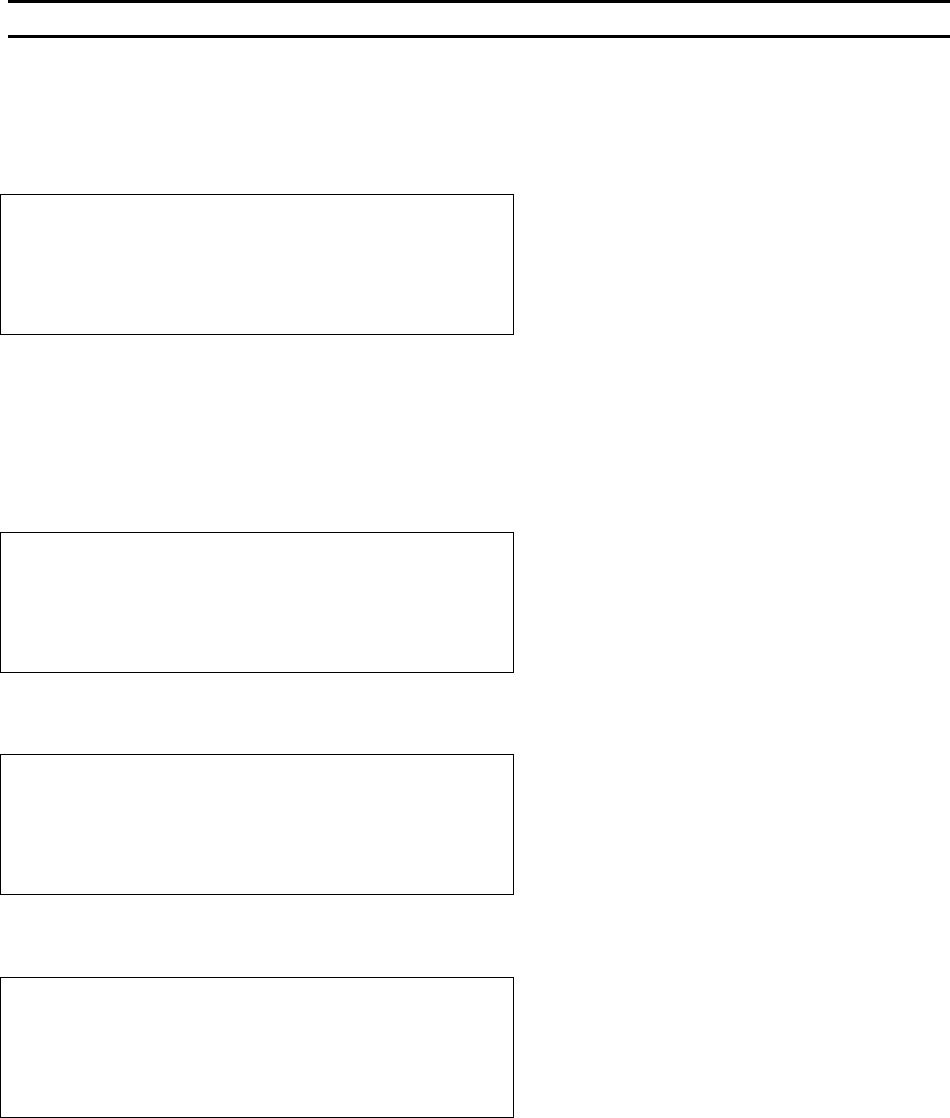
The critical bond is typically the bond to be placed upon the smallest pad or the most difficult pad to
target. The C
RITICAL BOND setting does not set which bond goes first. For example: a wire type with three
bonds per wire (2 loops) may have the second bond (the middle bond) set as the critical bond. This would
allow the operator to target the center pad immediately prior to bonding. Therefore, the machine would
place the first and third bonds in direct relation to this second critical bond pad. This menu will also
repeat itself - one time for each wire type specified.
CRITICAL BOND FOR TYPE 1 is Bond 1
7=Prev bond 8=Bond 1 9=Next bond
A=Prev option G=OK
Æ
PRESS KEY G
Å
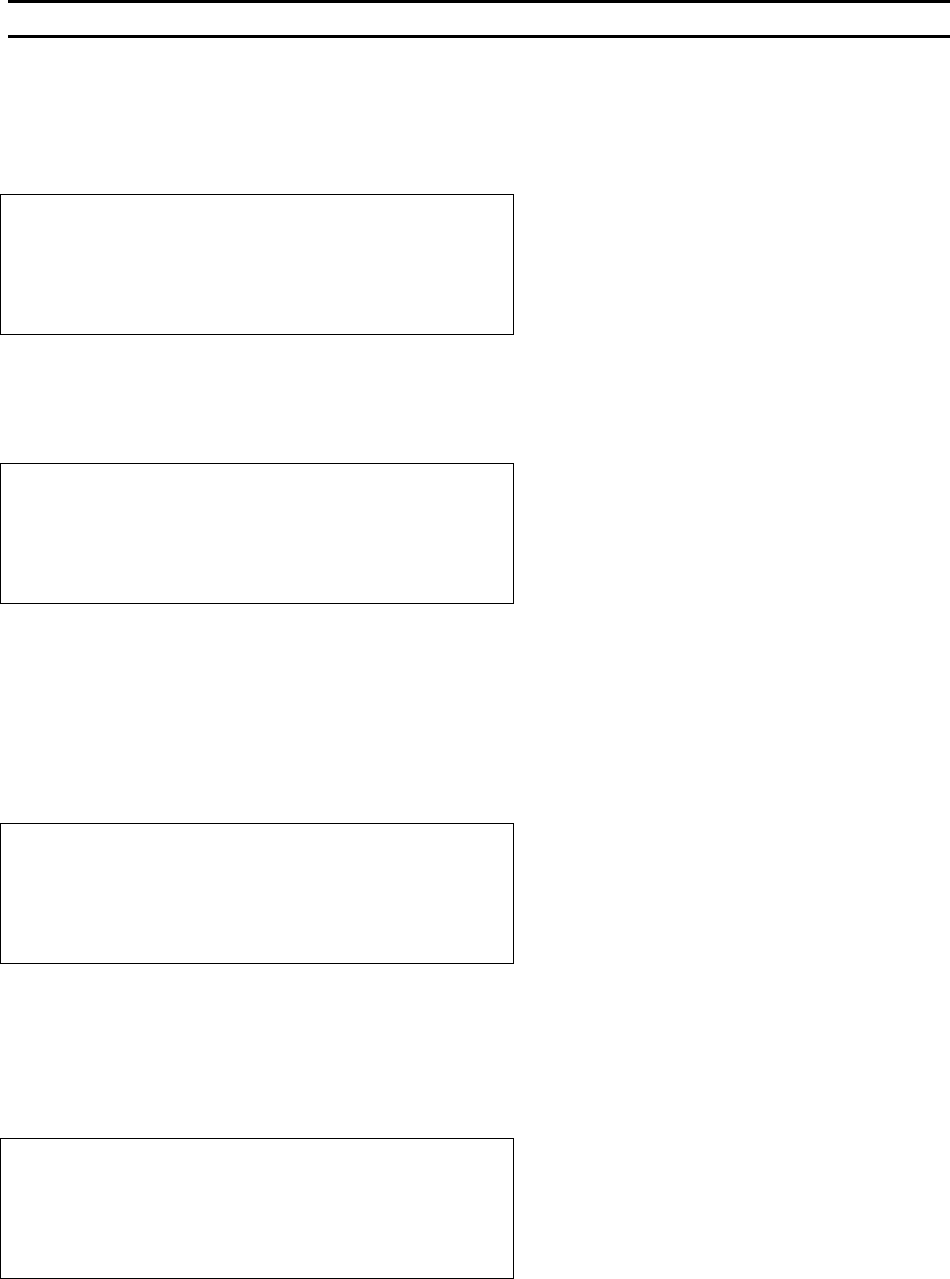
The machine will now step the operator through a sequence designed to set up the desired loop shape.
ABOUT TO EDIT LOOP MOTION for Type 1
-> Use manipulator to align TV crosshair
to Bond 1 and press G when ready
A=Prev option
Æ
PRESS KEY G
Å
Depending upon the model mode the machine is in you may or may not see this menu.
EDIT LOOP MOTION
Device 1 Type 1: (2 Bonds)
-> LOOK IN MICROSCOPE,
SELECT BOND 1 AND PRESS G WHEN READY.
Æ
PRESS KEY G
Å
WEST•BOND MODEL 454647E SERIES INSTRUCTION MANUAL
46
PROGRAMMING
Learn to Setup Device
SEARCH FOR BOND 1 is the point where the tool will pause if run in either half-auto mode or if a key is held
in the full-auto mode. From this vantage point the operator can make any last minute changes to the bond
targeting.
Edit SEARCH for Bond #1: 2024 from Home
4=Key in 5=Inch up (0.42167”)
7=Move XY 8=Suggest 9=Erase search
A=Prev menu 0=Inch down G=Next option
Æ
PRESS KEY G
Å
The number of motor steps the motor raises up off of the work, after first bond, before making any
movement in the Y direction. Typically this elevation is used prior to backbend to aid in creating proper
loop shape.
Z-BEFORE-Y before Bond #2: 50 steps
4=Key in 5=Inch up (0.01042”)
8=Suggest
A=Prev option 0=Inch down G=Next option
Too few motor steps in this setting can cause
the wire to be pulled off of the work if the
operator is also using the backbend feature.
Æ
PRESS KEY G
Å
This particular feature is an excellent aid in creating good loop shape when using a 454647E in the
4600E and 4700E modes. The position of the clamps on the 4500E mode allow greater control of the wire
requiring less finesse when it comes to loop motion. B
ACKBEND occurs immediately after the motor has
counted up the specified number of Z-B
EFORE-Y steps. An excessive amount of BACKBEND can easily peel
the first bond from the work. However, if used properly, BACKBENDING can add not only shape, but also
height to your wire loops. To achieve truly effective B
ACKBENDS, the operator needs to strike a balance
between the number of Z-BEFORE-Y steps versus the number of BACKBEND steps.
BACKBEND before Bond #2: 0 Y step
4=Key in 5=Increase (0.00000”)
8=Suggest
A=Prev option 0=Decrease G=Next option
Æ
PRESS KEY G
Å
The highest point the tool reaches in the looping procedure. It is important to remember that this
maximum tool height does not equate to loop height. As the tool begins it descent toward the work
surface, this high point of the wire will be pulled down with the tool. Wire loop height is dependant upon
many factors other than just L
OOP ELEVATION (contributing factors: Z-BEFORE-Y, BACKBEND, Y-OFFSET,
LOOP ELEVATION, NUDGE-UP, wire size, wire strength, wire material, bonding tool, clamp position, etc.).
LOOP ELEV before Bond #2: 100 steps
4=Key in 5=Inch up (0.02083”)
8=Suggest
A=Prev option 0=Inch down G=Next option
Æ
PRESS KEY G
Å