00198596-02_JC_3M_C&P20P2M3_EN.pdf - 第44页
11 3-monthly C&P20 P2/M3 Mount the holding circuit / orifice plate 8 min 4 / 4 Refer to safety instructions in user manual before commencing Maintenance NOTICE! ESD guidelines are to be followed Tool: T21, T44, T78 W…

11 3-monthly C&P20 P2/M3 Mount the holding circuit / orifice plate 8 min 3 / 4
Refer to safety instructions in user manual before commencing Maintenance
NOTICE! ESD guidelines are to be followed Tool:
T21, T44, T78
Wear Part:
W10, W18
Consumables:
C3, C5, C11, C22
www.asm-smt.com
13 If not OK replace it with a new one. 14 Return the silencer. Ensure the proper
seating by pressing it onto the star carrier.
15 Fasten the screw at the silencer hand-
tight.
16 Mount the orifice plate and the cover. 17 Check the seal for dirt and damage. 18 If Ok proceed with step 20.
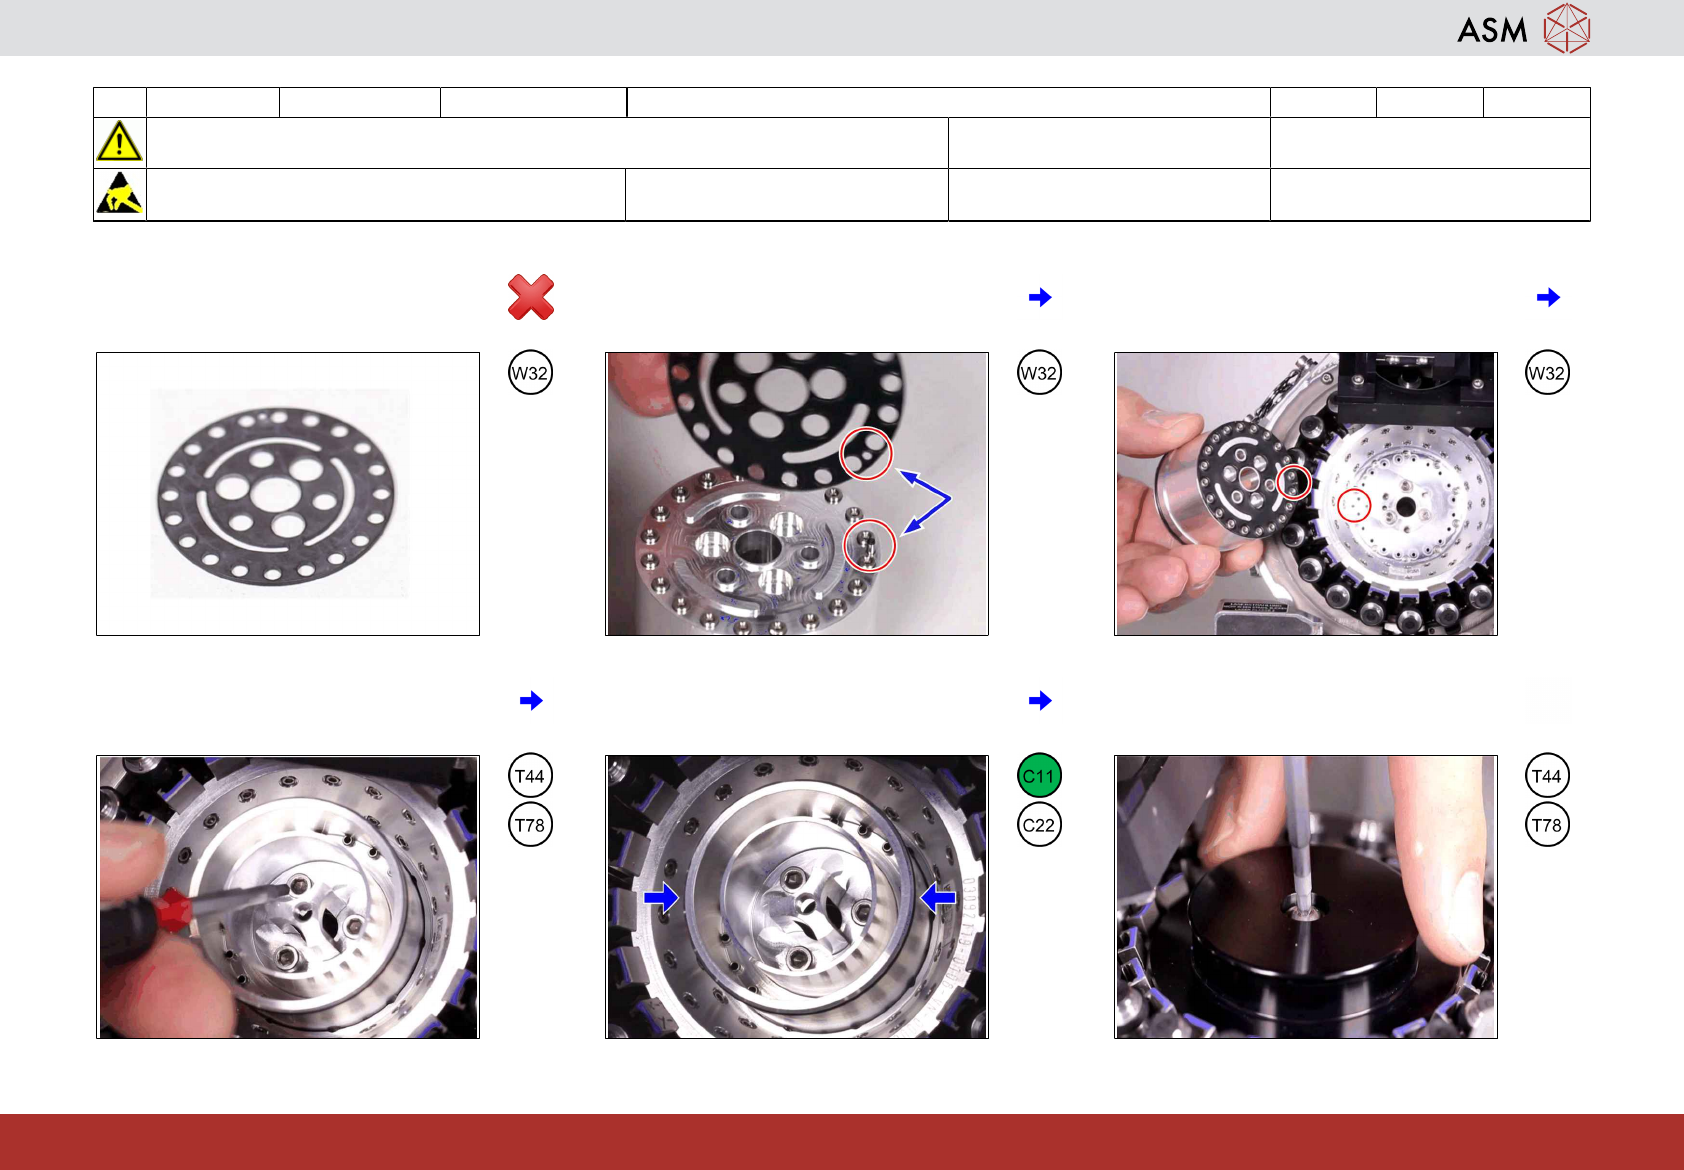
11 3-monthly C&P20 P2/M3 Mount the holding circuit / orifice plate 8 min 4 / 4
Refer to safety instructions in user manual before commencing Maintenance
NOTICE! ESD guidelines are to be followed Tool:
T21, T44, T78
Wear Part:
W10, W18
Consumables:
C3, C5, C11, C22
www.asm-smt.com
19 If not OK replace it with a new one. 20 Place the seal properly on a maintained
orifice plate.
21 Insert the maintained orifice plate into the
star carrier. Take care of the correct fitting
pin position.
22 Fasten the three protruding fixing screws
with a torque of 1,3 Nm.
23 Ensure the O-ring sits in the correct posi-
tion and is lubricated slightly over the
whole length.
24 Return the cover and fasten it hand-tight.
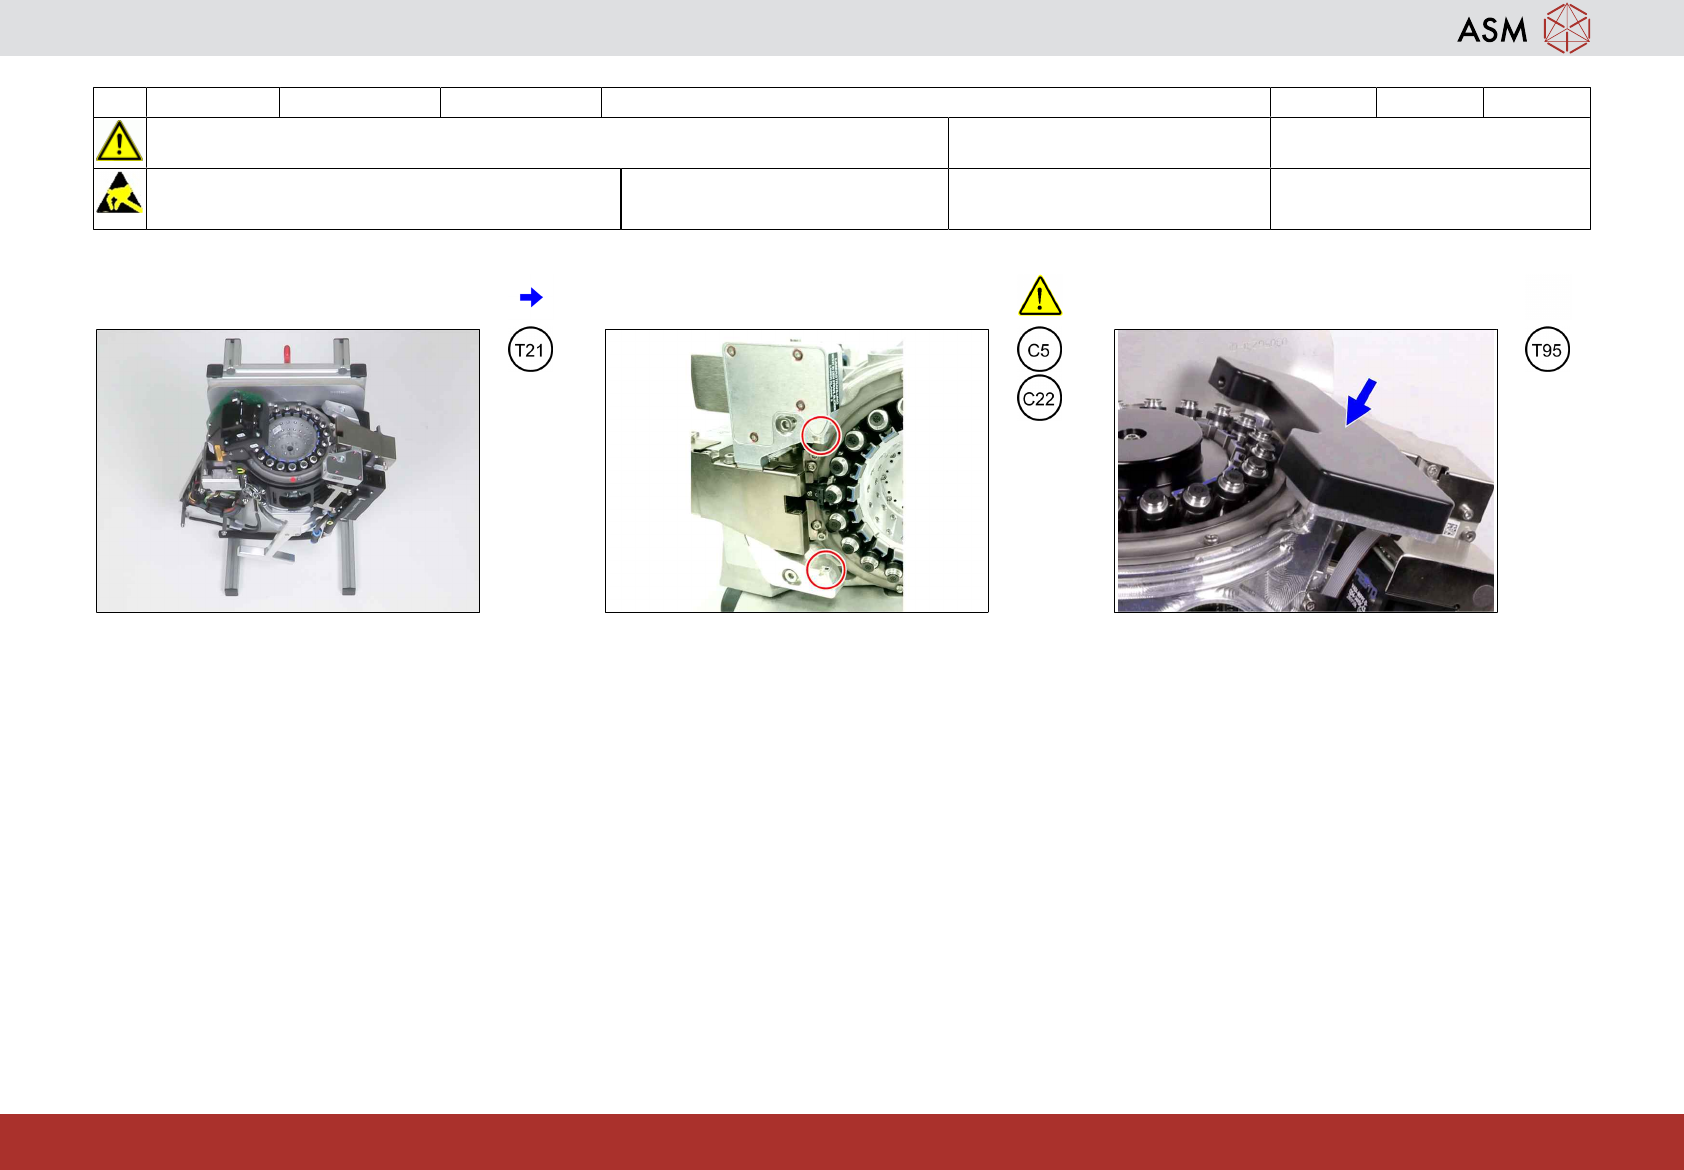
12 3-monthly C&P20 P2/M3 BE sensor Clean the component sensor 1 min 1 / 1
Refer to safety instructions in user manual before commencing Maintenance
NOTICE! ESD guidelines are to be followed Tool:
T21, T95
Wear Part: Consumables:
C5, C22
www.asm-smt.com
1 Proceed with the headstand in the upright
position.
2 Clean both prism of the component sensor
using a slightly moistened cleaning stick.
3 Mount the component sensor protection