00197569-01_MM_DLM34_Kunde_en.pdf - 第19页
Minor Maintenance 3.1.4 Performing Maintenance Tasks Maintenance Tasks for DLM Maintenance Manual SIPLACE Placement Heads DL M3/DLM4 19 3.1.4.4 3 . 1 . 4 . 4 G r e a s in g t h e V a lv e P lu n g e r s Greasing the Valv…
Minor Maintenance
Maintenance Tasks for DLM 3.1.4 Performing Maintenance Tasks
18 Maintenance Manual SIPLACE Placement Heads DLM3/DLM4
3.1.4.2
3.1.4.2 Cleaning the Valve Casings
Cleaning the Valve Casings
3.1.4.3
3.1.4.3 Cleaning the Valve Plunger
Cleaning the Valve Plunger
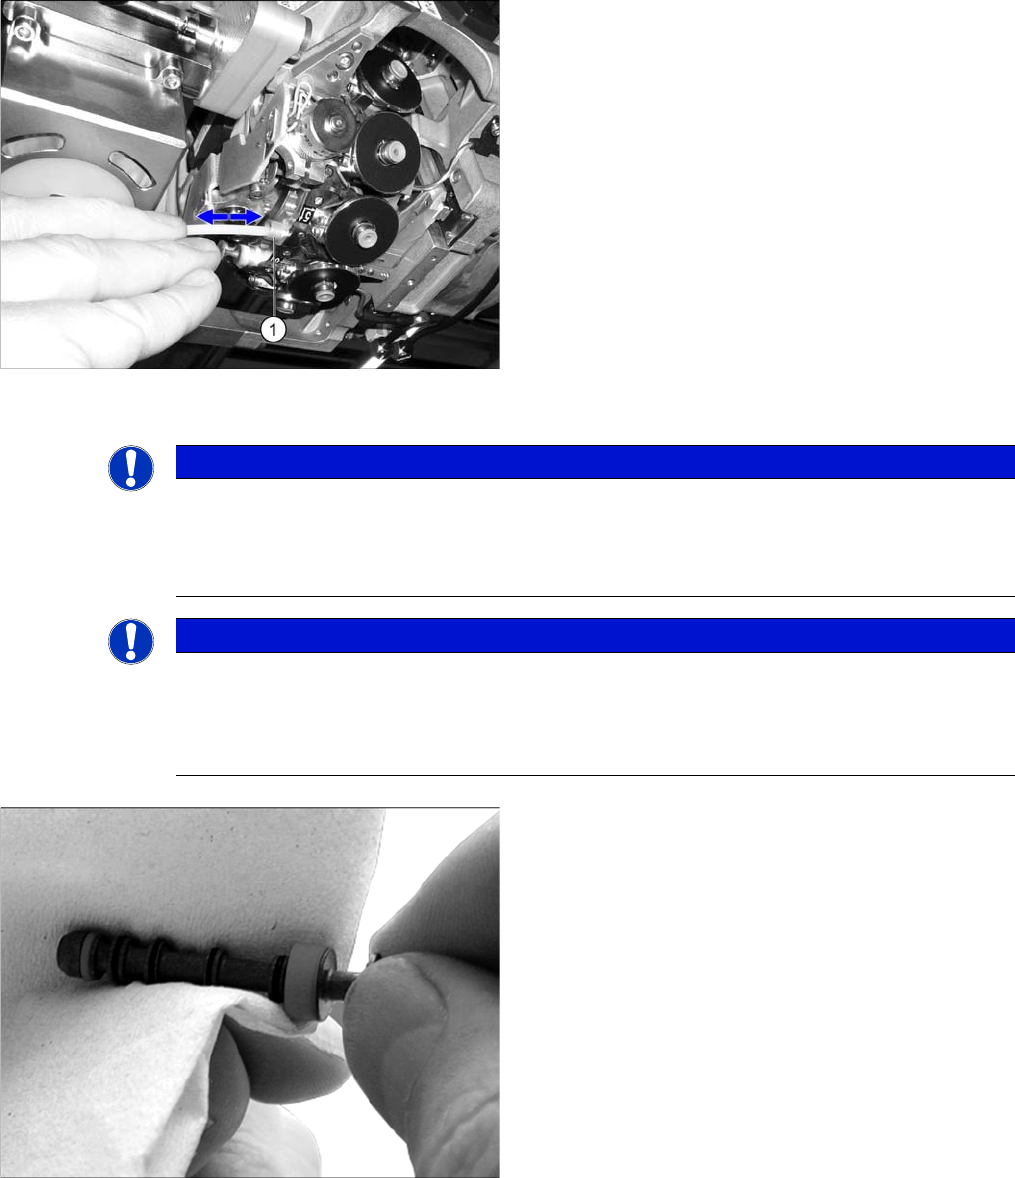
► Clean the valve casing (1) using a cottonwool bud
moistened with ethanol.
► Then clean all around the valve casings.
NOTICE
Valve plunger
We recommend that you have a sufficient number of cleaned/new valve plungers available, so
that you just need to replace them during head maintenance.
The actual cleaning of the valve plungers can be performed later on.
NOTICE
Mark cleaned valve plunger
► Distinguish between the dirty and the clean valve plungers by identifying the packages ac
-
cordingly, for example.
► Please also observe section "3.1.4.4 Greasing the Valve Plungers" [ ➙ 19].
► Wipe the valve plunger using a dry, lint-free cloth.
► Check the sealing lips and the sleeve for damage. If
these are damaged, replace the valve plunger. A
loose sleeve can be refitted if it is still intact.
► Check the spring O-ring. If the spring O-ring is dam
-
aged, replace it.
Minor Maintenance
3.1.4 Performing Maintenance Tasks Maintenance Tasks for DLM
Maintenance Manual SIPLACE Placement Heads DLM3/DLM4 19
3.1.4.4
3.1.4.4 Greasing the Valve Plungers
Greasing the Valve Plungers
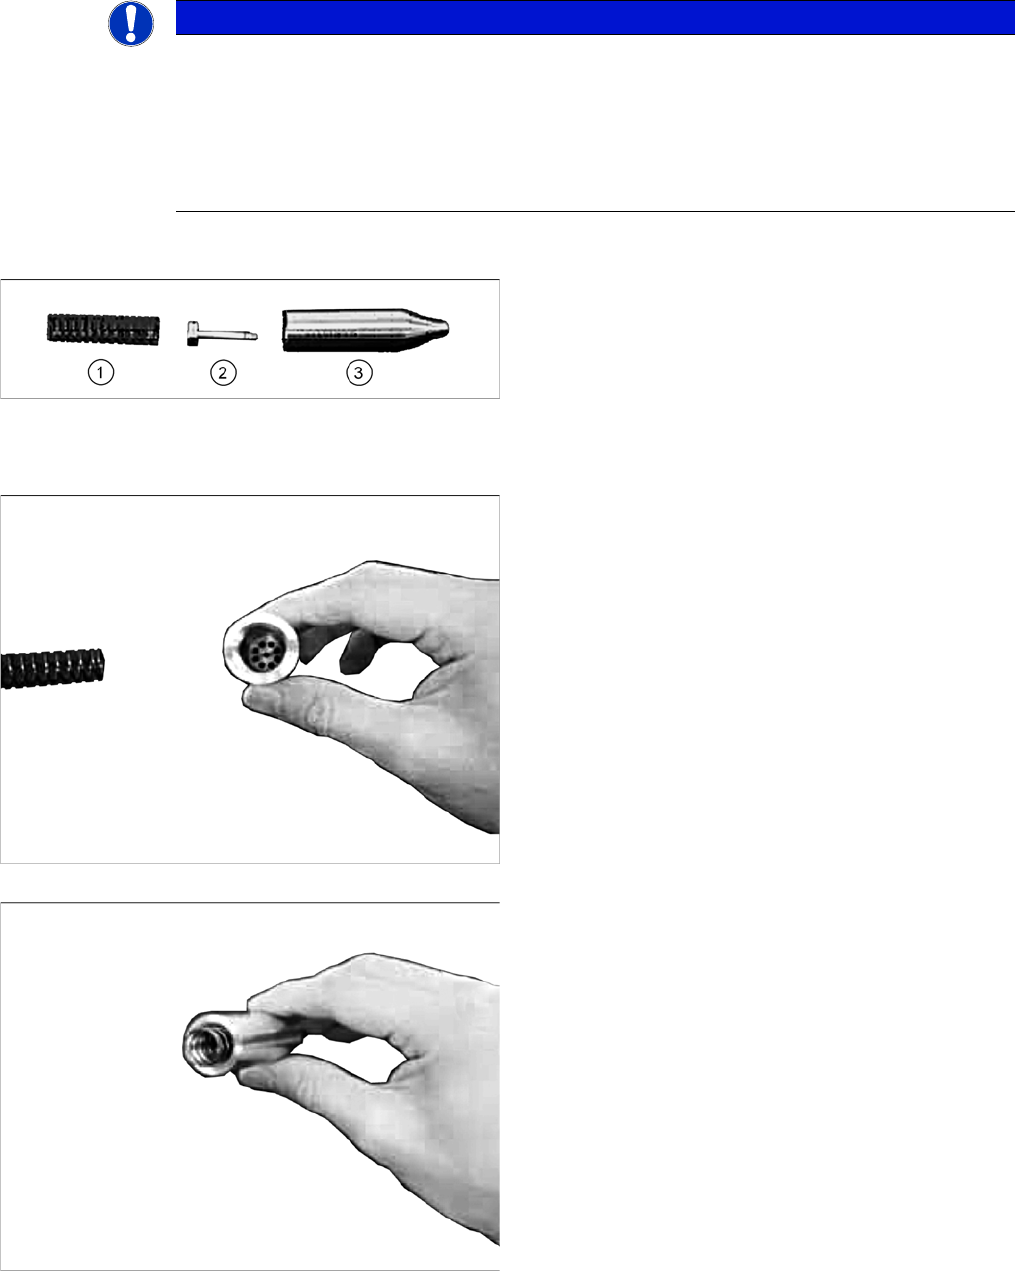
Tool parts
Tool assembly
NOTICE
Grease before inserting.
You have to grease the cleaned/new valve plungers before inserting them into the placement
head.
► Make sure to grease the valve plungers with the tool only.
► You can grease the valve plungers in advance, so that you just need to replace them during
head maintenance. In this case, you need a suitable dust-proof packaging.
1. Spring
2. Pistons
3. Cylinder
► Insert the piston into the cylinder.
► Insert the spring into the cylinder.
Minor Maintenance
Maintenance Tasks for DLM 3.1.4 Performing Maintenance Tasks
20 Maintenance Manual SIPLACE Placement Heads DLM3/DLM4
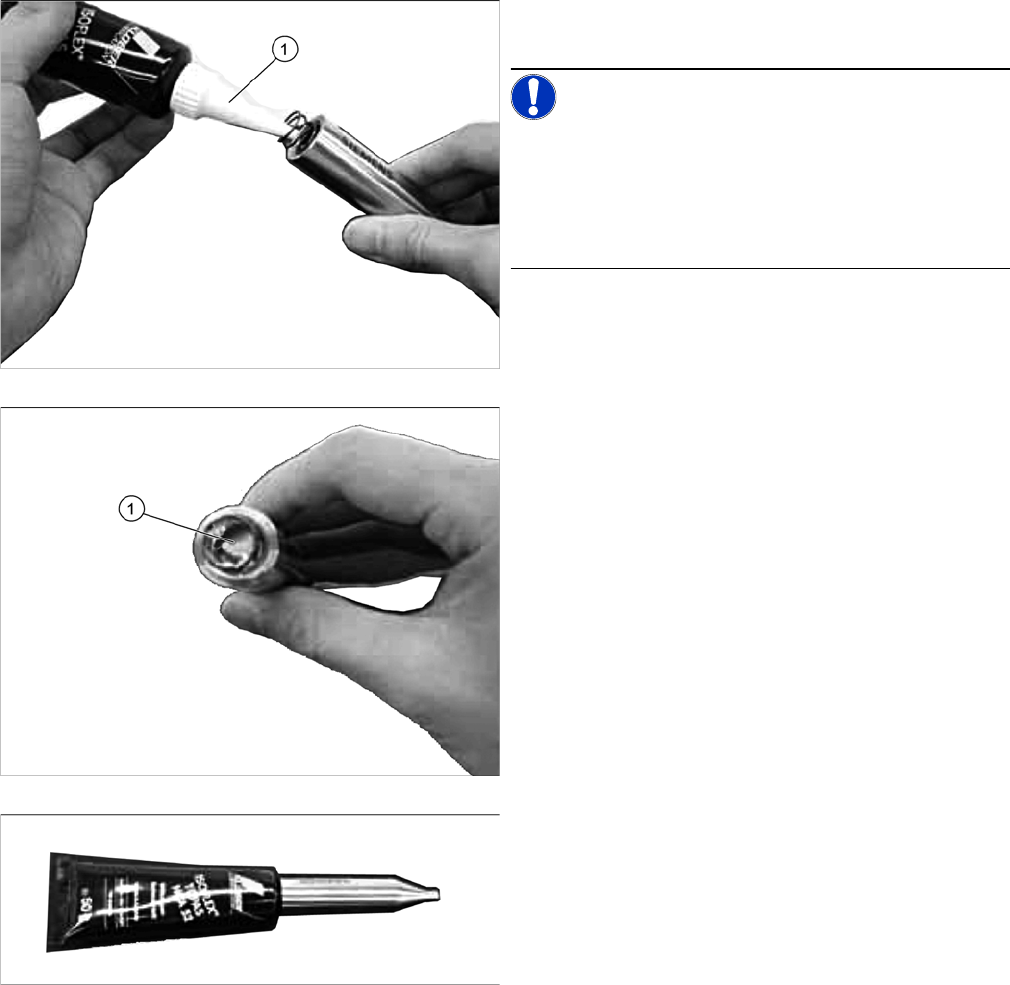
► Fill the cylinder with ISOFLEX TOPAS NCA 52, using
the adapter (1) provided with the TOPAS.
NOTICE!
This tool works best without air in the cylinder.
Make sure that, where possible, no air gets into the cylin
-
der.
Any air or ISOFLEX TOPAS NCA 52 in the cylinder could
impair the lubrication quality.
1. ISOFLEX TOPAS NCA 52
The diagram shows the state after filling the cylinder
with ISOFLEX TOPAS NCA 52.
► Take the adapter off the TOPAS tube, press the air
out of the TOPAS tube and attach the cylinder with a
rotary movement.