4OM-1075-002.pdf - 第17页
(5) Hand Grease Gun Standard: KH-120 Part No.: 630 062 2577 Maker: Y amada Y uki (a ) Use this gun to apply only DAPHNE EPONEX GREASE No. 1. (b) Please purchase a hand gun or an attachment when- ever necessary . Consult …
(1) Grease
• DAPHNE EPONEX GREASE No. 1
• NEW MOLYNOC GREASE No. 1
Same Types of Lubricants
• DAPHNE EPONEX GREASE No. 1 (IDEMITSU KOSAN) or its
equivalent
Table 4A1
Grease Names Makers
Alvania Grease No. 1 SHELL OIL
Multinoc Grease No. 1 Nippon Oil Corporation
Jomo Lisonix Grease No. 1 JAPAN ENERGY
Dynamax No. 1 COSMO OIL
Lithtan No. 1 ESSO OIL
MP Grease No. 1 KYGNUS OIL
Gemico MP No. 1 TonenGeneral Sekiyu K.K.
Multemp PS-1 KYODOH YUSHI
• NEW MOLYNOC GREASE No. 1 (Nippon Oil Corporation) or its
equivalent
Table 4A2
Grease Names Makers
Daphne M1 IDEMITSU KOSAN
Jomo Lisonix Grease M No .1 JAPAN ENERGY
Molybden No. 1 COSMO OIL
Beacon Q2 ESSO OIL
Gemico MD2 TonenGeneral Sekiyu K.K.
M-5 Grease 1 KYGNUS OIL
(2) Brush
Use a brush whose bristles do not come off if possible.
(3) Vinyl Gloves
Use a pair of vinyl gloves to apply grease or oil by hand.
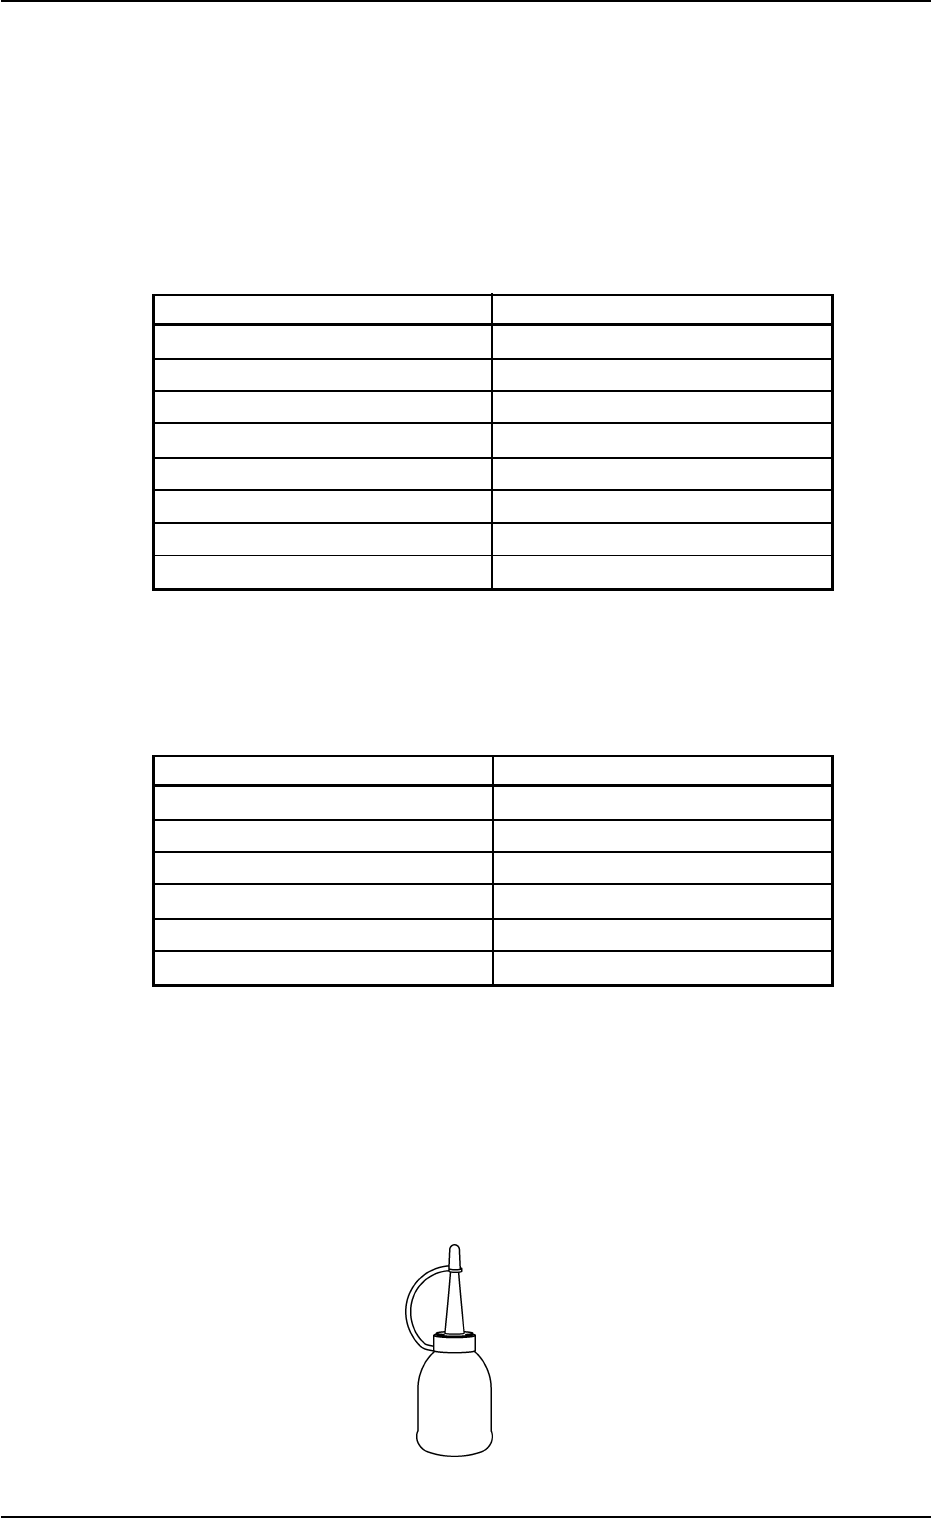
(4) Grease Applicator
Use a normal grease applicator on the market.
Fig. 4A3
1.2 Preparation for Maintenance
0308-003 1-3 AHB01ETRP
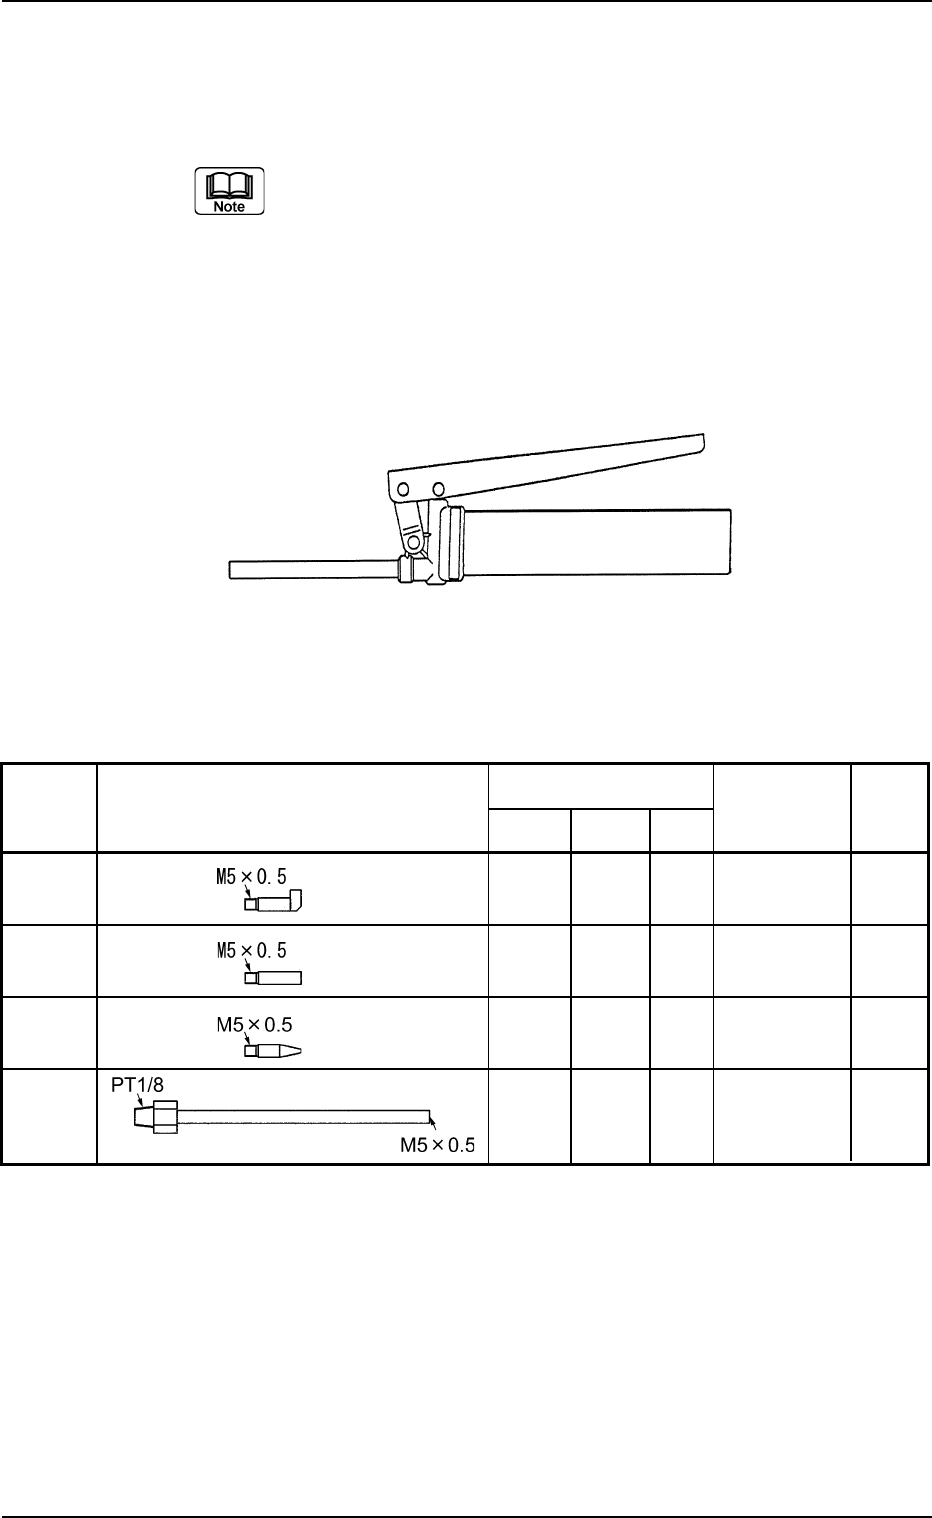
(5) Hand Grease Gun
Standard: KH-120
Part No.: 630 062 2577
Maker: Yamada Yuki
(a) Use this gun to apply only DAPHNE EPONEX GREASE
No. 1.
(b) Please purchase a hand gun or an attachment when-
ever necessary.
Consult our marketing department about details.
(c) Refer to the attached instruction manual for the de-
tailed information on how to use a hand grease gun or
an attachment.
Fig. 4A4 Hand Grease Gun KH-120
Attachment for Hand Grease Gun KH-120 Table 4A3
Standard Shape Part No. Remarks
S Type 1 0 1 630 061 1977 SHC
N Type 1 0 1 630 061 7467 THK
P Type 1 0 1 630 061 7474 THK
U Type 1 0 1 630 061 7443 THK
1.2 Preparation for Maintenance
Grease and Required Number
of Attachments
For DAPHNE
EPONEX
GREASE No. 1
For NEW
MOLYNOC
GREASE No. 1
Total
Frequency
in Use
0206-003 1-4 AHB01ETRP
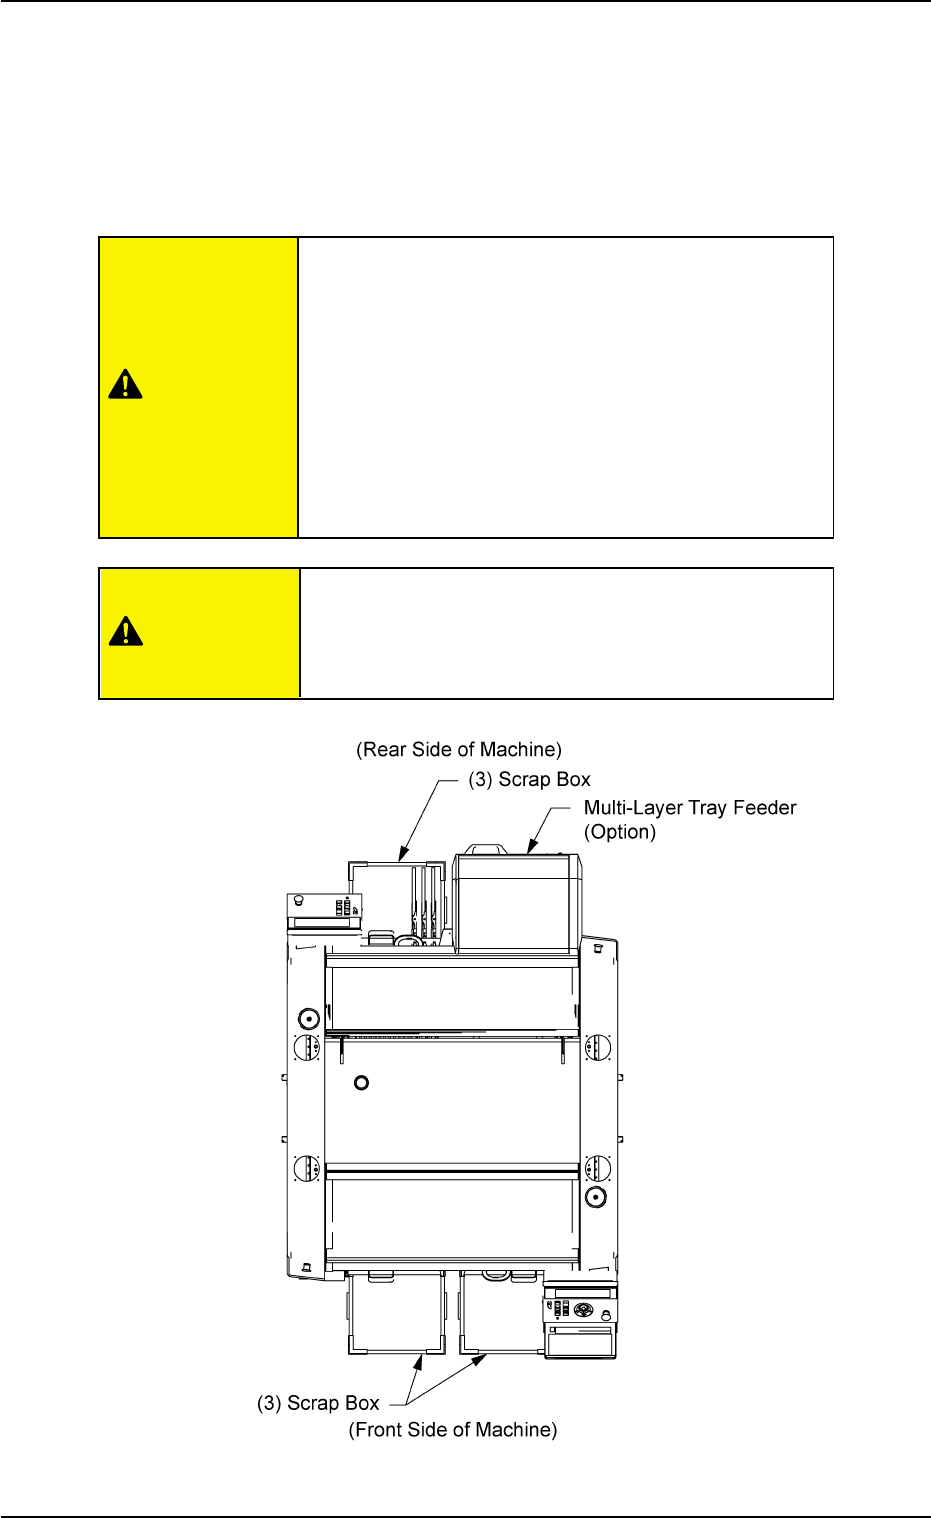
1.3 Maintenance Spots
1.3.1 General View
Refer to "1.3.2" and the subsequent items for details.
• Before performing maintenance work, turn off the
power and air sources and lock the power breaker
using the padlock.
• Designate a person who can have charge of the
padlock key.
• Any operations with a cover(s) being removed are
included.
After the maintenance work, be sure to attach the
cover.
• As for the options such as a multi-layer tray feeder,
refer to each instruction manual of the specially
specified devices for the maintenance.
Fig. 4A5 Top View of Machine
1.3 Maintenance Spots
0308-004 1-5 AHB01ETRP
CAUTION
CAUTION