YesAX V3.1.2 - Software User Manual - 第275页
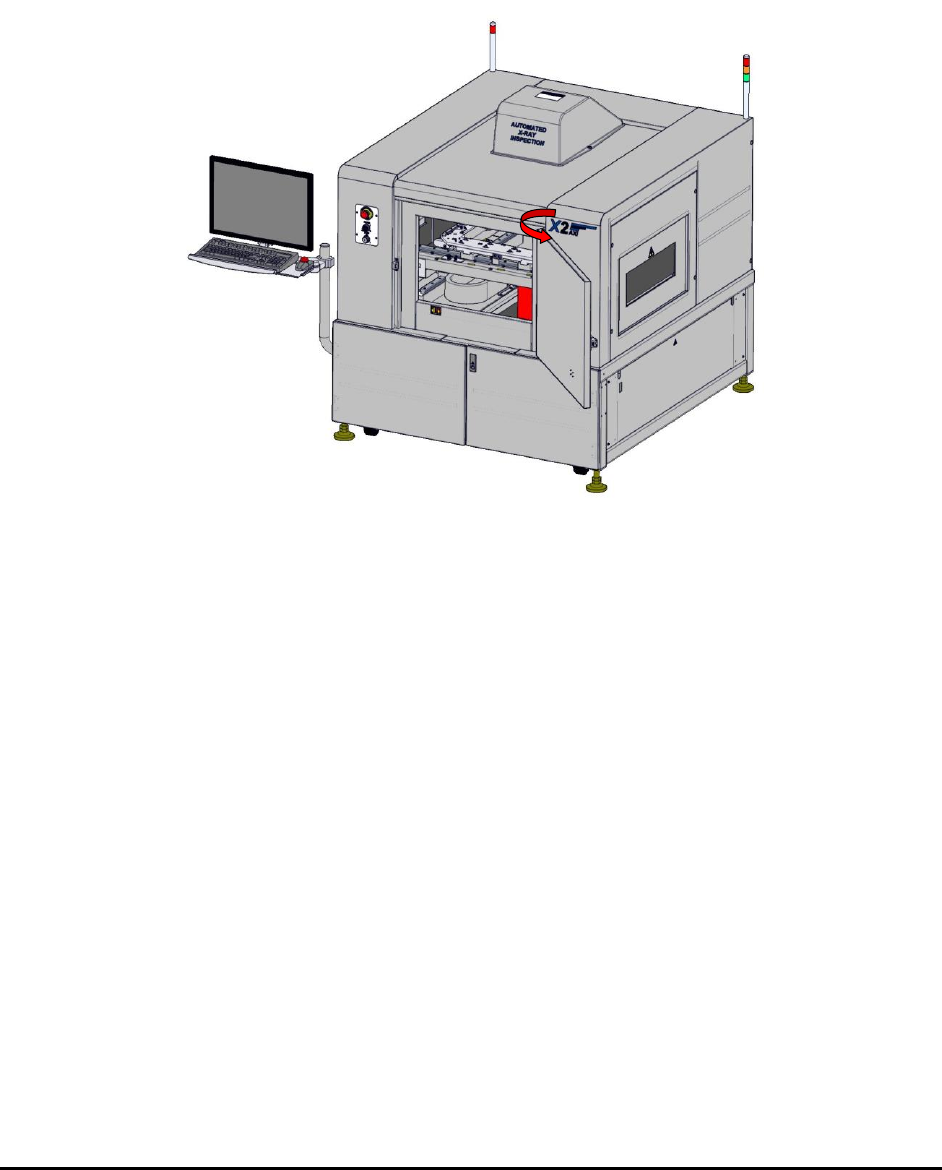
Maintenan ce 27 -3 27.5 Lubricating the Le ad Screws To lubricate the lead screw s: 1. Perf orm a service shutdown as specified in 2.11 Service Shutdown . 2. Open the f ront door. Figure 27 -1 A XI Systems – Chamber Door…
27-2 Maintenance
27.4 Routine Maintenance Procedures
WARNING! CAUTION!
Before performing any of the maintenance procedures in this section, perform a
service shutdown described in 2.11 Service Shutdown.
NOTE The following maintenance procedures are for the FX Series, M1 Series, and BX Series
Systems only.
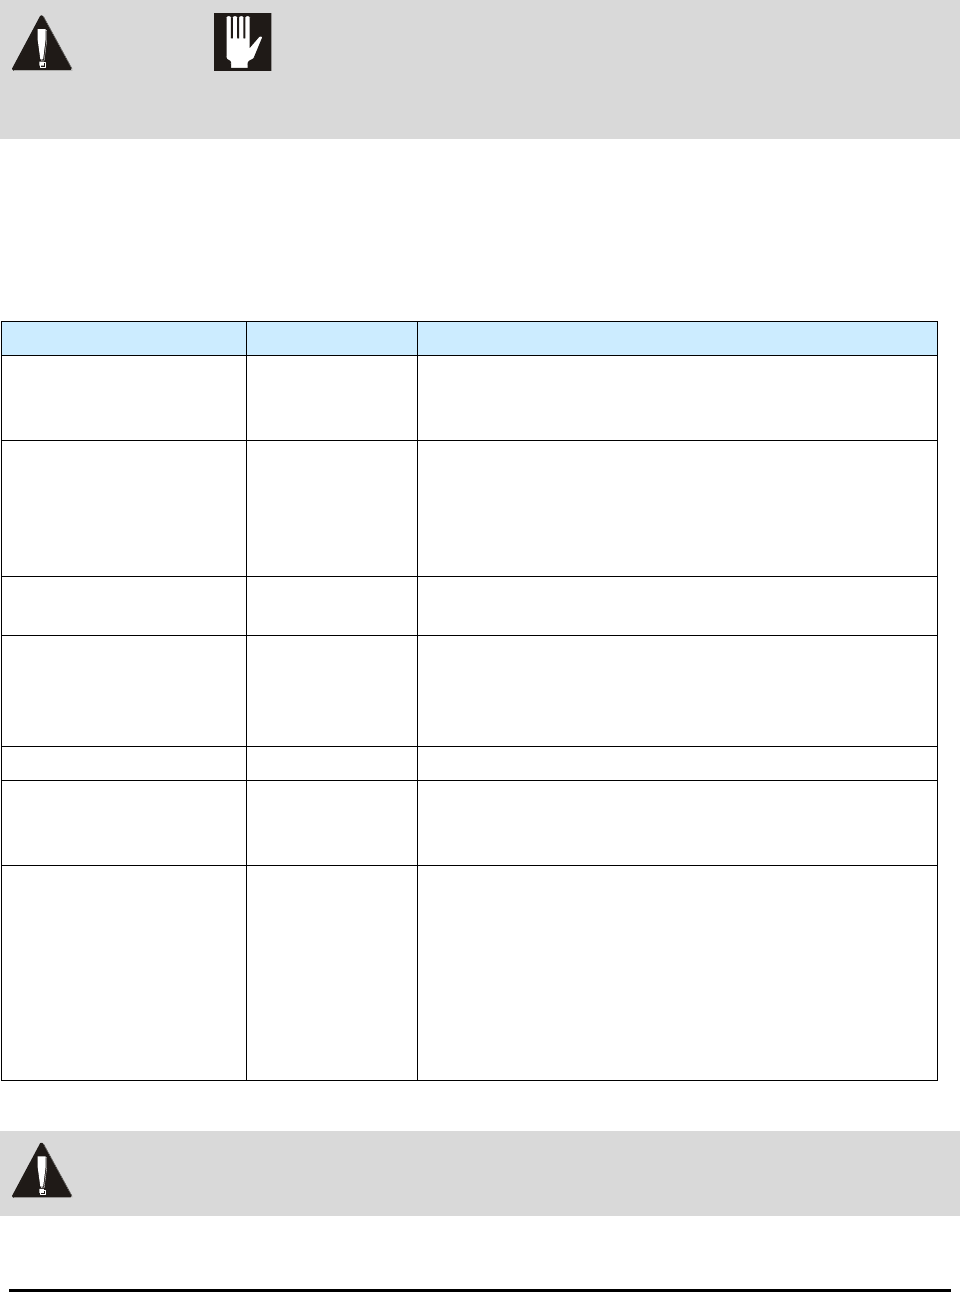
Routine maintenance procedures and required intervals are listed in Table 27-1.
Table 27-1 Routine Maintenance Procedures
Task
Frequency
Instructions
Clean outside of the
system
6 Months
Clean the outside of the system with a slightly moist,
non-abrasive cloth. Clean the monitor with a cleaning
pad specifically made to clean LCD monitors.
Clean the inside of the
system
6 Months
Clean the inside of the system including the conveyor,
conveyor sensor windows, and base using the cleaning
cloth. Clean the lower compartment which houses the
computer and electronics. Access from the rear of the
system is also available.
Inspect Conveyor and
Board Stop Covers
6 Months
Inspect the conveyor for worn conveyor belts and board
stop covers.
Clean all lenses and
mirrors
6 Months
Ensure that all of the lenses and mirrors are clean by
moving the stage and using a small mirror to look at the
lenses. Remove dust with clean, dry, compressed air.
Lens cleaning solution and lens tissue may also be used.
Lubricate Lead Screws
6 Months
Refer to 27.5 Lubricating the Lead Screws for details.
System Calibration
6 Months
Refer to the Nordson YESTECH X2 Calibration or X3
Calibration document for specific calibration
procedures.
Verify E-Stop
functionality
6 Months
Ensure that the E-stop switch functions properly by
verifying that power to the whole system is turned off
when the switch is pressed. The computer and monitor
will not be turned off as they will continue to run for a
few minutes on the UPS. The UPS, however, will beep
indicating that the UPS does not have power.
Release the E-stop switch and verify that power is
restored.
WARNING! Maintenance procedures should be performed by trained personnel only.
27-4 Maintenance
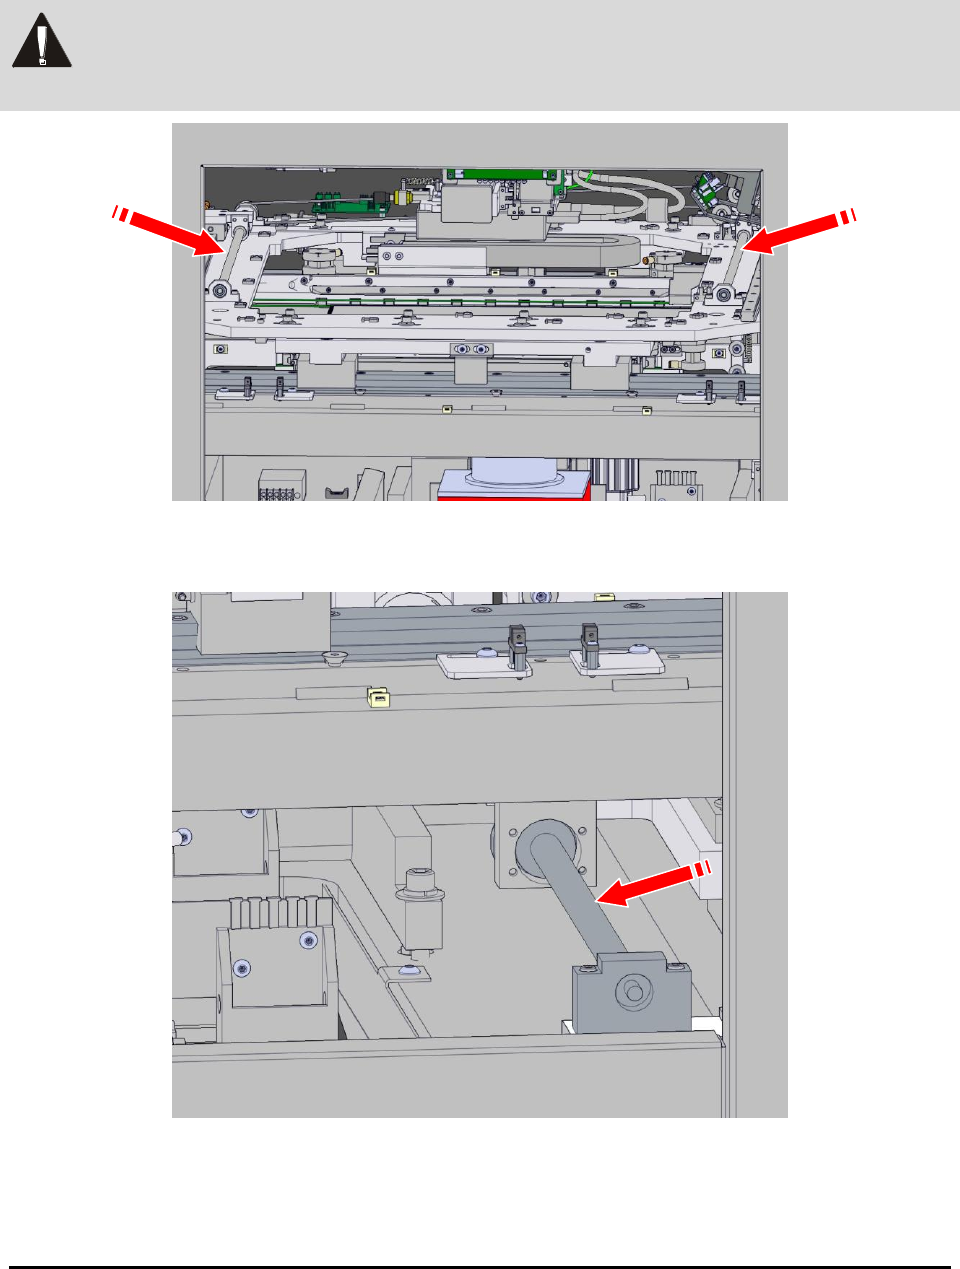
3. Apply a small amount of grease to the conveyor width adjustment X-axis lead
screws (Figure 27-2).
WARNING! Only THK AFB grease should be used on stage lead screws. Failure to do so can
cause system damage and void the system warranty.
Figure 27-2 X-axis Lead Screws for the Conveyor Width Adjustment
4. Apply grease to the X-axis lead screw for the stage.
5. Pull the stage forward manually to distribute the grease.