00191025-01.pdf - 第514页
SIPLACE 80S/F/G User’s Manual 10 SIPLACE G Edition 07/97 from S oftware Version SR.010.xx 10.7 Single Functions 10 - 47 10.7.4.4 Glueing Unit 1,2,3 To selec t the menu " Glueing un it 1,2,3" p roceed as follows…

10 SIPLACE G SIPLACE 80S/F/G User’s Manual
10.7 Single Functions Edition 07/97 from Software Version SR.010.xx
10 - 46
●
Go to zero pulse
The zero pulse is the position of the gantry upon which the counting procedures of the incremental gener-
ators are based.
To go to the zero pulse proceed as follows:
●
In the menu "Gantry functions" move the cursor bar by means of the
cursor keys
onto the menu item
"Go to zero pulse".
●
Press the
Return key
.
●
Press the
start key
as often as you are asked to do so. The gantry will travel to the zero pulse of the x
and y axes.
●
Gantry reference run
With the function gantry reference run the gantry makes a reference run with the x and y axes.
To carry out a gantry reference run proceed as follows:
●
In the menu "Gantry functions" move the cursor bar by means of the
cursor keys
onto the menu item
"Gantry reference run".
●
Press the
Return key
.
Press the
start key
as often as you are asked to do so. The gantry will perform a reference run.
NOTE
After quitting the gantry menu by means of the
Esc key
(you are returned to the main menu Single functions),
the glueing head automatically carries out a head reference run.
10.7.4.2 Cycle Mode
●
In the menu "Gantry" move the cursor bar by means of the
cursor keys
onto the menu item "Cycle mode".
●
Press the
Return key
.
For each step of the glueing sequence you must now press the start key.
10.7.4.3 Entire Head Reference Run
●
In the menu "Gantry" move the cursor bar by means of the
cursor keys
onto the menu item "Entire head
ref. run".
●
Press the
Return key
.
The glueing heads and the small gantry axes will then perform a reference run.

SIPLACE 80S/F/G User’s Manual 10 SIPLACE G
Edition 07/97 from Software Version SR.010.xx 10.7 Single Functions
10 - 47
10.7.4.4 Glueing Unit 1,2,3
To select the menu "Glueing unit 1,2,3" proceed as follows:
●
In the menu "Single functions" use the cursor keys to select the menu item "Gantry".
●
Press the
Return key
. On the screen the menu "Gantry" appears.
●
In the menu "Gantry" use the cursor keys to select the appropriate glueing unit under the menu item
"Glueing unit".
Press the
Return key
. On the screen the menu "Glueing unit" appears for the glueing unit you have selected.
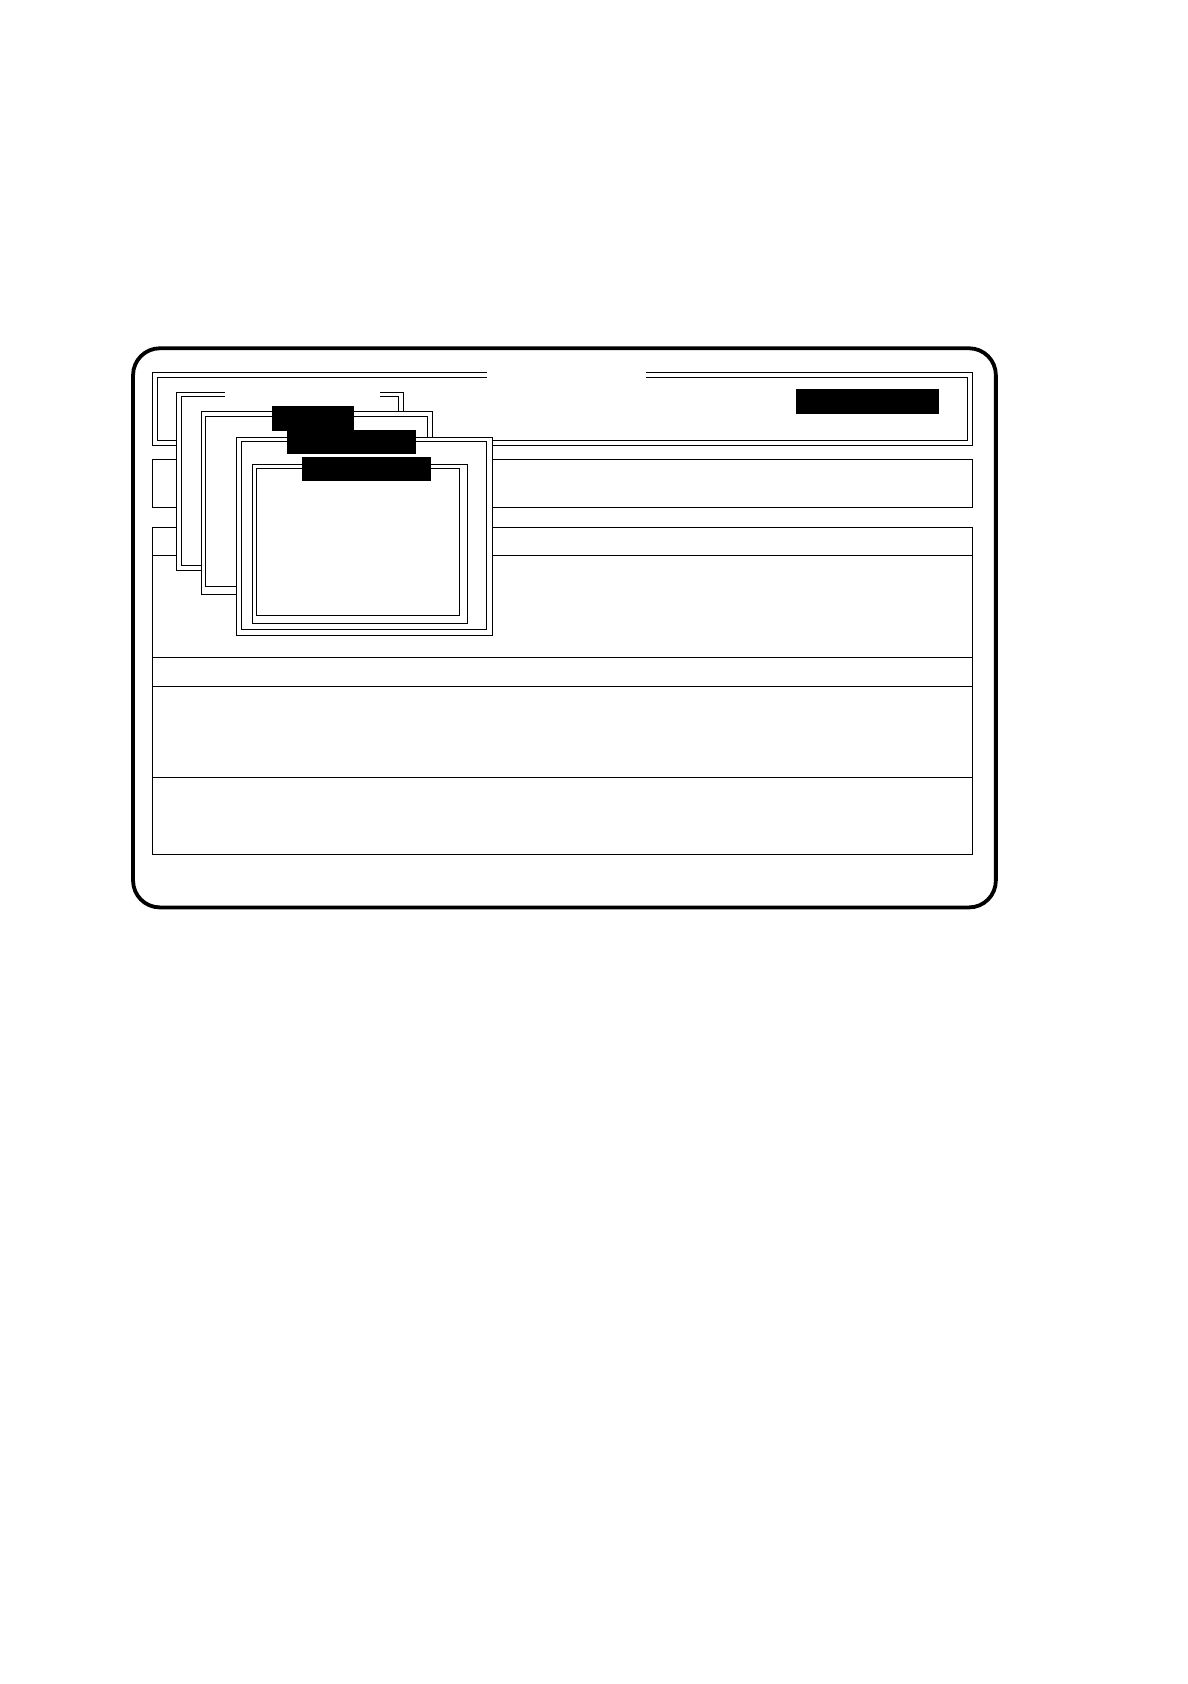
Fig. 10.7.5
SI 80G V 10.x
Cluster:
Display errors
Confirm errors
Machine options
Software options
Vision system
Error
State
Action
:
:
:
Single functions
Single functions
Gantry
Glueing unit 1
New cartridge
Continuous glueing
Display filling level
Display actual temperature
Set glueing point
Single functions
Glue spot check
10 SIPLACE G SIPLACE 80S/F/G User’s Manual
10.7 Single Functions Edition 07/97 from Software Version SR.010.xx
10 - 48
●
New cartridge
●
In the menu "Glueing unit" move the cursor bar by means of the
cursor keys
onto the menu item
"New cartridge".
●
Press the
Return key
.
You will be asked to confirm this.
Fig. 10.7.6
●
You may either confirm the change or not confirm it. If you do confirm it the glueing unit in question will
be initialized to a full cartridge.
●
Move the cursor bar onto the relevant function and press the
Return key
.
●
Continuous glueing
●
In the menu "Glueing unit" move the cursor bar by means of the
cursor keys
onto the menu item "Con-
tinuous glueing".
●
Press the
Return key
.
The menu "Continuous glueing" will then open.
SI 80G V 10.x
Cluster:
Display errors
Confirm errors
Machine options
Software options
Vision system
Error
State
Action
:
:
:
Single functions
Single functions
Gantry
Glueing unit 1
New cartridge
Confirm cartridge
Abort