00191025-01.pdf - 第519页
10 SI PLACE G SIPLACE 80S/F/G User’s Manual 10.7 Single Functions Edition 07/97 f rom Software Version SR.010.xx 10 - 52 10.7.4. 6 Paper Feed Cl eaning Pad ● In the m enu "Gantr y" move the cursor b ar by means…
SIPLACE 80S/F/G User’s Manual 10 SIPLACE G
Edition 07/97 from Software Version SR.010.xx 10.7 Single Functions
10 - 51
●
Set glueing point
●
In the menu "Glueing unit" move the cursor bar by means of the
cursor keys
onto the menu item "Set
glueing point".
●
Press the
Return key
.
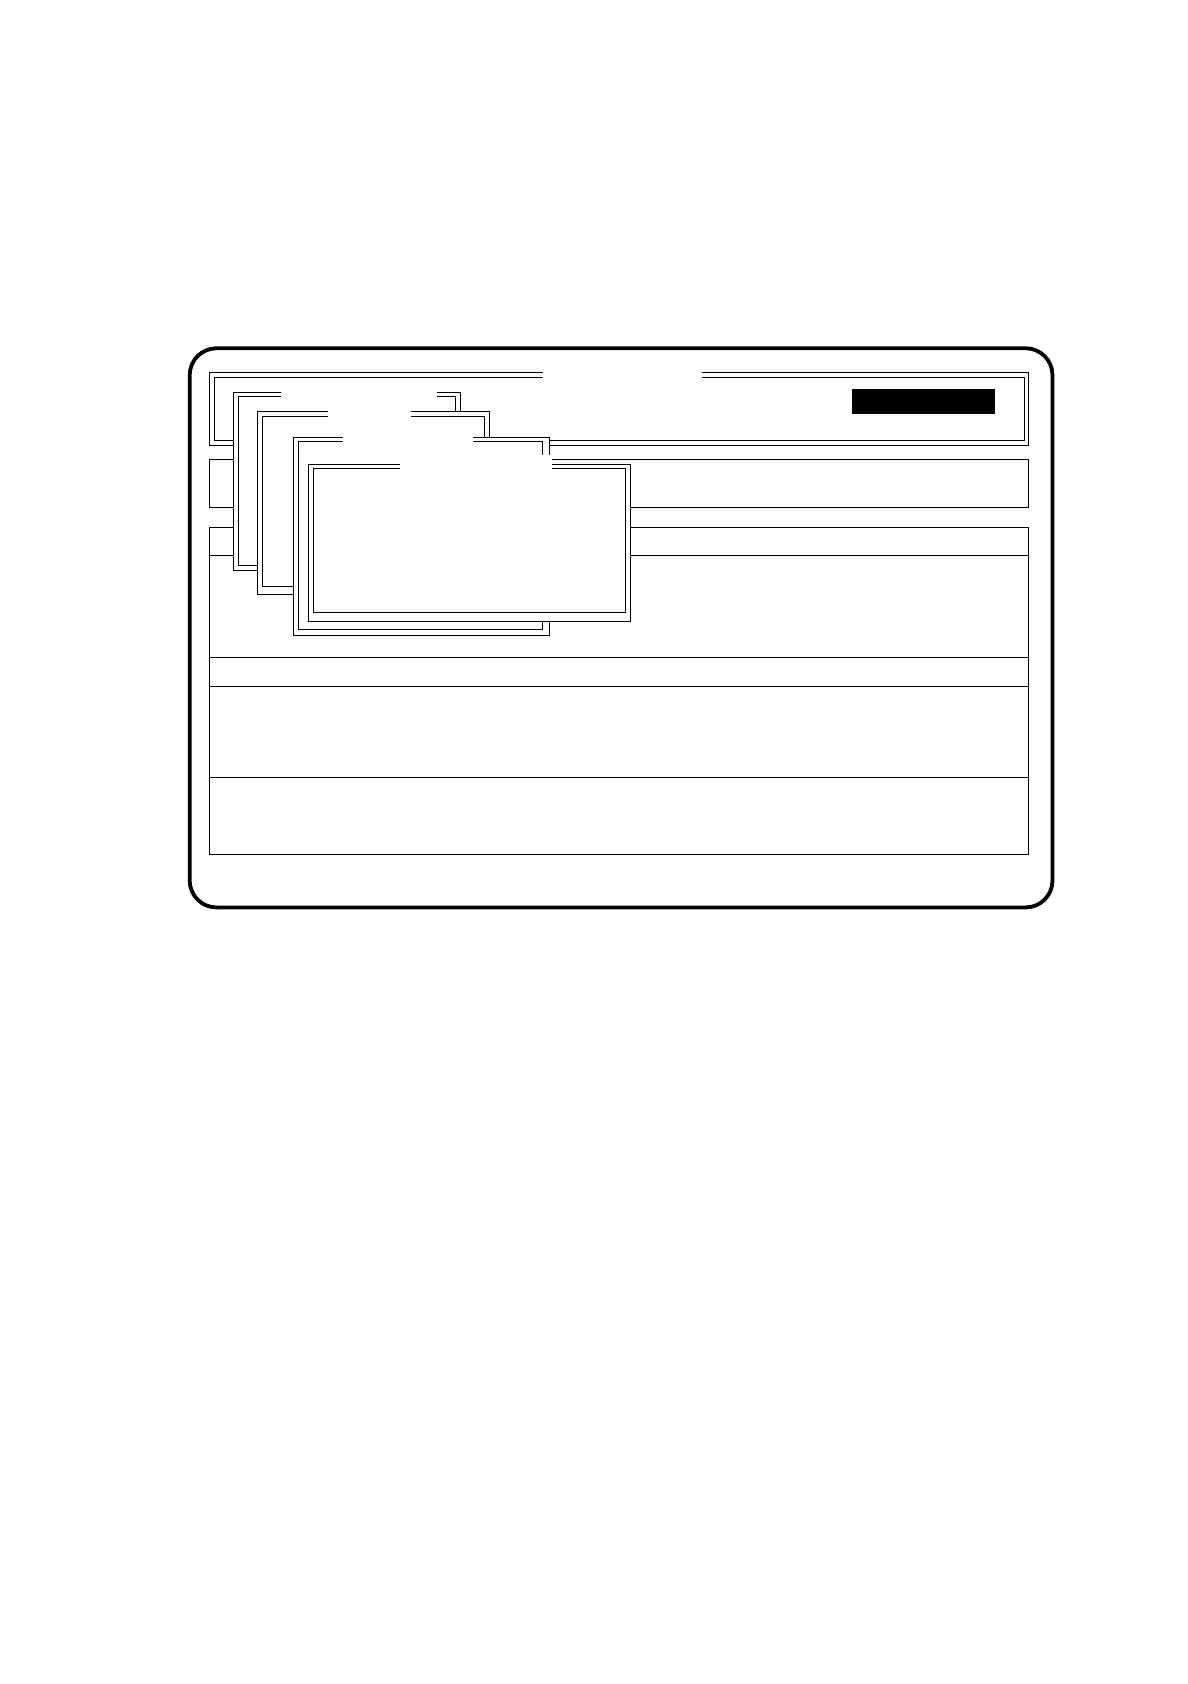
The menu "Set glueing point" will then be opened.
Fig. 10.7.9
●
Type in a glueing size and press the
Return key
. The minimum and maximum limits of the glueing unit
to be set up will be checked.
●
Use the Esc key to quit the menu "Set glueing point".
●
Glue Spot Check
●
In the "Dosing unit" menu bring the cursor bar over the menu item "Glue spot check" with the aid of the
cursor keys.
●
Press the
Return key
.
●
Glue spots will be placed on the wiper roll. The component camera will check the glue spots and
determine a correction value for the vacuum adaptation. This value is displayed and saved under
"Adapt glue spot volume" and the previous value overwritten.
●
Use Esc to quit the "Set glue spot" menu.
10.7.4.5 Glueing Parameters
The menu "Glueing parameters" is described in Section 10.4.1.
SI 80G V 10.x
Cluster:
Display errors
Confirm errors
Machine options
Software options
Vision system
Error
State
Action
:
:
:
Single functions
Single functions
Gantry
Glueing unit 1
Set glueing point
Glueing size: XX
Esc.: abort

10 SIPLACE G SIPLACE 80S/F/G User’s Manual
10.7 Single Functions Edition 07/97 from Software Version SR.010.xx
10 - 52
10.7.4.6 Paper Feed Cleaning Pad
●
In the menu "Gantry" move the cursor bar by means of the
cursor keys
onto the menu item "Paper feed
cleaning pad".
●
Press the
Return key
.
The cleaning pad will perform a defined paper feed.
10.7.4.7 Cleaning Pad Cycle
●
In the menu "Gantry" move the cursor bar by means of the
cursor keys
onto the menu item "Cleaning pad
cycle".
●
Press the
Return key
.
The glueing head moves to over the cleaning pad and with all 3 glueing units sets the glueing points onto the
cleaning pad. The glueing head then moves out of the area of the cleaning pad.
10.7.5 Transport
The single transport functions for the SIPLACE G are identical to the transport functions of the SIPLACE 80.
For the menu "Transport", see Section 6.4 "Transport Functions 80S" or 80F.
SIPLACE 80S/F/G User’s Manual 10 SIPLACE G
Edition 07/97 from Software Version SR.010.xx 10.8 Gluing Tips and Tricks
10 - 53
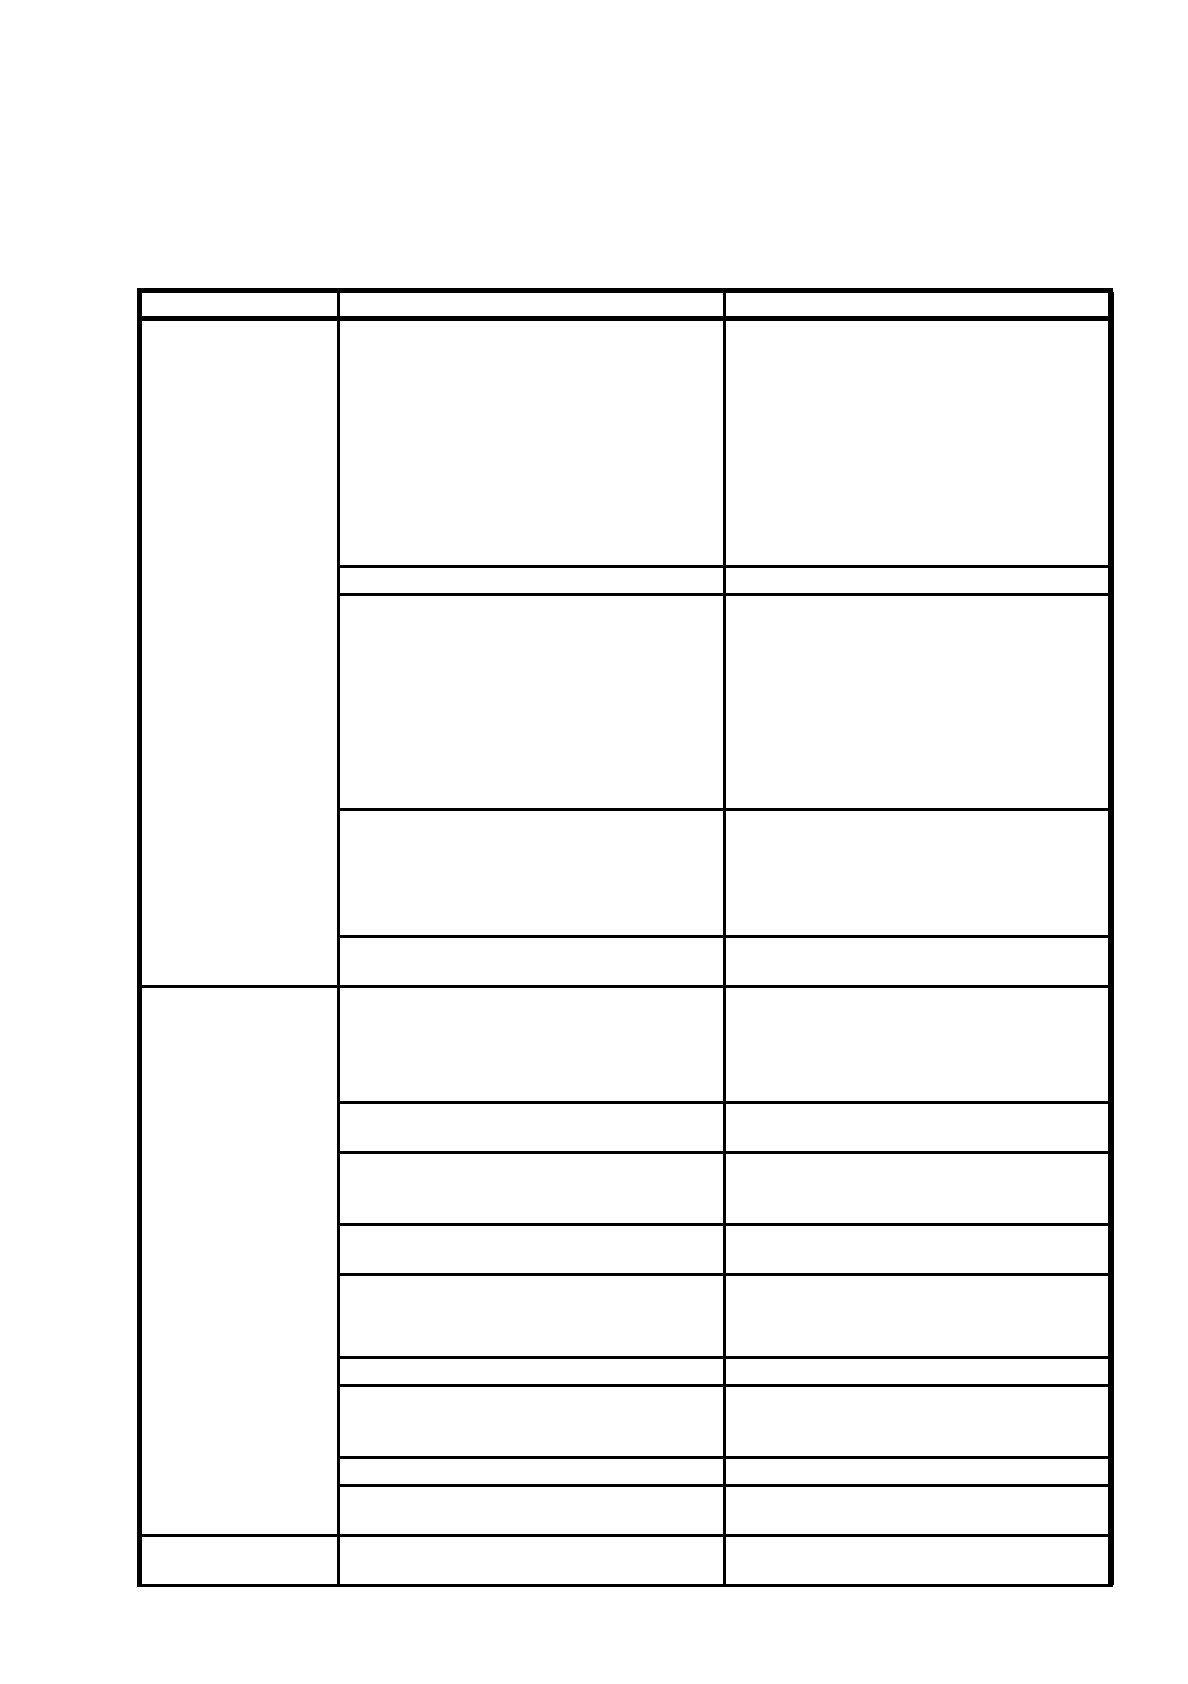
10.8 Gluing Tips and Tricks
Malfunction Cause Remedy
The adhesive becomes
soft and stringy
The outside of the nozzle is dirty. Clean the outside of the nozzle and spacer.
Check the nozzle diameter.
Check the spacer.
Check whether too much adhesive is being
applied and adjust the “Adhesive point volume”
accordingly.
If the gluing unit approaches the adhesive
wiper cyclically, reduce the number of large
adhesive points.
Large points are smeared on the paper roll See “Outside of nozzle is dirty”.
You have used a poor quality adhesive.
This means that the adhesive becomes irregu-
lar and stringy during continuous application
- They break off early and are puckered,
or
- when the solenoid valve is manually actu-
ated, a drop of adhesive forms on the nozzle
and is then pulled back again.
Check the shelf life of the adhesive.
Follow the manufacturer’s storage instructions
on the data sheet.
Replace the glue cartridge.
You are using the wrong spacer. Check the label to ensure that you have fitted
the spacer correctly.
Using a slide gauge, check the distance
between the nozzle and spacer and compare
against the reference value.
The nozzle has been damaged.
(See below for possible causes)
Replace the nozzle.
Fluctuations in the glue
point size (fluctuations
in diameter of
±
1 metering stage)
are not faults
The nozzle is clogged.
(See below for possible causes)
Clean the nozzle.
Batch fluctuations with a new glue cartridge Adjust the adhesive volume and carry out
another adhesive point check.
The cartridge has not been set to ’full’ or has
been set to ’full’ incorrectly.
Insert a new, full cartridge and confirm using
the ’New cartridge’ menu item in the Single
functions.
The characteristic curve does not match the
adhesive used.
Load the correct characteristic curve.
The adhesive temperature is too low. Set the correct temperature.
Check the adhesive temperature control sys-
tem.
You are using plastic nozzles. Use coated aluminum nozzles.
The chemical properties of the adhesive have
changed on account of atmospheric humidity,
for example.
Adjust the adhesive volume and carry out
another adhesive point check.
You are using a poor quality adhesive. Insert a new cartridge.
The nozzle has been damaged. (See below for
possible causes.)
Replace the nozzle.
Air bubbles have formed in the adhesive after
changing the nozzle.
Carry out a continuous metering cycle.