IPS adjustment on the modules.pdf - 第155页
Edition 1 .0 IPS Adjustment for V arious Hea d T ypes on the Module < H12 L h ead > FK - 9F50 - 74 - 0E 8-1 FUJI CORPORA TION Chapter 8- H12 L he ad IPS a djus tme nt IPS camera pos ition adjustment, cur rent value…

CONFIDENTIAL
Edition
1.0 IPS Adjustment for Various Hea d Types on the Module
<H12L head>
FK-9F50-74-0E 8-1 FUJI CORPORATION
Chapter 8- H12L head IPS adjustment
IPS camera position adjustment, current value (grayscale
value) adjustment and area check
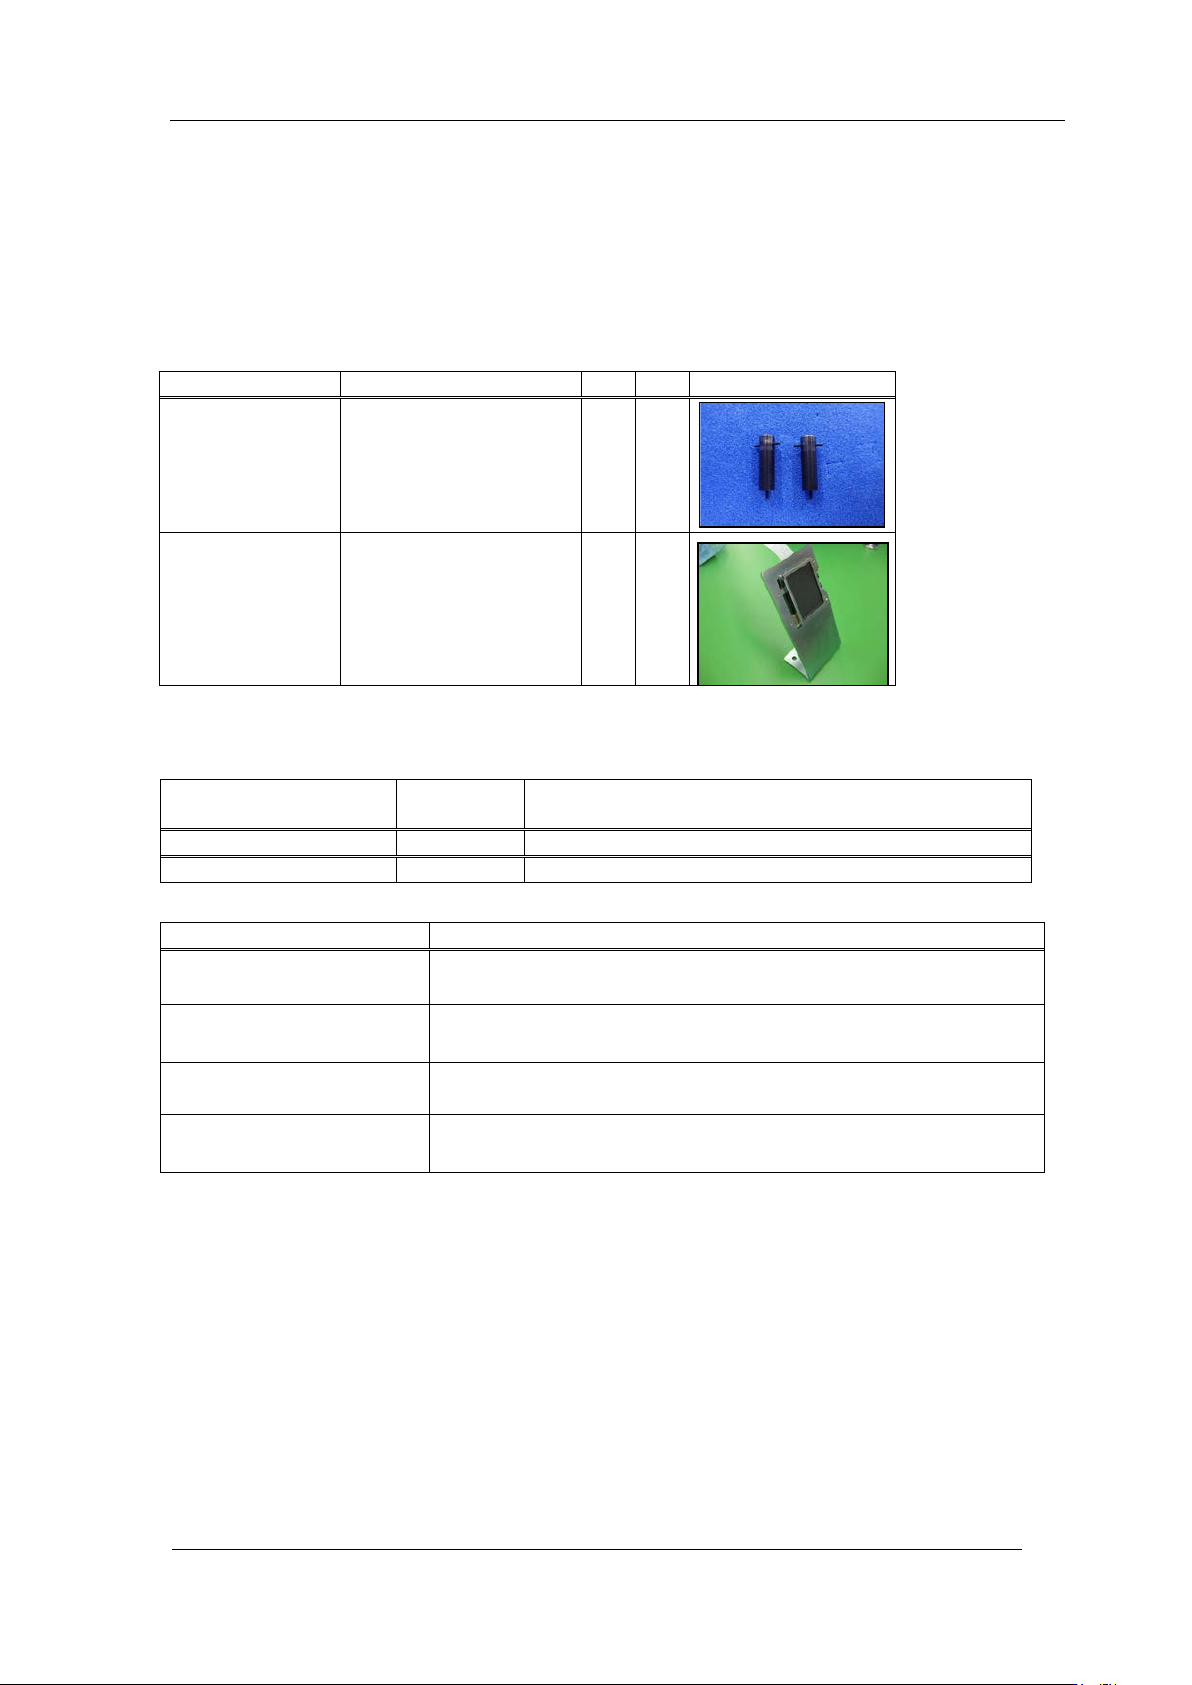
Required Ji gs
Requir ed software
Drawing No.
Name
Qty
Photo
2AGTHJ00540*
parts side recognition
camera resolution jig
(H12L head only)
2
2AGTHJ00480*
IPS Monitor Jig
(same as H24(G), DX
head)
1
Name
Drawing
No.
Remarks
MotionAdjustmentTool
None
Inst al l fro m the NXT application C D-ROM
Equipment Check
None
Inst al l fro m the NXT application C D-ROM
Inspection item
Tolerance
LED Current adjustment
Grayscale value
GR = 120
~
160, G L =120
~
160
(
Target:120
)
CURRENT value: 24 m A or less
Camera resolution ch eck
L: X = 90
~
110
L: Z = 90 ~110
Center val ue
R: Xs = 390±25
Zp = 320 ± 20
L: XE = 90±20
Zp = 320±20
Tilt
R: dX = 0
~
9
(
Target: 0
)
, dZ = 0
~
9 (Target: 0)
L: dX = 0
~
9
(
Target: 0
)
, dZ = 0
~
9 (Target: 0)
CONFIDENTIAL
Edition
1.0 IPS Adjustment for Various Hea d Types on the Module
<H12L head>
FK-9F50-74-0E 8-2 FUJI CORPORATION
Preparation on the modul e
1 Remove the covers.
2 Attach the n ozzle jigs to h older B and L.
3 In order to adjust the position of IPS camera, it is necessary to move to the R-ax is and
Q-axis to the original posit ion. The procedure is bel ow.
4 Attach the h ead to the mo dul e and turn the b ase power O N.
5 Push the START button at the main screen and immediately press the CYCLE STOP
button to stop the motion. Confirm that the R-axis has moved to its original position
(Holder A is in front).
6 Use the software “MotionAdjustmentTool” to check the servo counter of the head on
the module.
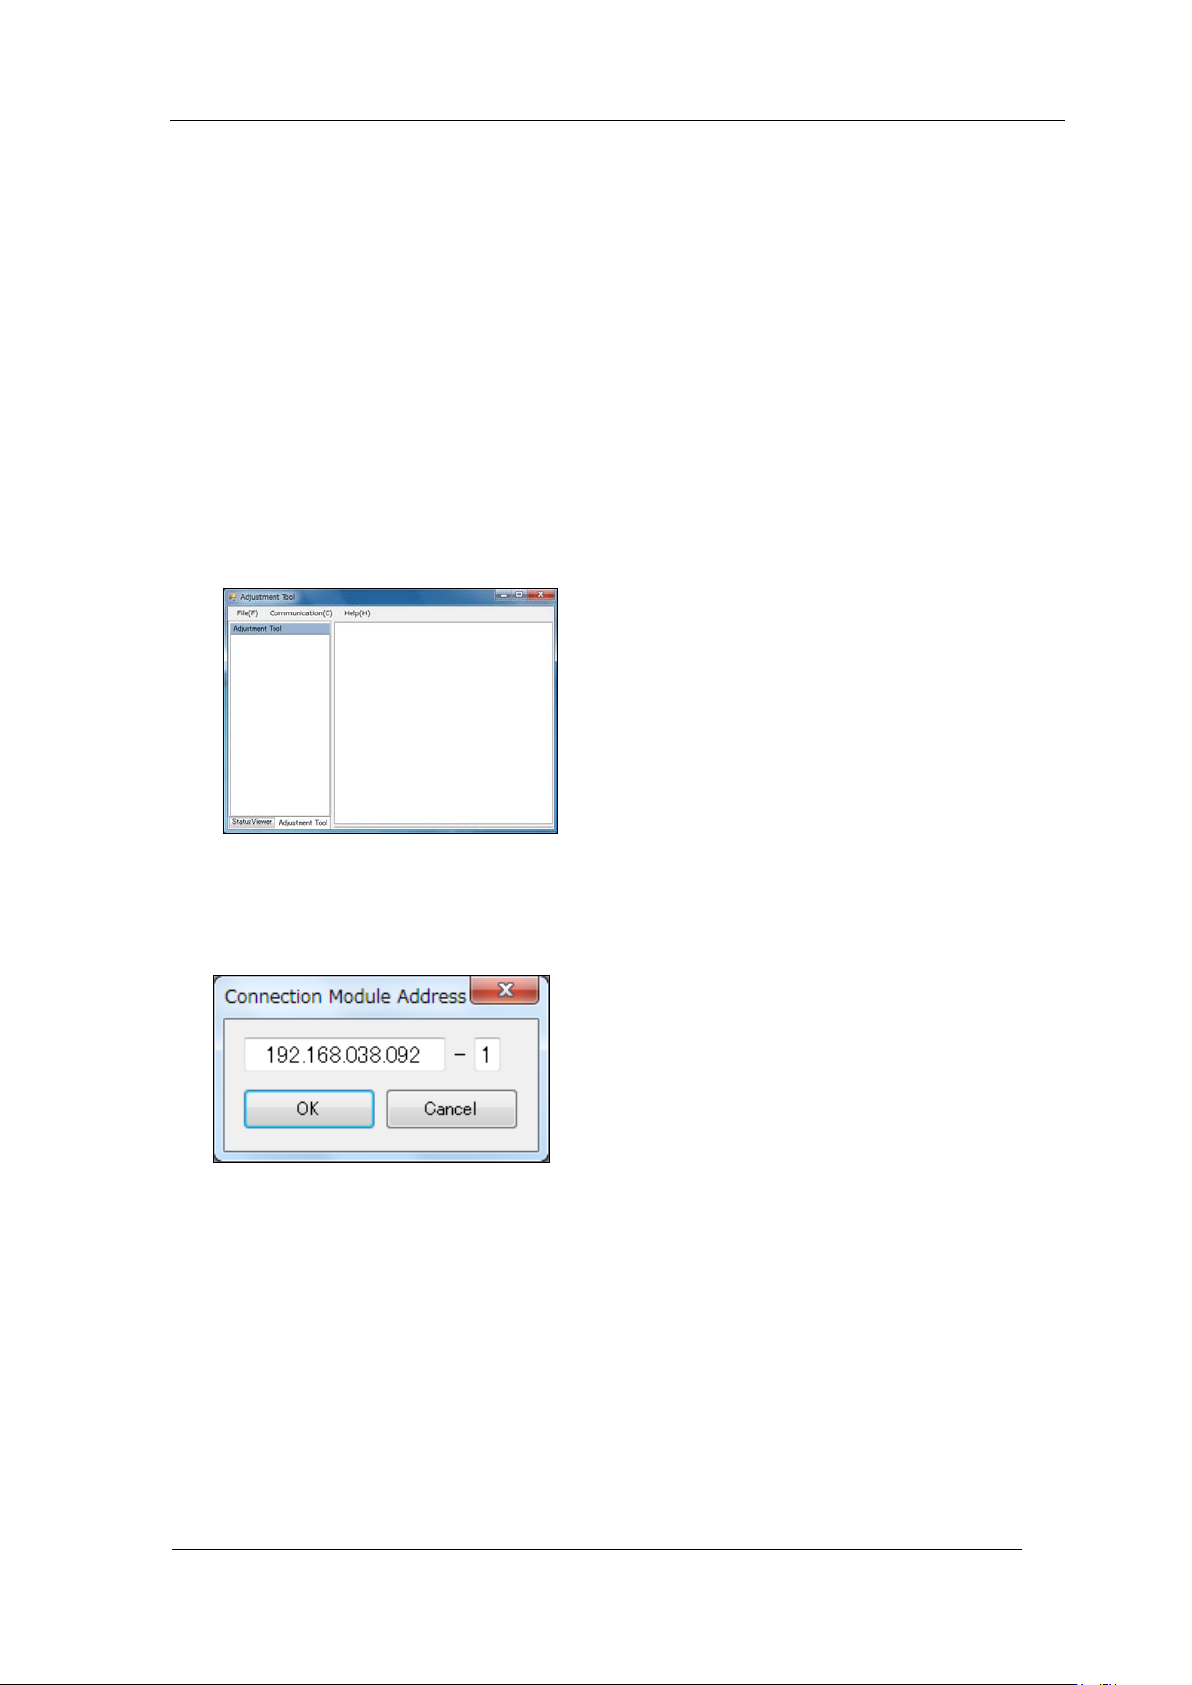
7 Startup MotionAdjustmentTool.
8 Sele ct [Communication] - [Connect]. Enter the IP address of the base and the module
number, and th en click [OK]
CONFIDENTIAL