IPS adjustment on the modules.pdf - 第73页
Edition 1.0 IPS Adjustment for Various Head Types on the Modul e <DX h ead> FK - 9F50 - 74 -0E 3- 19 FUJI CORPORAT ION 62. Pu sh the upper and low er but tons togeth er to return the cont r ast t o nor mal. 63. Thi…
Edition
1.0 IPS Adjustment for Various Head Types on the Module
<DX head>
FK-9F50-74-0E 3-18 FUJI CORPORATION
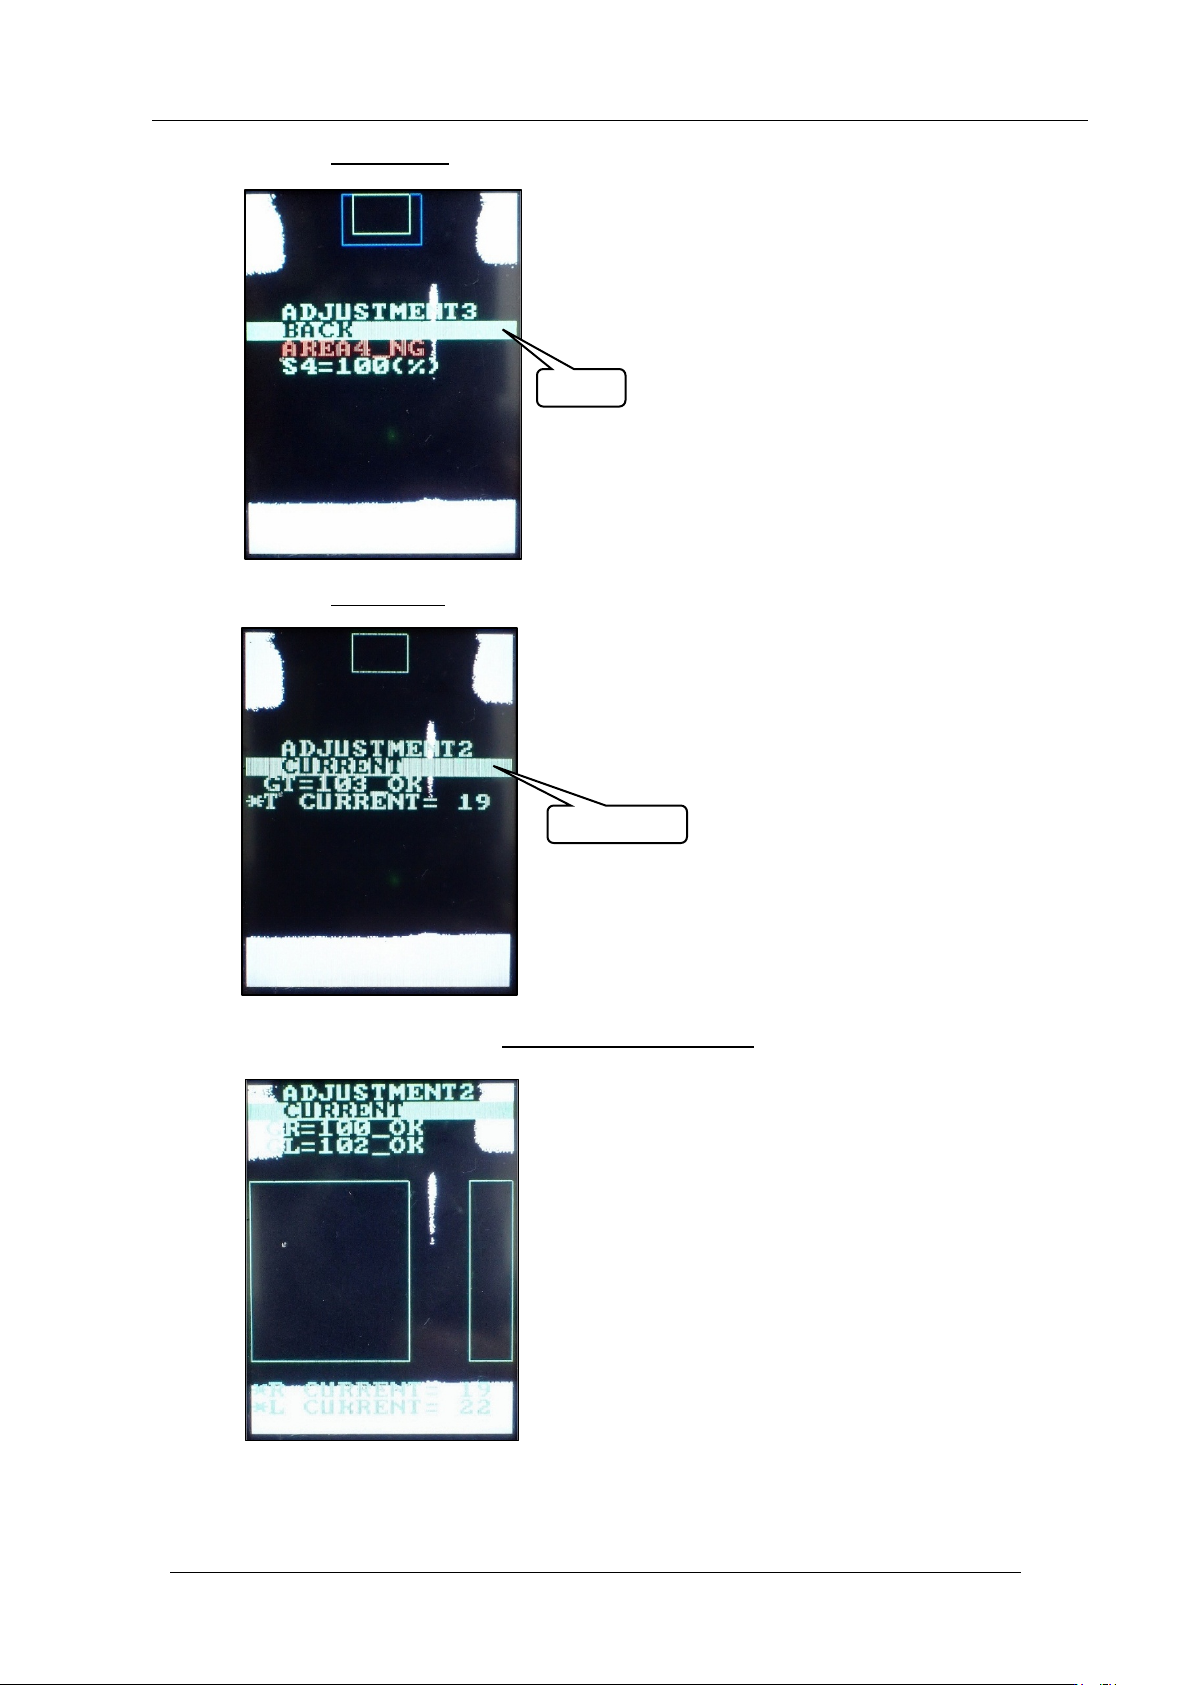
59. Push the upper butt on once to sele c t “ BA CK”.
60. Push the lower button
once to display “ CU R RENT”.
61. With “CURRENT” selected, hold down the lower button
to display the followin g scr een.
BACK
CURRENT
CONFIDENTIAL
Edition
1.0 IPS Adjustment for Various Head Types on the Module
<DX head>
FK-9F50-74-0E 3-19 FUJI CORPORATION
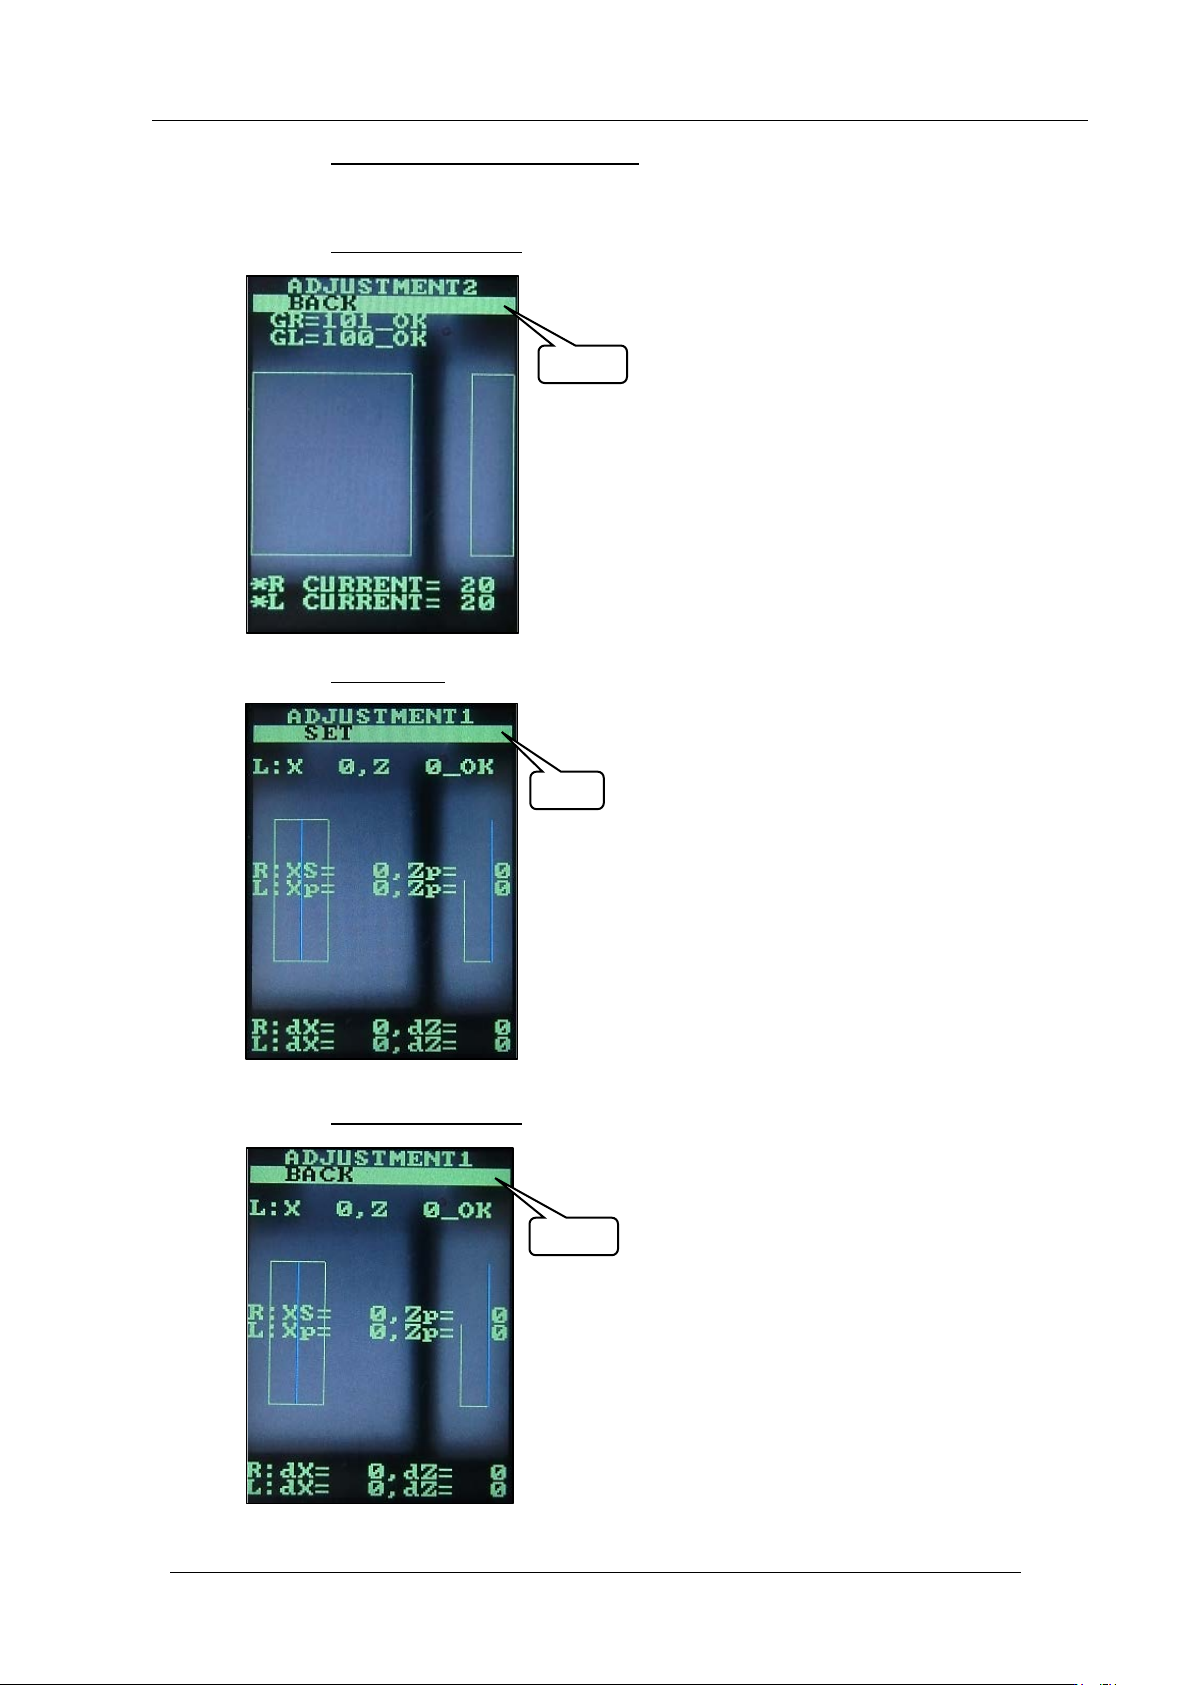
62. Push the upper and low er buttons together to return the cont r ast t o normal.
63. This completes the sett ing s. Follow the st eps below t o r et ur n t o the original scr een.
64. Push the upper butt on 3 t imes
to select bac k.
65. Push the lower button once t o display “SET” .
66. Push the upper butt on 2 t imes
to select “BA C K” .
SET
BACK
BACK
CONFIDENTIAL
Edition
1.0 IPS Adjustment for Various Head Types on the Module
<DX head>
FK-9F50-74-0E 3-20 FUJI CORPORATION
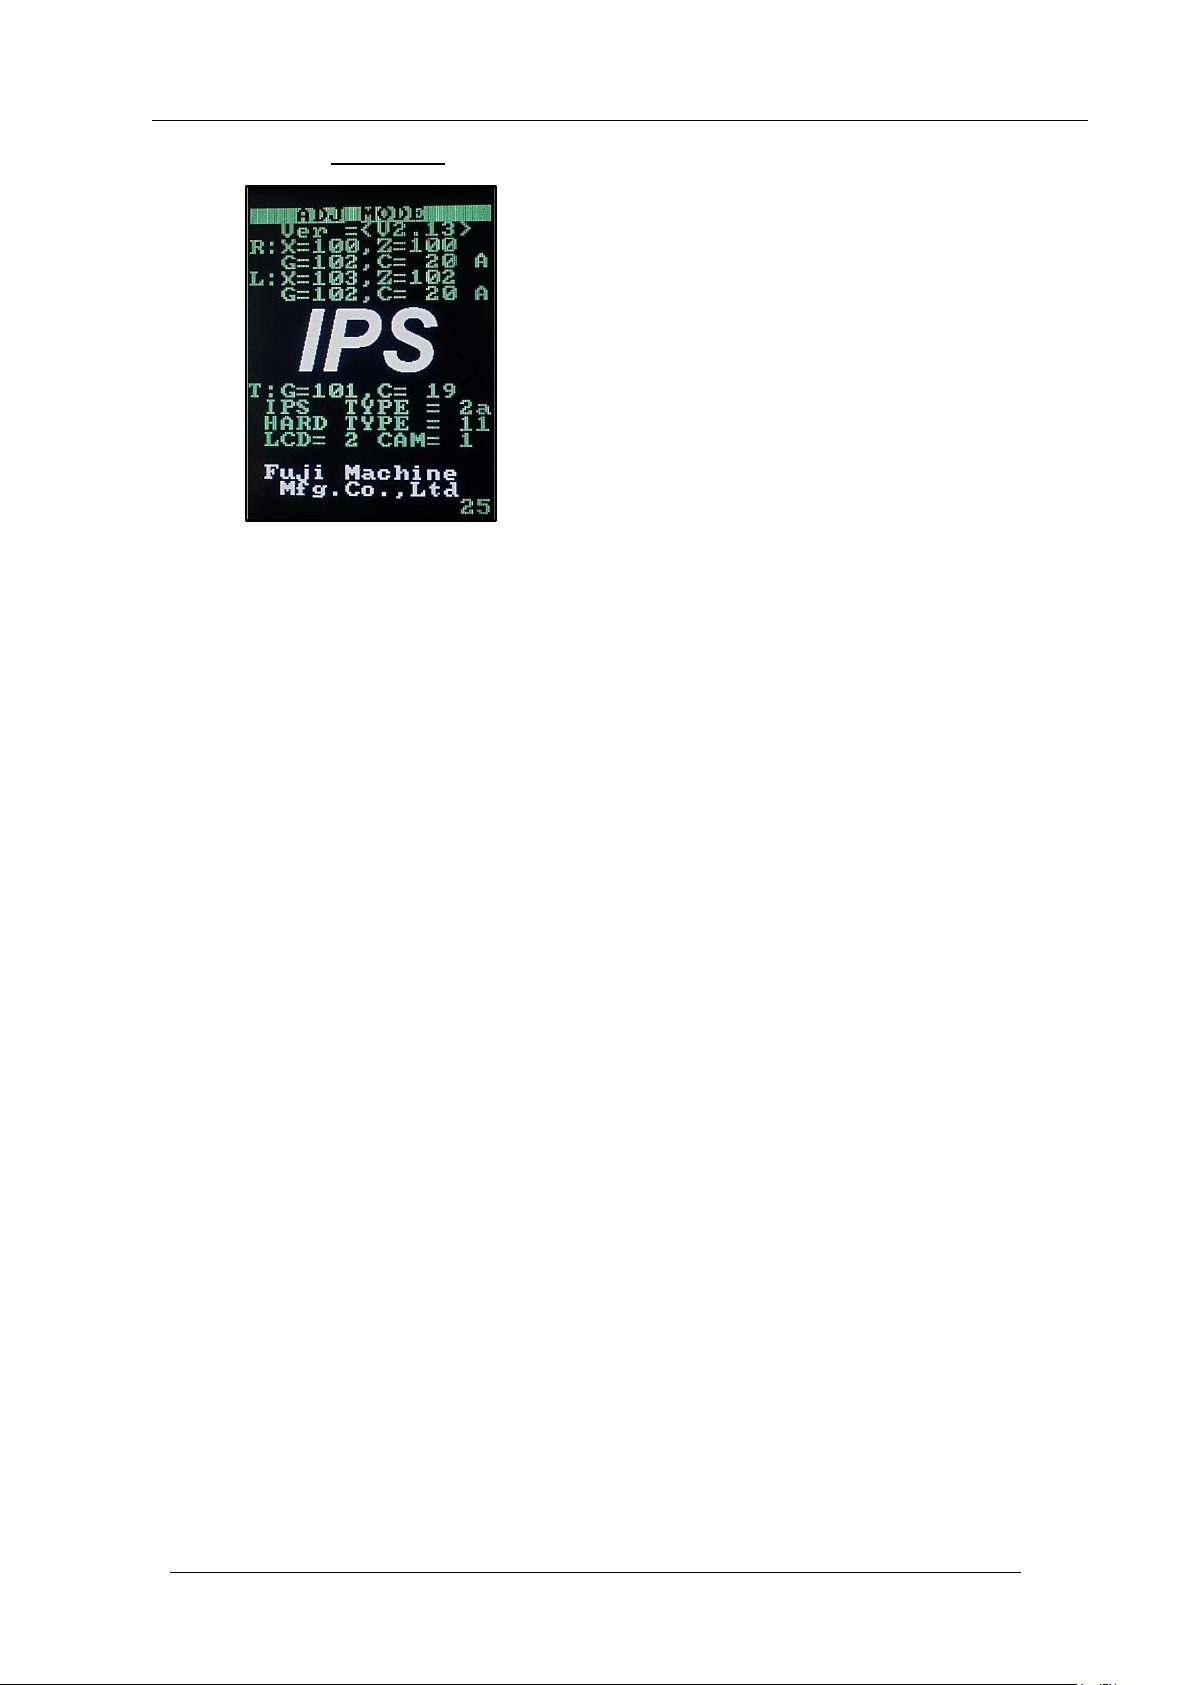
67. Push the lower button once to r eturn to the or iginal screen.
68. T ur n O FF [Y120 I P S ON] to raise the IPS unit.
69. Support t he I PS a djustme nt jig by hand.
70. Turn ON [Y110 AUTO TOOL UNCLAMP] to remove the IPS adjustment jig from the
head.
71. T ur n O FF [Y110 AUTO TOOL UNCLAMP].
72. T ur n ON [Y10A Z1AXIS BRAKE RELEASE].
73. Raise the Z-axis to the up per retract position.
74. Remove the head using the head exchange command.
75. Remove the IPS monitor j ig and then attach the hea d cover.
76. This completes the IPS unit adjustment procedure.
CONFIDENTIAL