IPS adjustment on the modules.pdf - 第89页
Edition 1 .0 IPS Adjustment for V arious H ead T ypes on the Module <V12 h ead> FK - 9F50 -74-0E 4- 13 FUJI CORPORA TION 4. Press and hold the lower but t on for 2 to 3 secon ds. An aster isk mark * d isp lays next…
Edition 1.0 IPS Adjustment for Various Head Types on the Module
<V12 head>
FK-9F50-74-0E
4-12
FUJI CORPORATION
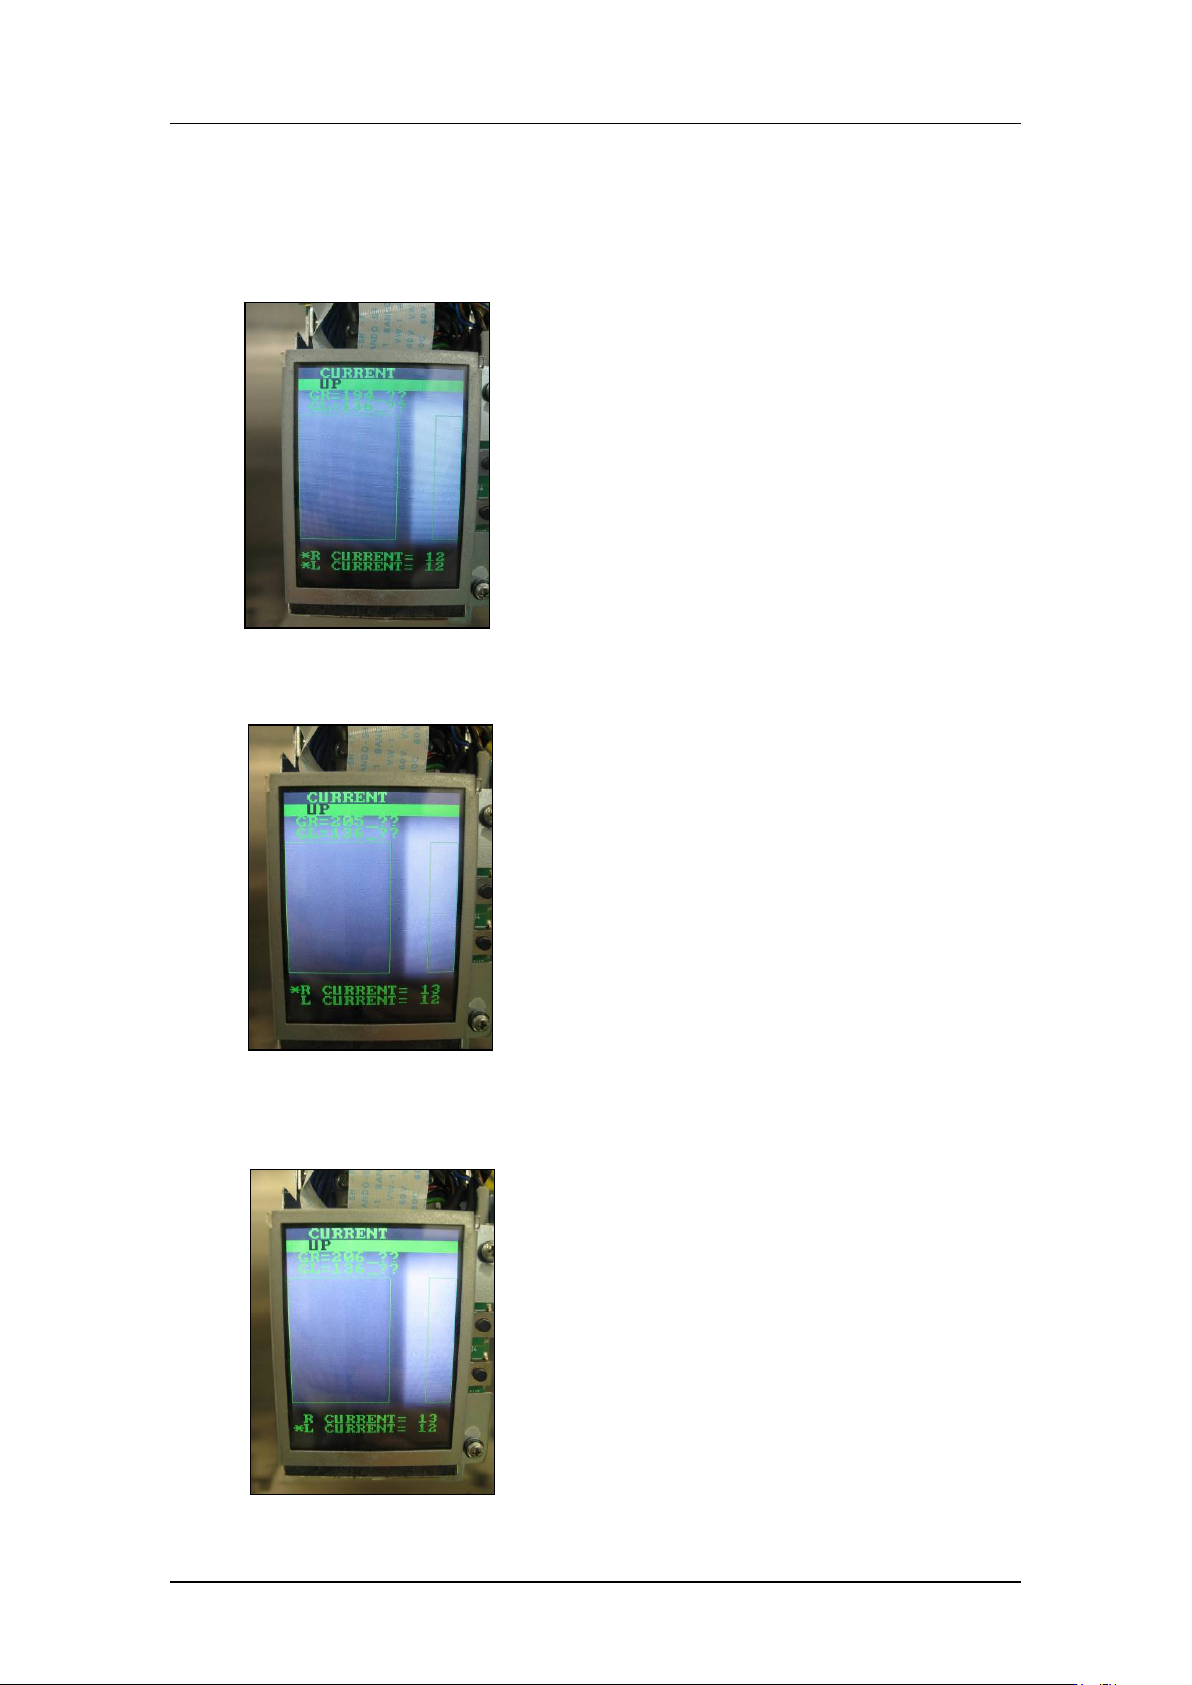
Adjust i ng t he current value (grayscale value) for IPS version 1.21 and above
It is possible to adjust t he R C U R RE NT a nd L CURRENT separately.
1. Press the lower button once, and t hen w it h [CURR ENT UP] or [C URRENT DOWN]
displayed, press and hold the lower but t on for 2 to 3 seconds .
2. An asterisk mar k * d isplays next t o the R CURRE NT value only. The lower but ton
can now be used t o adjust t he R C U RRENT value.
3. Press and hold the lower but ton for 2 to 3 seconds. An asterisk mark * d isplays next
to the L CURRENT value only. The lower but t on can now be used to adjust the R
CURRENT value.
CONFIDENTIAL
Edition 1.0 IPS Adjustment for Various Head Types on the Module
<V12 head>
FK-9F50-74-0E
4-13
FUJI CORPORATION
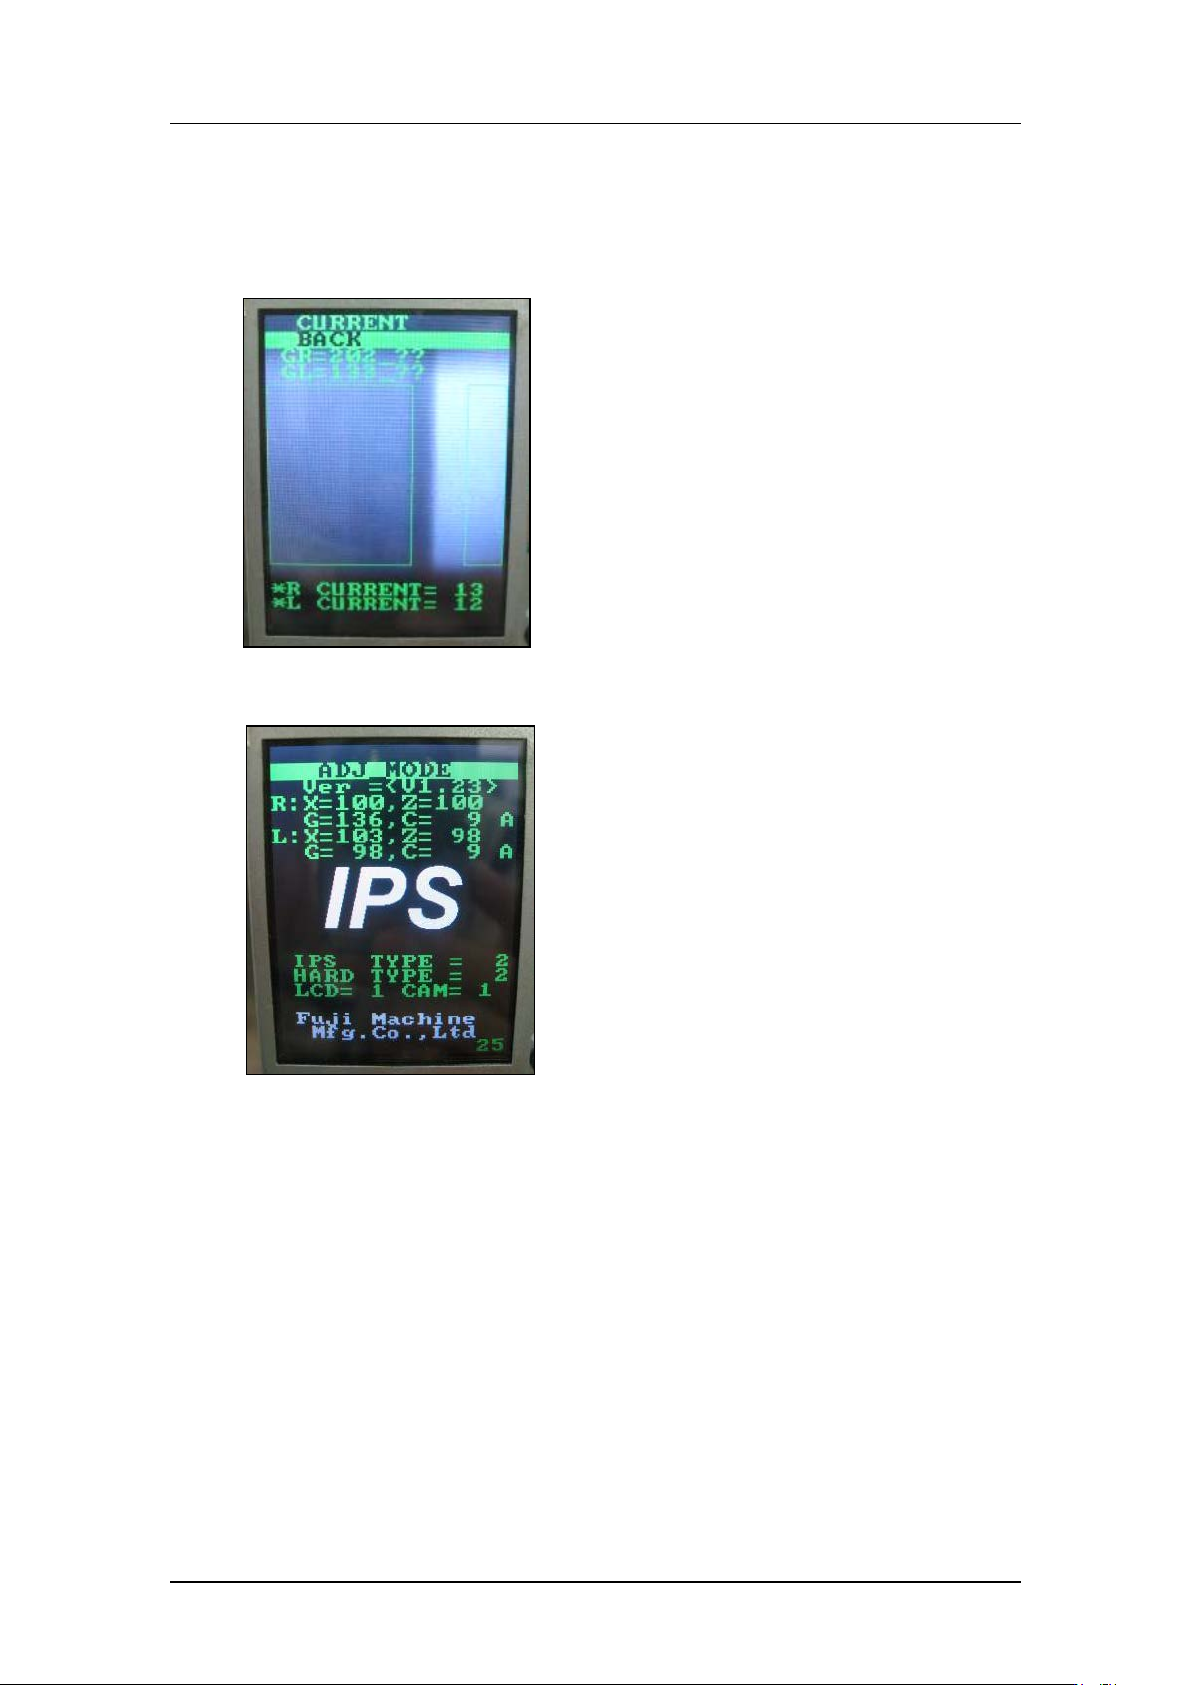
4. Press and hold the lower but ton for 2 to 3 seconds. An asterisk mark * d isplays next
to both the R CURRENT and L CURRENT values. The l ower button can now be
used to adjust t he R CUR RE NT and L CURRENT values toget her. O nce the values
are within to lerance, press t he upper button once with [BACK] selected to r et ur n t o
the [CURRENT] screen. Pr ess t he upper butt on once to select [S ET] and then
press the low er but ton once to save the v alues.
5. Use the upper but t on t o r eturn to [ADJ MODE] and t hen r eboot the m achine to t ur n
the head pow er O FF and return to [AUTO MODE].
CONFIDENTIAL
Edition 1.0 IPS Adjustment for Various Head Types on the Module
<V12 head>
FK-9F50-74-0E
4-14
FUJI CORPORATION
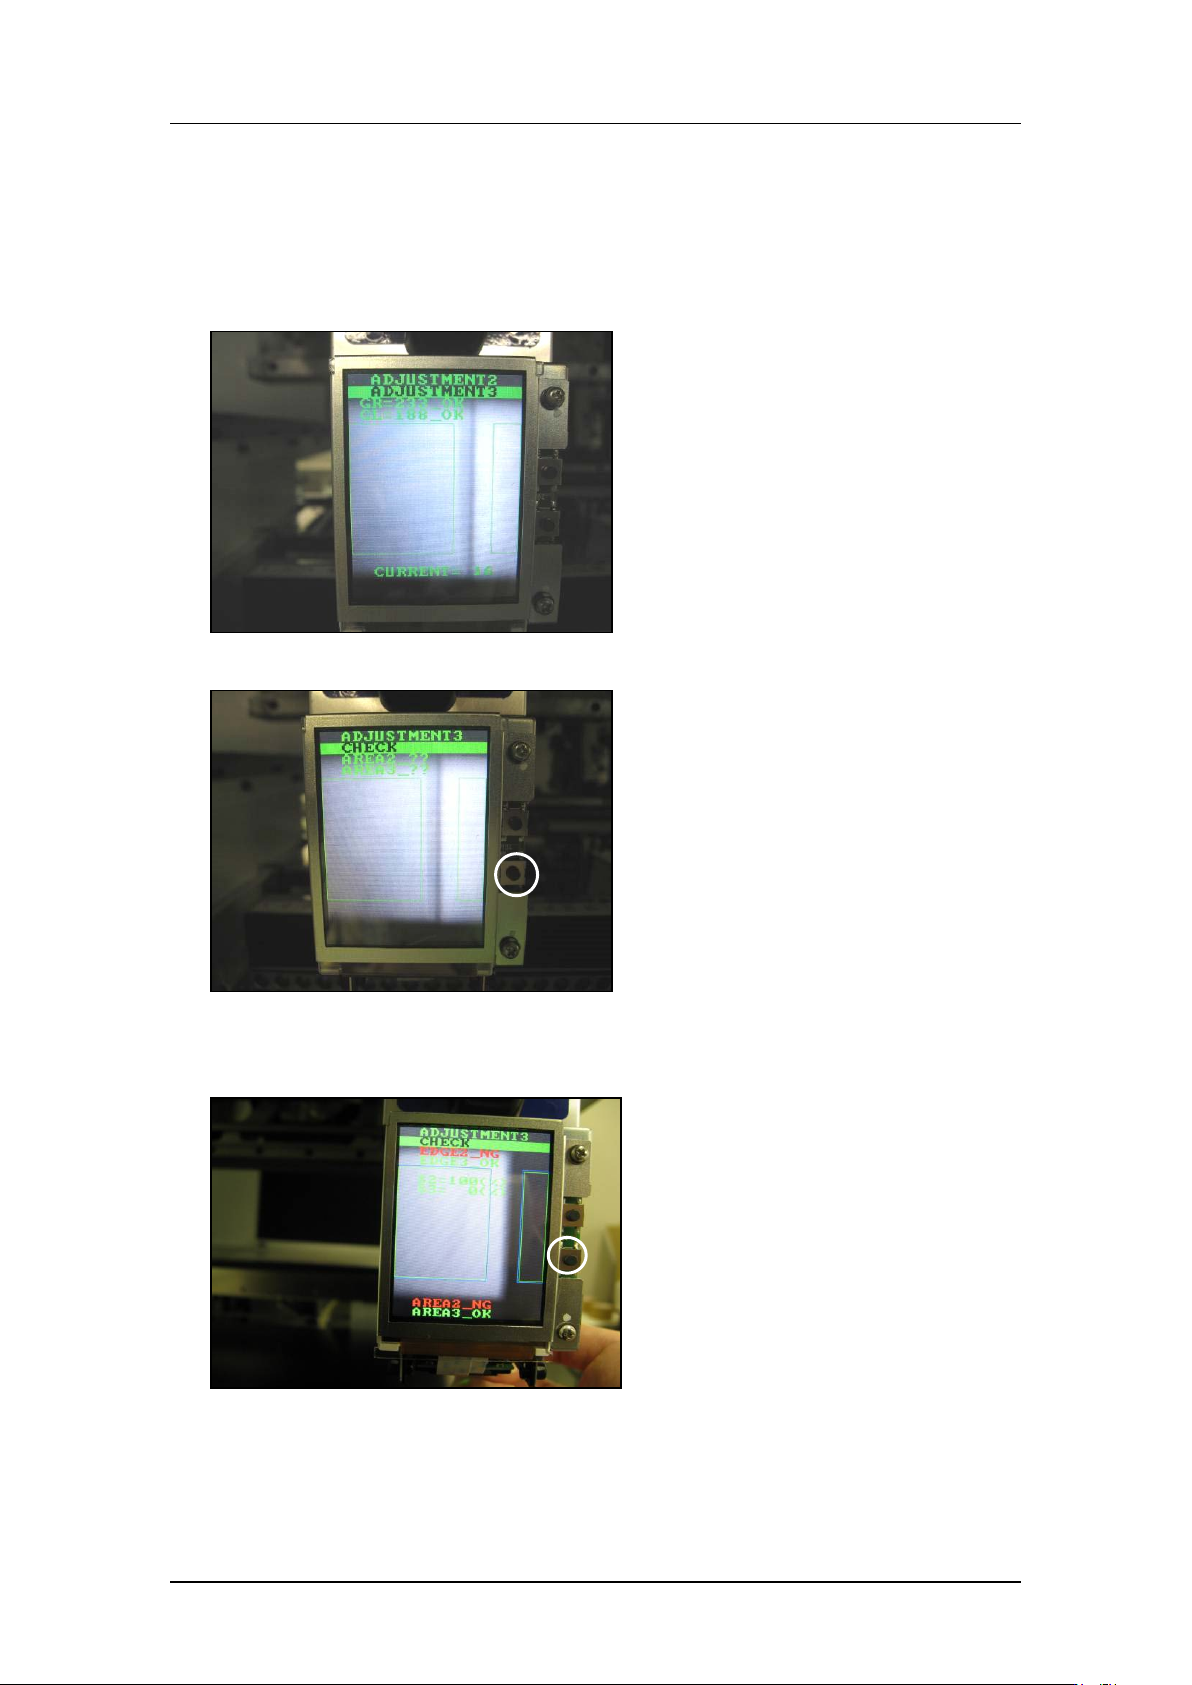
Checki ng t he fi e ld of vision (ADJUSTMENT3)
External l ight can affect the results, so be sure t o perform the pr ocedure in a shaded area.
1. Continuing from the procedure above, press the upper button to display
“ADJUSTMENT 2 ADJUSTMENT 3”.
2. Press the low er but t on t o display “ A DJUSTMEN T 3 CHECK”.
3. Block one of the glasses with some paper etc., and then press the lower button. (In the
example below, the right-hand glass as viewed from the front of the machine is
blocked).
CONFIDENTIAL