TR7500_Series_Software_v29_En - 第288页
Test Research Inc. 266 TR7500 Series User Guid e –Softwa re v.2.9.0 Figure 446 : Remove Image Dialog [M ask] – Mask the image. See 8 .7.3 Property f or reference. Figure 447 : Mask Image Di alog Enhance – Enhance the…
Test Research Inc.
TR7500 Series User Guide –Software v.2.9.0 265
Figure 443: View Standard Images
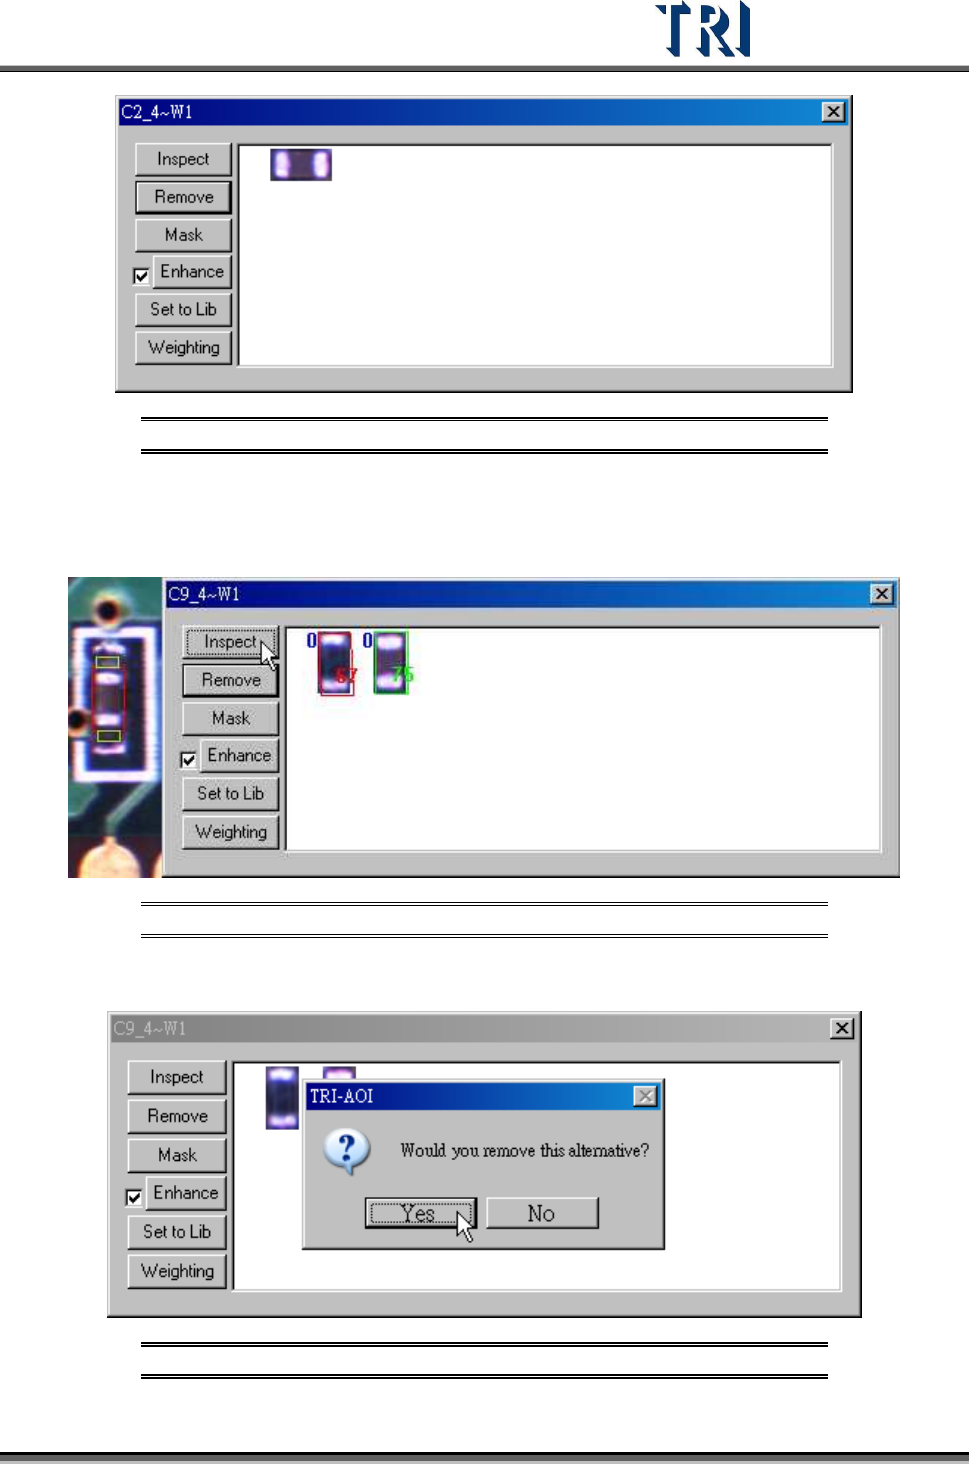
[Inspect] – Review the similarity between the standard image and the image that is
waiting to be measured. The blue figure at the upper left corner represents the
number of times of the enhancement.
Figure 444: Inspect Function with Magnification Shown
[Remove] – Remove the selected image.
Figure 445: Confirm Remove Image
Test Research Inc.
266 TR7500 Series User Guide –Software v.2.9.0
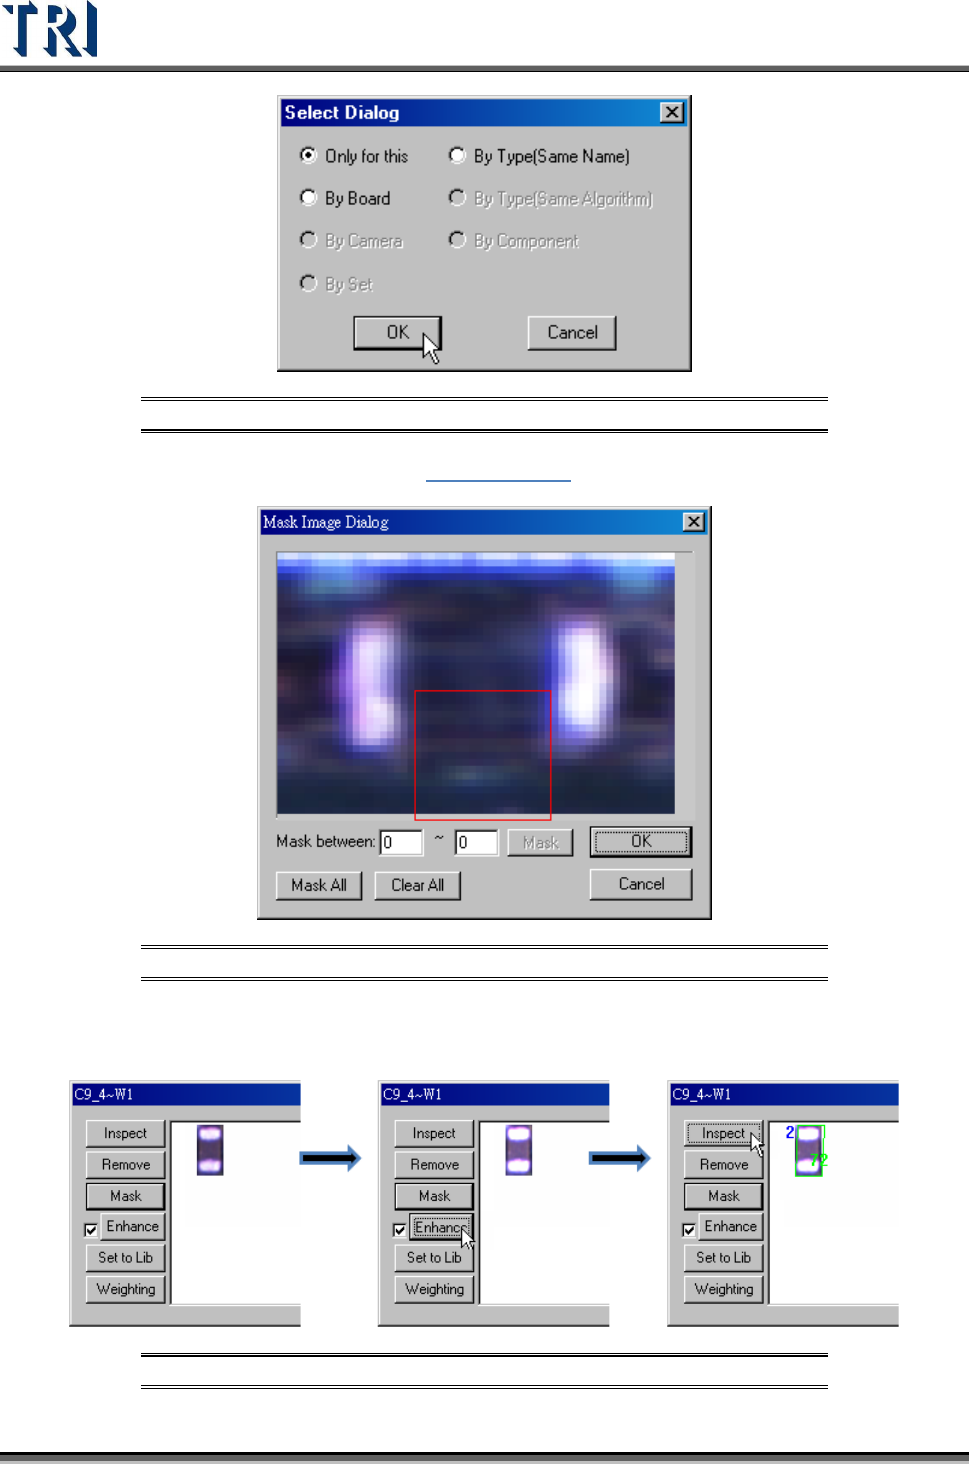
Figure 446: Remove Image Dialog
[Mask] – Mask the image. See 8.7.3 Property for reference.
Figure 447: Mask Image Dialog
Enhance – Enhance the brightness and contrast for an alternative image. Unselect
the check box to recover the original image.
Figure 448: Enhance Image Process
Test Research Inc.
TR7500 Series User Guide –Software v.2.9.0 267
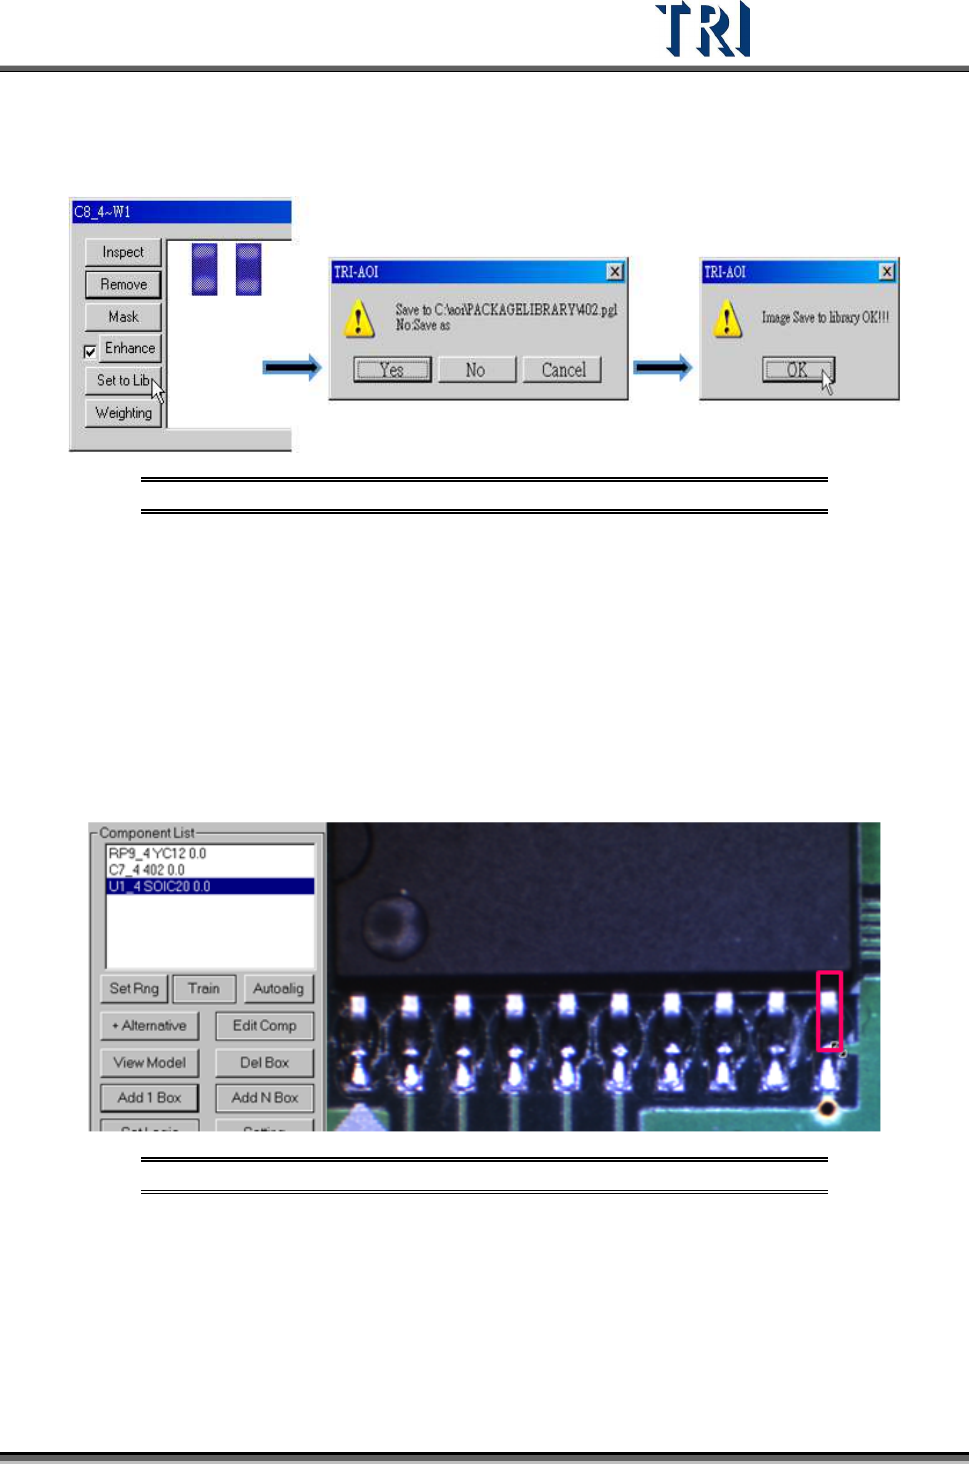
[Set to Lib] – Use this function to save the alternative image back to Package
Library and Image Library. Select an image first and press [Set to Lib]. Then input
the file name and press [Open] to finish setting.
Figure 449: Save Image to Library Process
11.9.2.7 Delete Box
Select an inspection box then press [Delete Box] to delete it.
11.9.2.8 Add 1 Box
Press the button to add an inspection box for the selected component.
Setting Steps
Step1. Select a component and adjust the multi-function window to the size and
position of the inspection box to be added.
Figure 450: Adjust Multi-Function Window
Step2. Press [Add 1 Box] button and select the inspection algorithm.