00193325-01.pdf - 第46页
3 Graphical user int erface SIPLACE Software Guide SR.503.xx 3.3 User interf ace - views and menus Issue 12/01 E N 46 Line co mp ute r If a cluster has been pres pecif ied at the station , all the ne cessar y associa ted…
SIPLACE Software Guide SR.503.xx 3 Graphical user interface
Issue 12/01 EN 3.3 User interface - views and menus
45
Control mode... 3
The control mode determines how the station is supplied with the necessary placement data. 3
Click the Control mode... menu item.
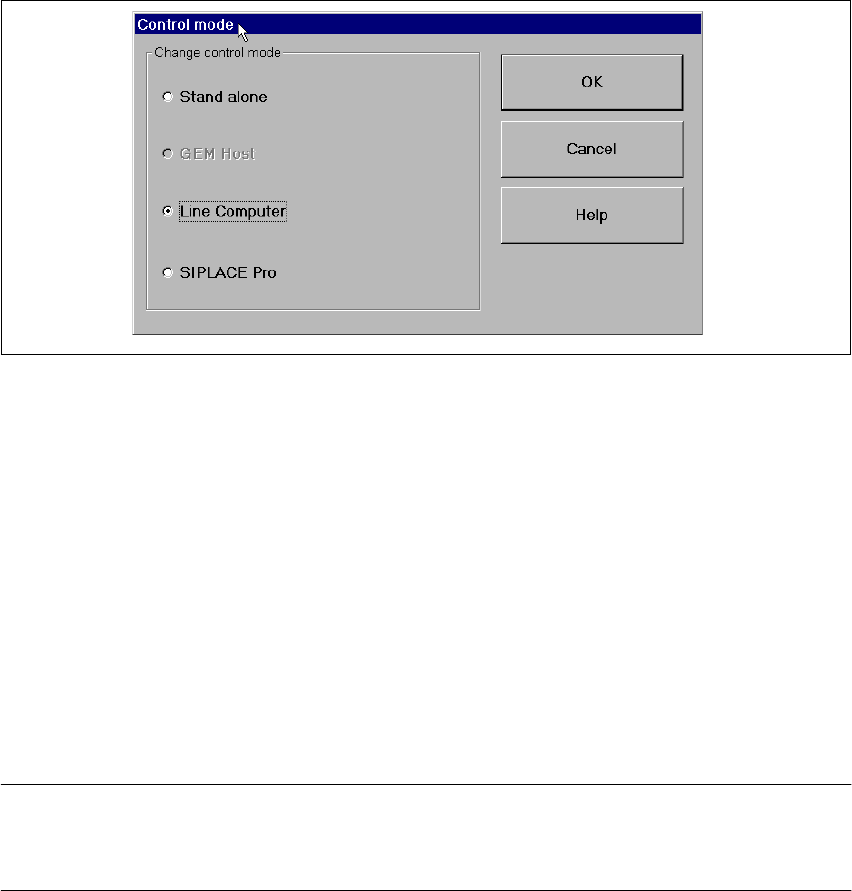
The „Control mode“ dialog box is displayed.
3
Fig. 3.3 - 10 "Control mode" dialog box
Control modes: 3
Stand Alone (for test purposes only)
This mode allows you to load a cluster (placement program) for test and service purposes from
the station computer using the "New cluster..." menu item.
The necessary data must be located on the station computer’s hard disk. The machine runs with-
out a higher-level computer. 3
GEM Host (not available in this version of the software)
In this mode, clusters can only be specified by the host computer.
The necessary data must be located on the host computer’s hard disk. 3
NOTE
This setting must be activated if you want to download cluster data from the host computer to the
station computer via the GEM interface. 3
3 Graphical user interface SIPLACE Software Guide SR.503.xx
3.3 User interface - views and menus Issue 12/01 EN
46
Line computer
If a cluster has been prespecified at the station, all the necessary associated data is loaded from
the line computer. The data must be located on the line computer’s hard disk. 3
Synchronous Restart 3
If the connection between line computer and station is disrupted during running operation,
a dialog containing the corresponding information is displayed. After reboot of the line
computer under a running station, the communication between line computer and station is re-
sumed, and the dialog closes automatically. 3
3
SIPLACE Pro
Establishes the connection to the SIPLACE Pro programming system. 3
3
Activate the radio button for the required control mode.
Click OK to make your settings active.
New cluster... 3
In „Stand alone“ mode, you can load the data for a selected cluster from the station computer’s
hard disk. 3
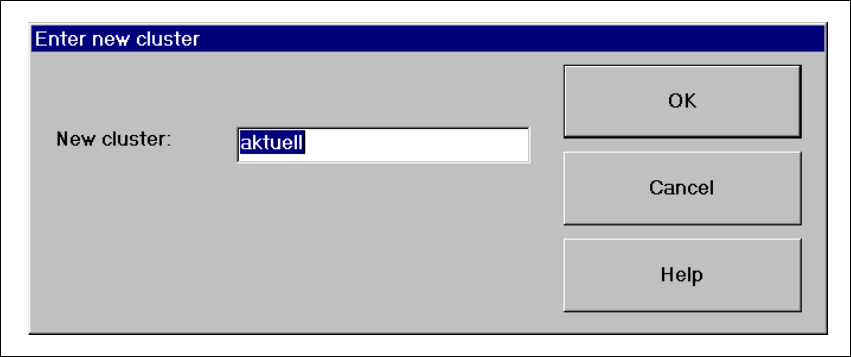
Click the New cluster... menu item. When using a single conveyor, the following dialog ap-
pears:
3
Fig. 3.3 - 11 „Enter new cluster“ dialog box for single conveyor
Now enter the name of the required cluster in the displayed text box and click OK to confirm.
The cluster data is now loaded.

SIPLACE Software Guide SR.503.xx 3 Graphical user interface
Issue 12/01 EN 3.3 User interface - views and menus
47
NOTE
The data, including the fiducial and component package form data, of the last cluster successfully
specified by the line computer, is now saved on the station computer’s hard disk under the cluster
name „AKTUELL“ and can be loaded by entering this name. 3