00198353-01_AI_Location 1 Upgrade Kit_E by SIPLACE_en.pdf - 第16页
2 Installing the Location 1 Upgrade Kit [03113225‑xx] (FixedtoMov- 2.2 Installing the Location 1 Upgrade Kit Assembly Instructions E by SIPLACE Location 1 Upgrade Kit 04/2017 16 ► Remove the ETD brackets mounted on the…
Assembly Instructions E by SIPLACE
Location 1 Upgrade Kit 04/2017
2 Installing the Location 1 Upgrade Kit [03113225‑xx] (FixedtoMov-
2.2 Installing the Location 1 Upgrade Kit
15
2.2 Installing the Location 1 Upgrade Kit
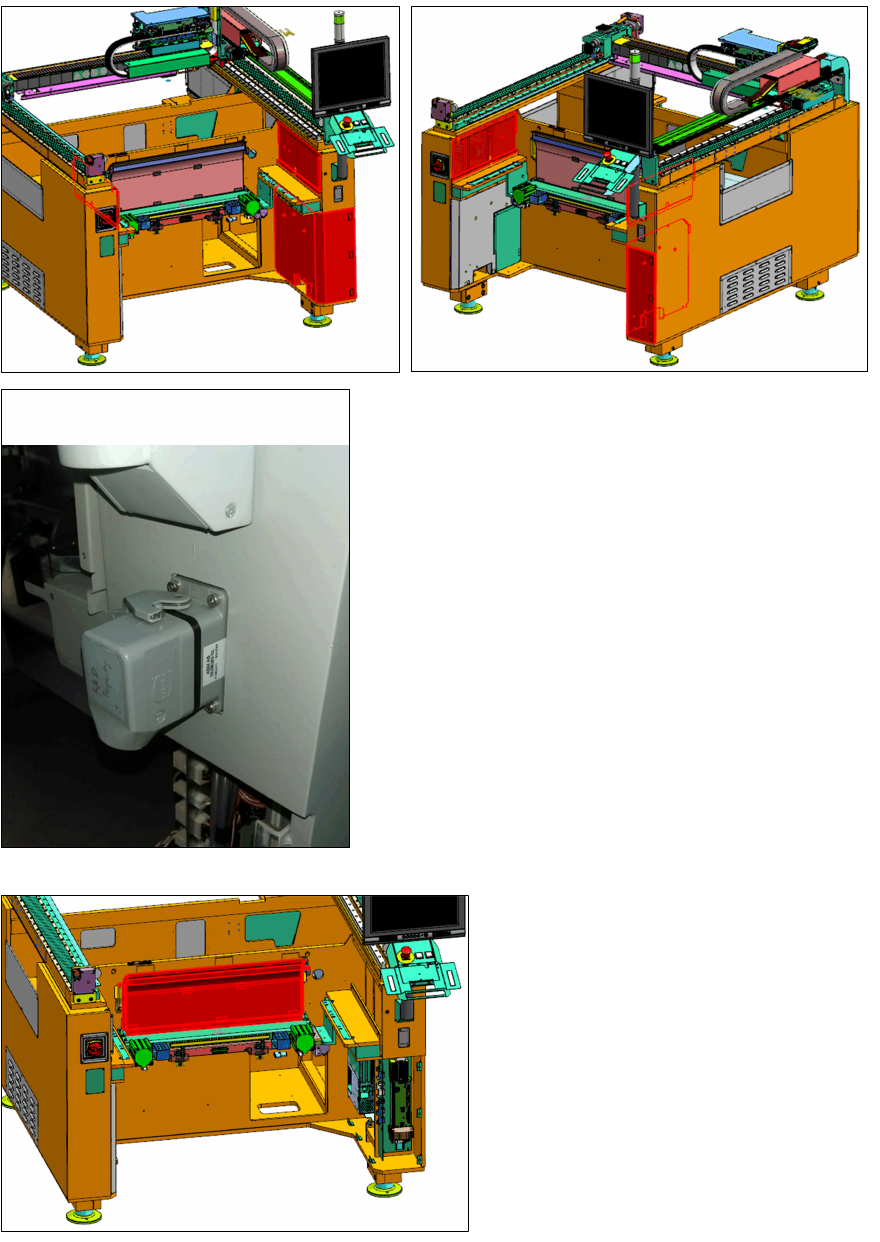
► Remove the three covers at Location 1 shown
above:
► Exchange the Cable assembly MT60 fixed table
[03102684-xx] with the Cable harness COTi60
LOC1 [03108915-xx]. Pay attention to the orienta-
tion of the Cable harness COTi60 LOC1 [03108915-
xx].
► Use the screws ISO 4762 - M 4 x 12-A2-70
[03042553-xx] to secure the Cable harness COTi60
LOC1 [03108915-xx].
► Remove the Empty Tape Duct.
►
2 Installing the Location 1 Upgrade Kit [03113225‑xx] (FixedtoMov-
2.2 Installing the Location 1 Upgrade Kit
Assembly Instructions E by SIPLACE
Location 1 Upgrade Kit 04/2017
16
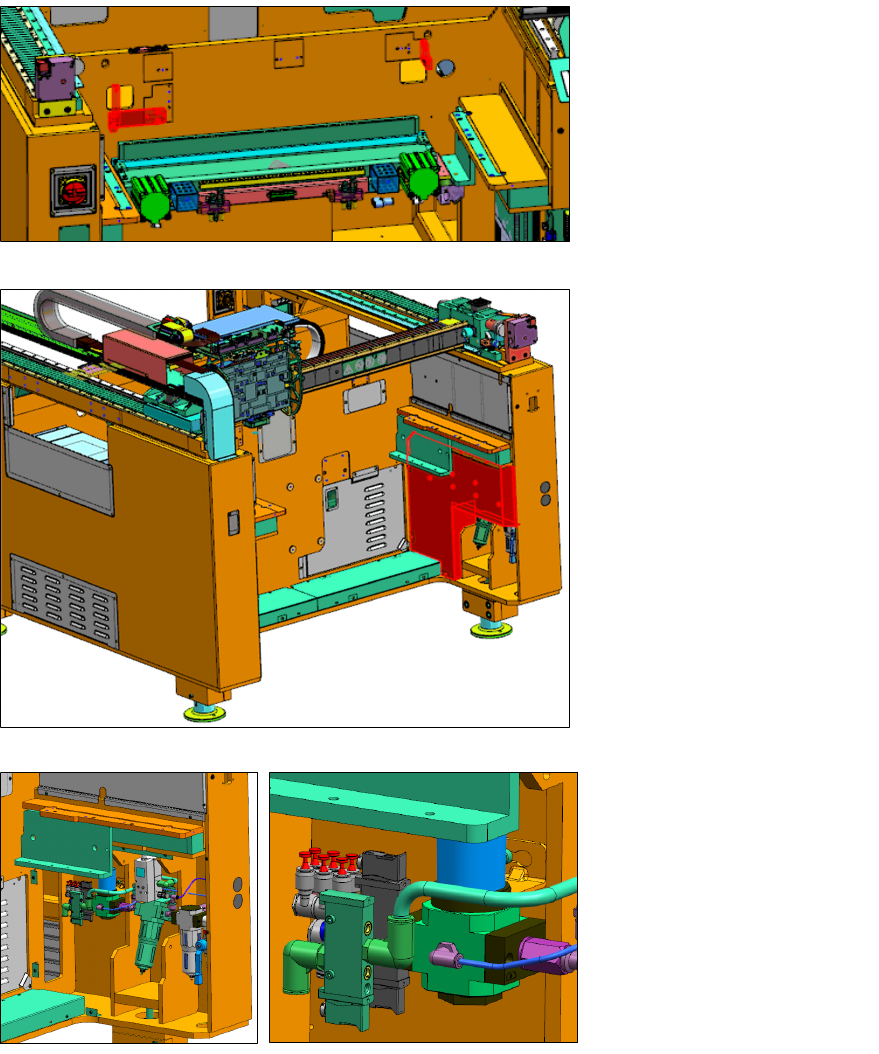
► Remove the ETD brackets
mounted on the frame.
The ETD brackets will not
be fixed back.
► Remove the location 2
cover to reveal the air ser-
vice unit.
► Plug in the tubing Tube
Insert Module LOC1
[03102152-xx] to one of
the six ports shown.
► Fix back the location 2
cover.
Assembly Instructions E by SIPLACE
Location 1 Upgrade Kit 04/2017
2 Installing the Location 1 Upgrade Kit [03113225‑xx] (FixedtoMov-
2.2 Installing the Location 1 Upgrade Kit
17
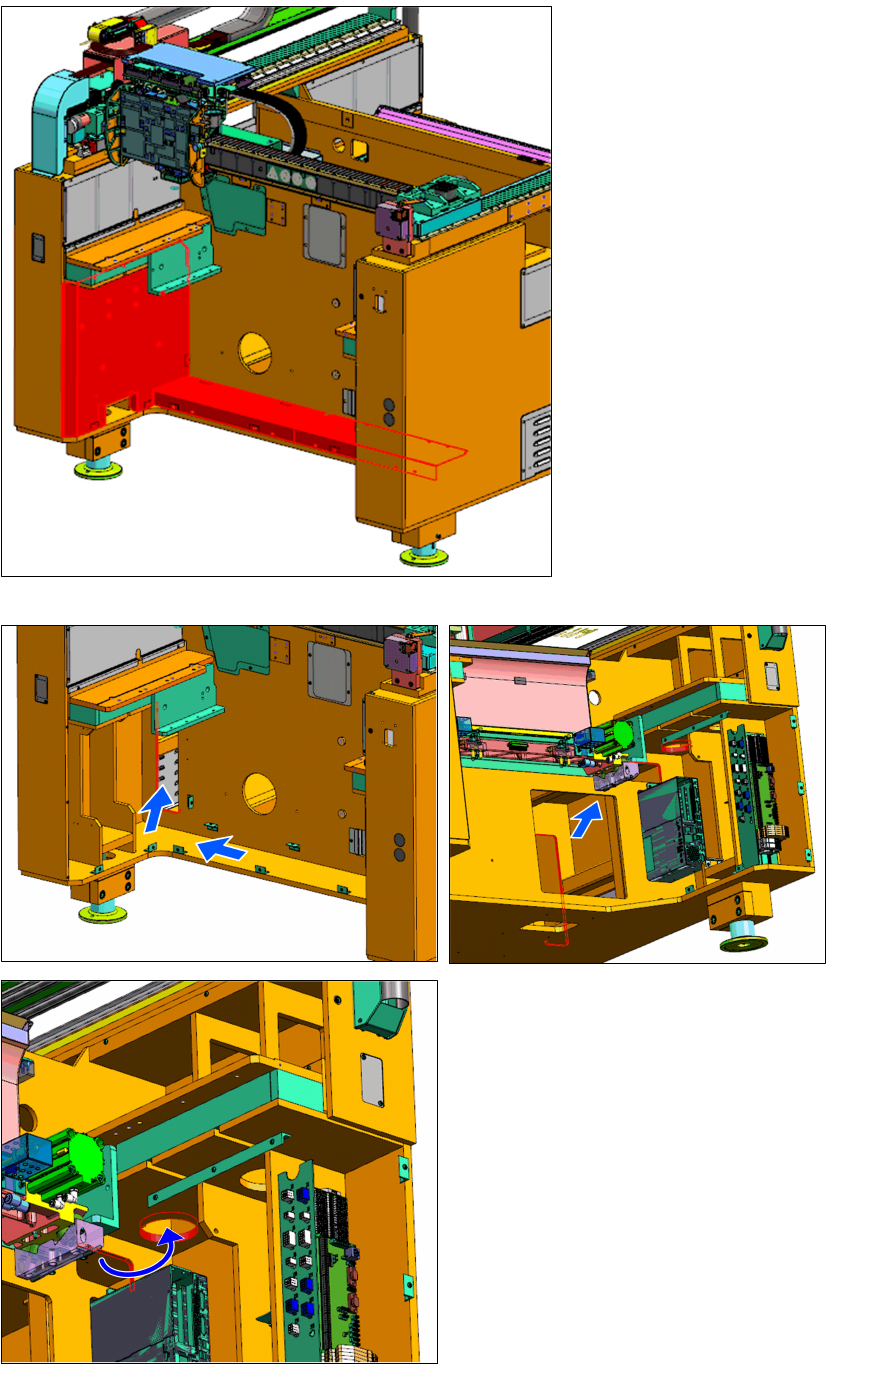
► Remove the three location 2
covers shown above. They
will be fixed back after rout-
ing the tube.
► Route the tubing mentioned before from
the Air Service Unit to location 1 as
shown.