YSi-V_Ope_E - 第39页
iii Before using the YSi-V 3. Page layout The description below shows a typical page layout used in this manual. 3-2 3 Daily operation 2 . Wa r m-up operatio n After sta r ti n g t he ma ch in e, pe r fo r m w ar m- u p …

ii
Before using the YSi-V
2. Contents of each chapter
This manual is comprised of the following chapters.
Chapter 1
Part names and functions
Explains major part names and functions of the YSi-V that you should know before attempting operation.
Chapter 2
Basic operation
This chapter explains how to start up the YSi-V and turn it off, as well as the basic menus and elements displayed on the
operation screen.
Chapter 3 Daily operation
Chapter 3 describes the daily work performed by the operator for board inspection.
Chapter 4 Maintenance
This chapter describes checkpoints and procedures for daily and periodic inspections that must be perform to avoid
trouble with the YSi-V.
Chapter 5 Lubrication points
This chapter describes the instructions about lubrication points and how to lubricate the ball screws or guides of each
axis.
Appendix
The appendix provides specifications for power supply connections and machine-to-machine connections, as well as
information about UPS.
Index
The index at the end of this manual helps you quickly find where necessary items are explained.
iii
Before using the YSi-V
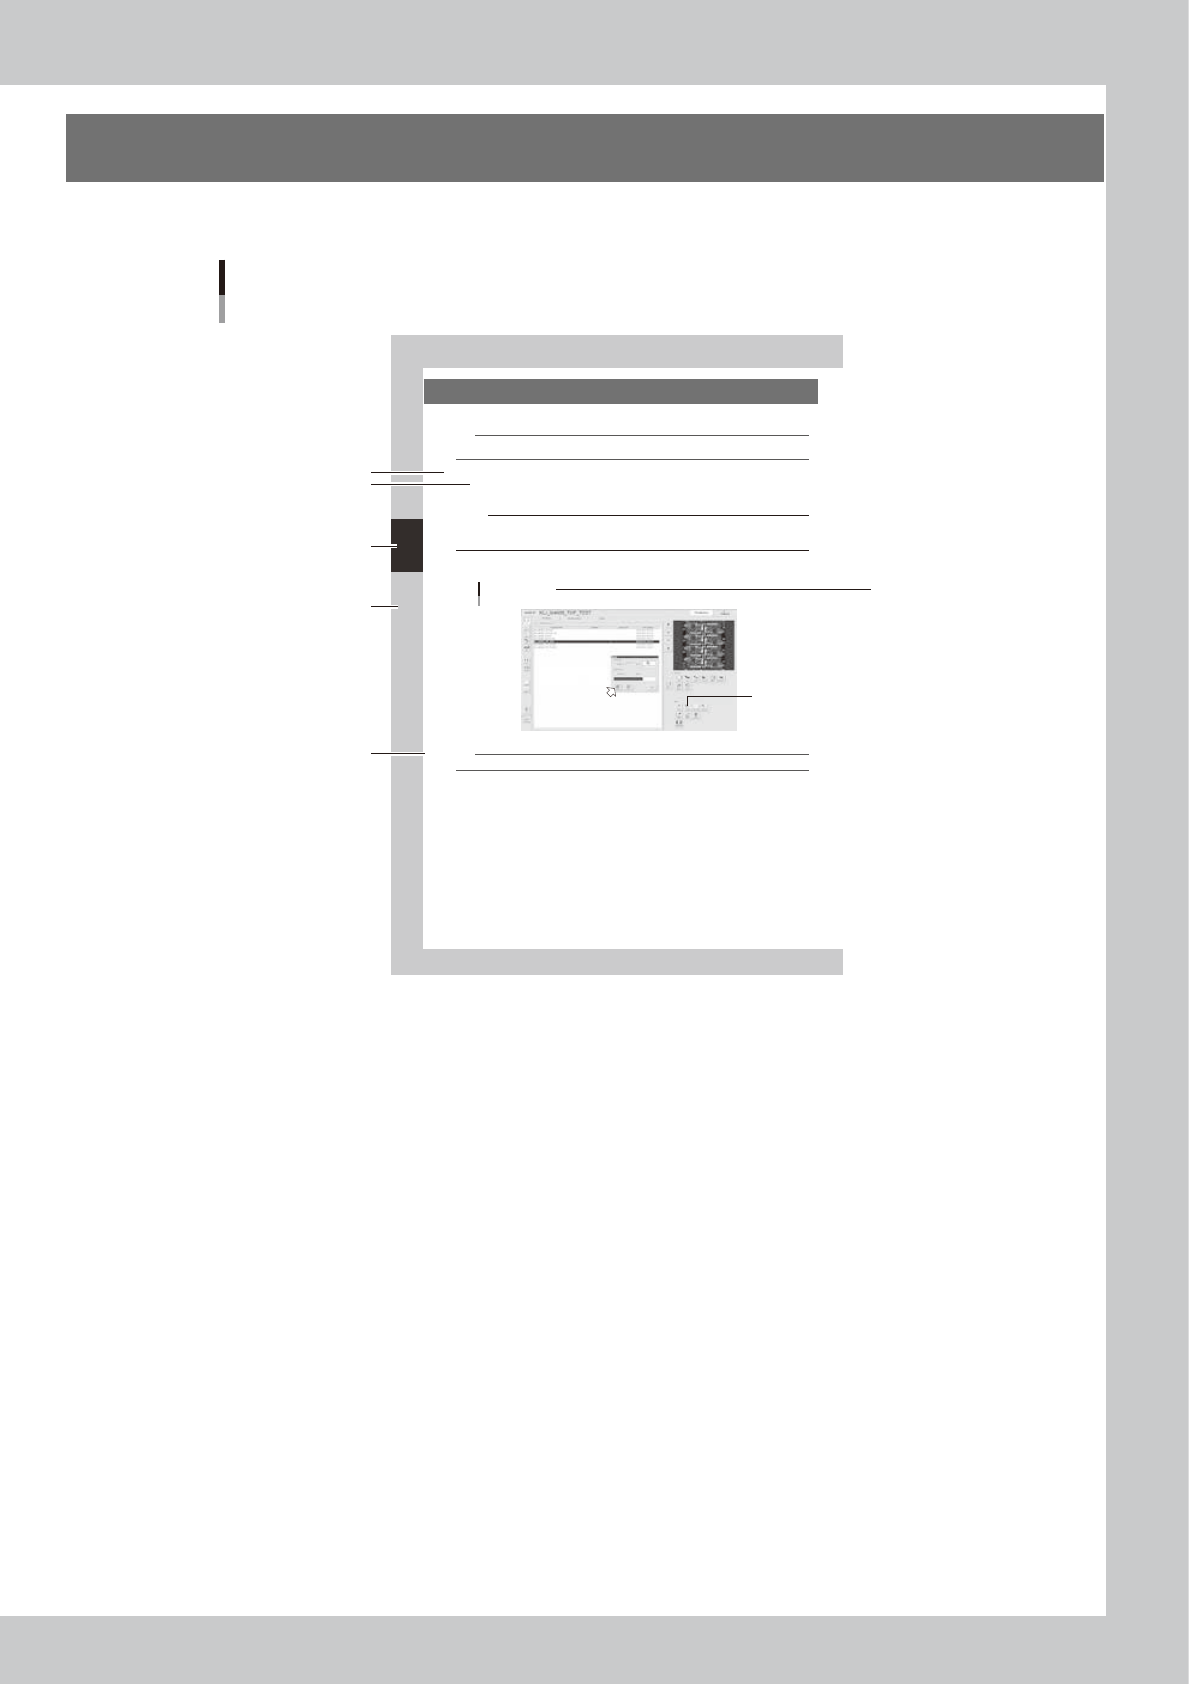
3. Page layout
The description below shows a typical page layout used in this manual.
3-2
3
Daily operation
2. Warm-up operation
After starting the machine, perform warm-up (aging operation) of servo motor axes.
n
NOTE
A warm-up period of 15 minutes is sufficient.
Note that no warm-up operation is necessary if less than 2 hours have elapsed since the last operation.
1
Carry out the pre-operation check before starting the YSi-V.
For pre-operation checks and starting up the machine, see Chapter 2, "Basic operation".
2
Start warm-up operation.
c
CAUTION
Check that there are no boards on the conveyor before beginning warm-up. If push-up pins are used, remove them. If
a problem occurs during warm-up, press the [Stop] button to stop the operation. Then check the cause of the problem
and eliminate it.
1. Press the [Aging] button to open the war m-up screen.
2. Press the [Start] button to start warm-up operation.
"Setup" screen
Warm-up
2
24300-M9-10
n
NOTE
If you want to specify the warm-up time, press the [Stop after time-over] button and enter the desired warm-up time.
3
End the warm-up operation.
Press the [Stop] button to end the warm-up operation. In most cases, a warm-up period of 15 minutes is
suf ficient.
4
Press the [Close] button to return to the operation screen.
Step
Sub step or
description of step
Typical page layout
Chapter number
Chapter title
Figure, picture
or table caption
Note, Caution
or Warning
23001-M9-00
n
Step
This describes the procedure for each operation.
n
Substep or description of step
This provides detailed information on the steps in each procedure.
n
Figure, picture or table caption
This is the title of the figure, picture or table and appears at the upper left.
n
Note, Caution or Warning
These are explained in detail in "Safety" instructions.