YSi-V_Ope_E - 第87页
4-23 4 Maintenance 8.1.2 Cleaning and greasing the W axes guides n Required tools • Lent-free cleaning wipe • Grease gun • Specified grease (NSL) • Protective glasses • Protective glo ves c CAUTION W ear protective glass…
4-22
4
Maintenance
8. One-year inspection
8.1 W axis
8.1.1 Cleaning and greasing the W axis ball screws
n
Required tools
• Lent-free cleaning wipe
• Specified grease (NSL)
• Protective glasses
• Protective gloves
c
CAUTION
Wear protective glasses and gloves when handling grease.
e
1
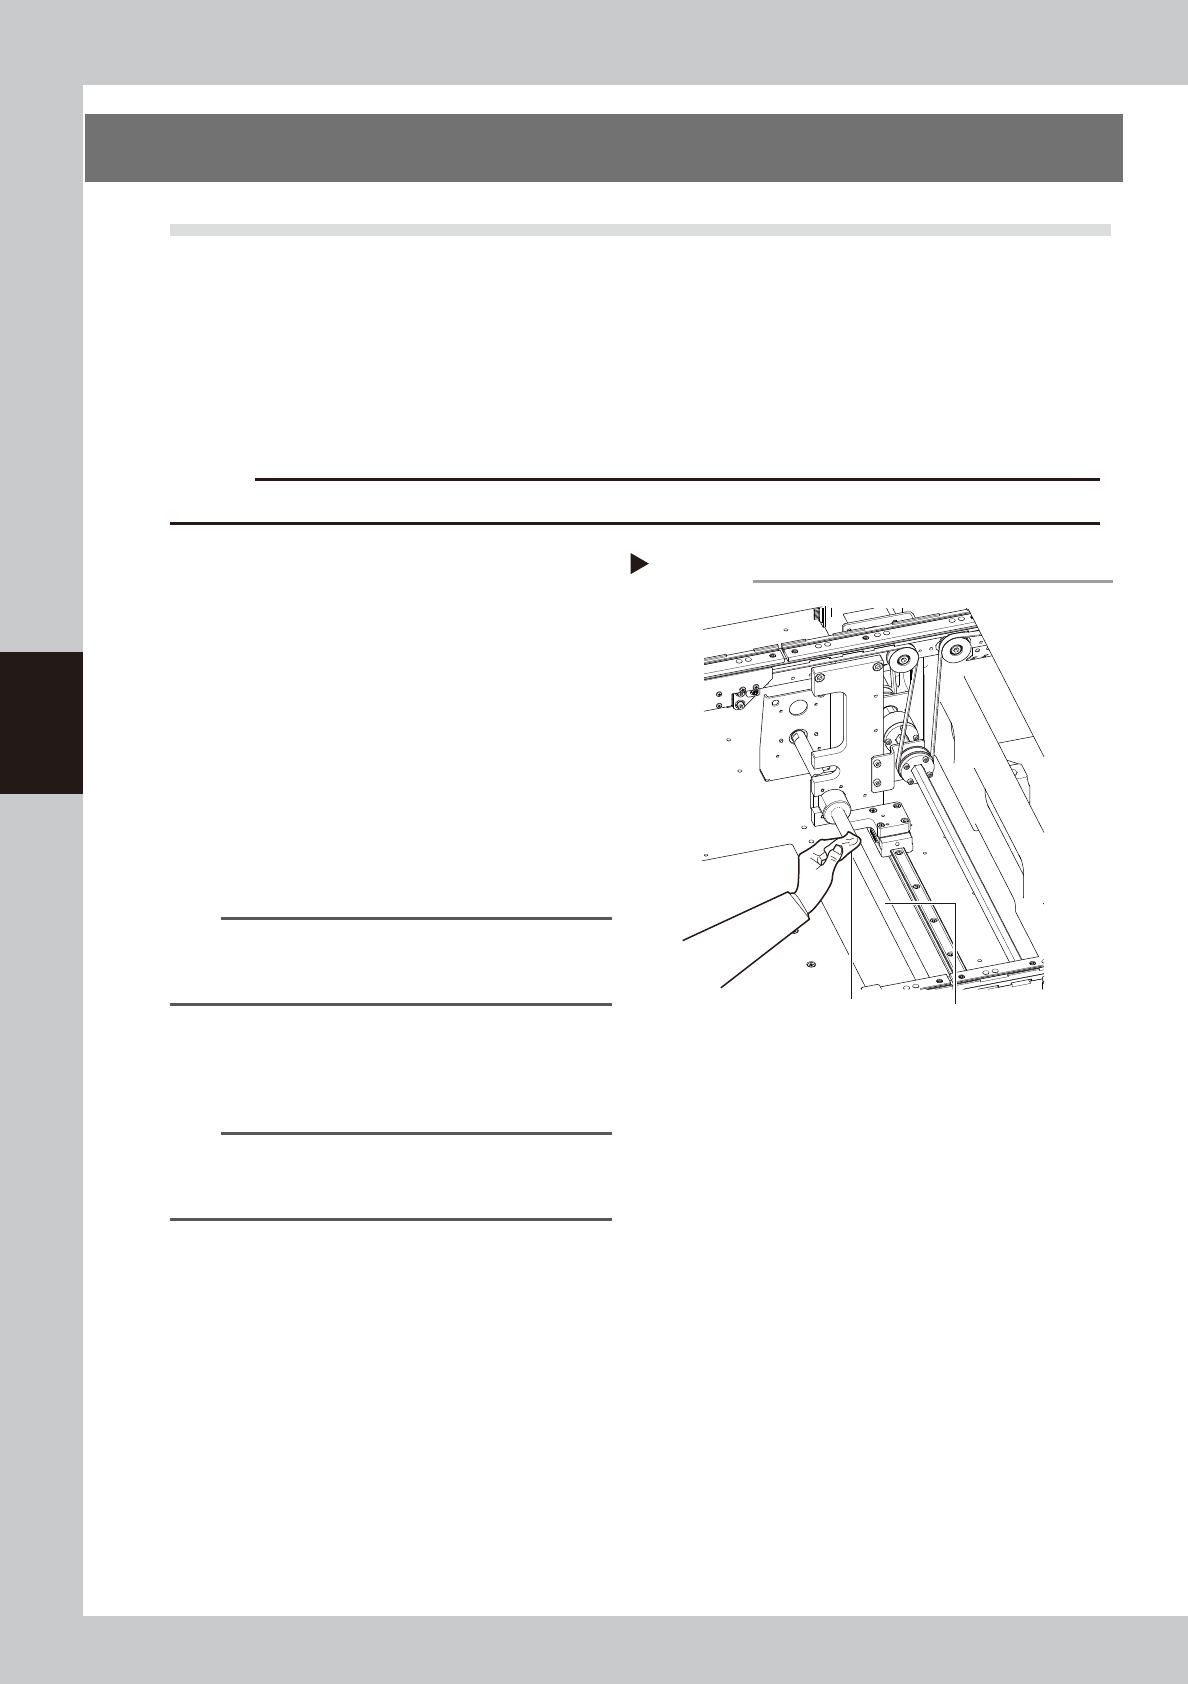
Clean the ball screws.
1. Operate the [Width] button on the “Unit”
– “Conveyor” screen to set the conveyor
width to the maximum. Put the YSi-V in
the state of emergency stop.
2. Wipe away the old grease and dirt from
the entire ball screws with a lint-free
cloth (for clean room).
e
3. Cancel the emergency stop state. After
narrowing the board width, press the
emergency stop button again and wipe
the remaining parts.
53421-M9-00
n
NOTE
Carefully wipe away the old grease and dirt in the lead
groove of the ball screw during cleaning work. Also
check that no debris is generated.
2
Apply grease to the ball screw.
Apply the specified grease (NSL) by hand
uniformly over the entire ball screw.
n
NOTE
Adjust the board width in the same manner as
described in Step1, and then apply the grease over the
entire ball screws.
Cleaning the W-axis ball screws
Step 1
W-axis ball screws
Cleaning cloth
4-23
4
Maintenance
8.1.2 Cleaning and greasing the W axes guides
n
Required tools
• Lent-free cleaning wipe
• Grease gun
• Specified grease (NSL)
• Protective glasses
• Protective gloves
c
CAUTION
Wear protective glasses and gloves when handling grease.
e
1
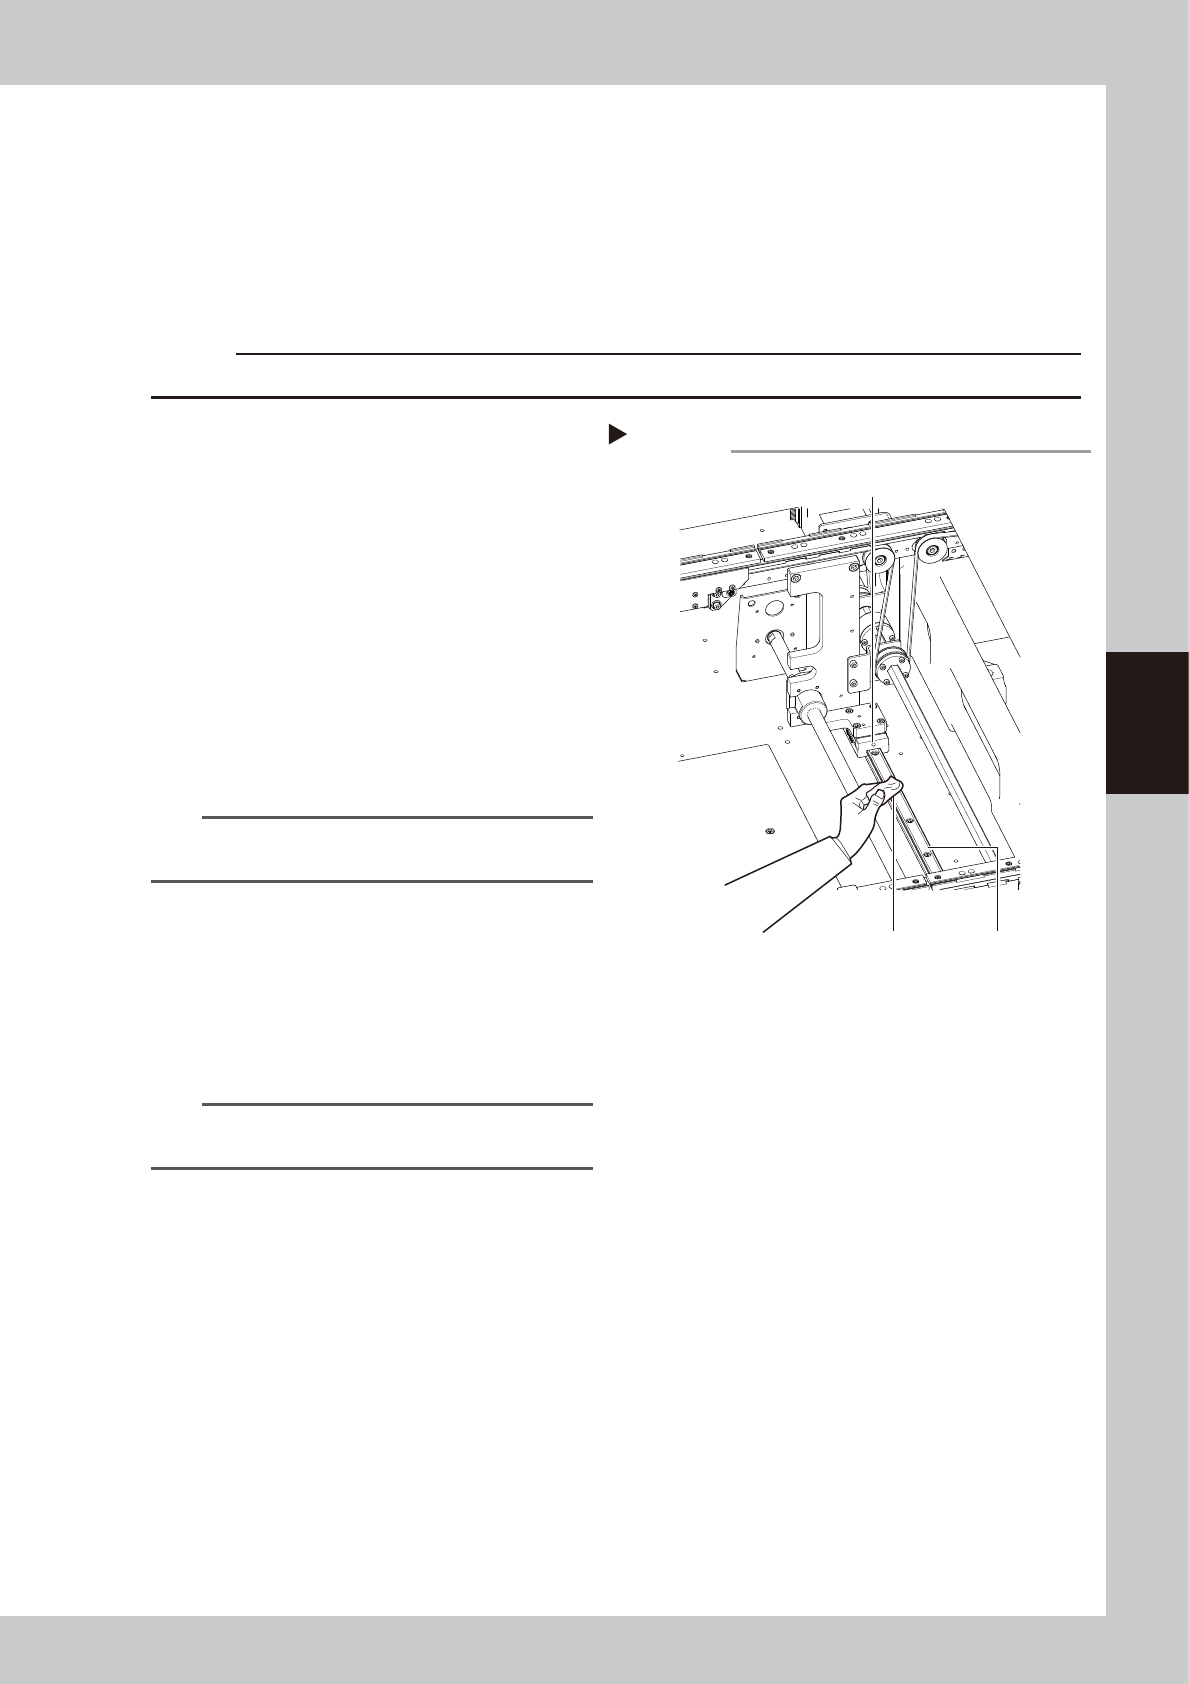
Clean the guide.
1. Operate the [Width] button on the “Unit”
– “Conveyor” screen to set the conveyor
width to the maximum. Put the YSi-V in
the state of emergency stop.
2. Use lint-free cleaning paper (for clean
room application) or a similar one to
wipe off old grease and dirt on the entire
guide.
e
3. Reset the state of emergency stop.
Narrow the board width. Then, press the
emergency stop button to clean the rest
of the area.
53423-M9-00
n
NOTE
Wipe away thoroughly the old grease in the grooves of
the guide rails.
2
Inject new grease.
Prepare a grease gun and inject the
specified grease (NSL) from the right grease
nipple.
The grease nipple is provided at one
location on each of the left and right guides
(two locations in total).
n
NOTE
See "Chapter 5 Lubrication points", for details on the
lubrication points and grease gun nozzles.
3
Wipe away excess grease
.
1 Widen and narrow the conveyor width
several times.
e
2 Press the emergency stop button again
and wipe away excess grease with a
lint-free cloth.
Cleaning and greasing the W axes guides
Step 1,2
W-axis guidesCleaning cloth
Grease nipple for W-axis guides

4-24
4
Maintenance
8.1.3 Cleaning and greasing the hexagon spline
n
Required tools
• Lent-free cleaning wipe
• Specified grease (NSL)
• Protective glasses
• Protective gloves
c
CAUTION
Wear protective glasses and gloves when handling grease.
e
1
Clean the hexagon spline.
1. Operate the [Width] button on the “Unit”
– “Conveyor” screen to set the conveyor
width to the maximum. Put the YSi-V in
the state of emergency stop.
2. Wipe away the old grease and dirt from
the entire hexagon spline with a lint-free
paper wipe (for clean room).
e
3. Cancel the emergency stop state. After
narrowing the board width, press the
emergency stop button again and wipe
the remaining parts.
53448-M9-00
2
Apply the grease.
Apply the specified grease (NSL) by hand
uniformly over the entire surface of the
hexagon spline.
53449-M9-00
n
NOTE
Adjust the board width in the same manner as
described in Step1, and then apply the grease over the
hexagon spline.
Cleaning the hexagon spline
Step 1
Paper wipe
Hexagon spline
Applying the grease
Step 2
Apply the grease thinly
and uniformly.
Grease