YS12P_YS12F_Mainte_E.pdf - 第63页
2-7 2 Daily maintenance item s 3 . Cleaning Multi-view camera protective glass Multi-view camera is equipped with YS12F as standard. (YS12P : Option) Adhered dust, etc., on the multi-camera lighting's protective gla…
2-6
2
Daily maintenance items
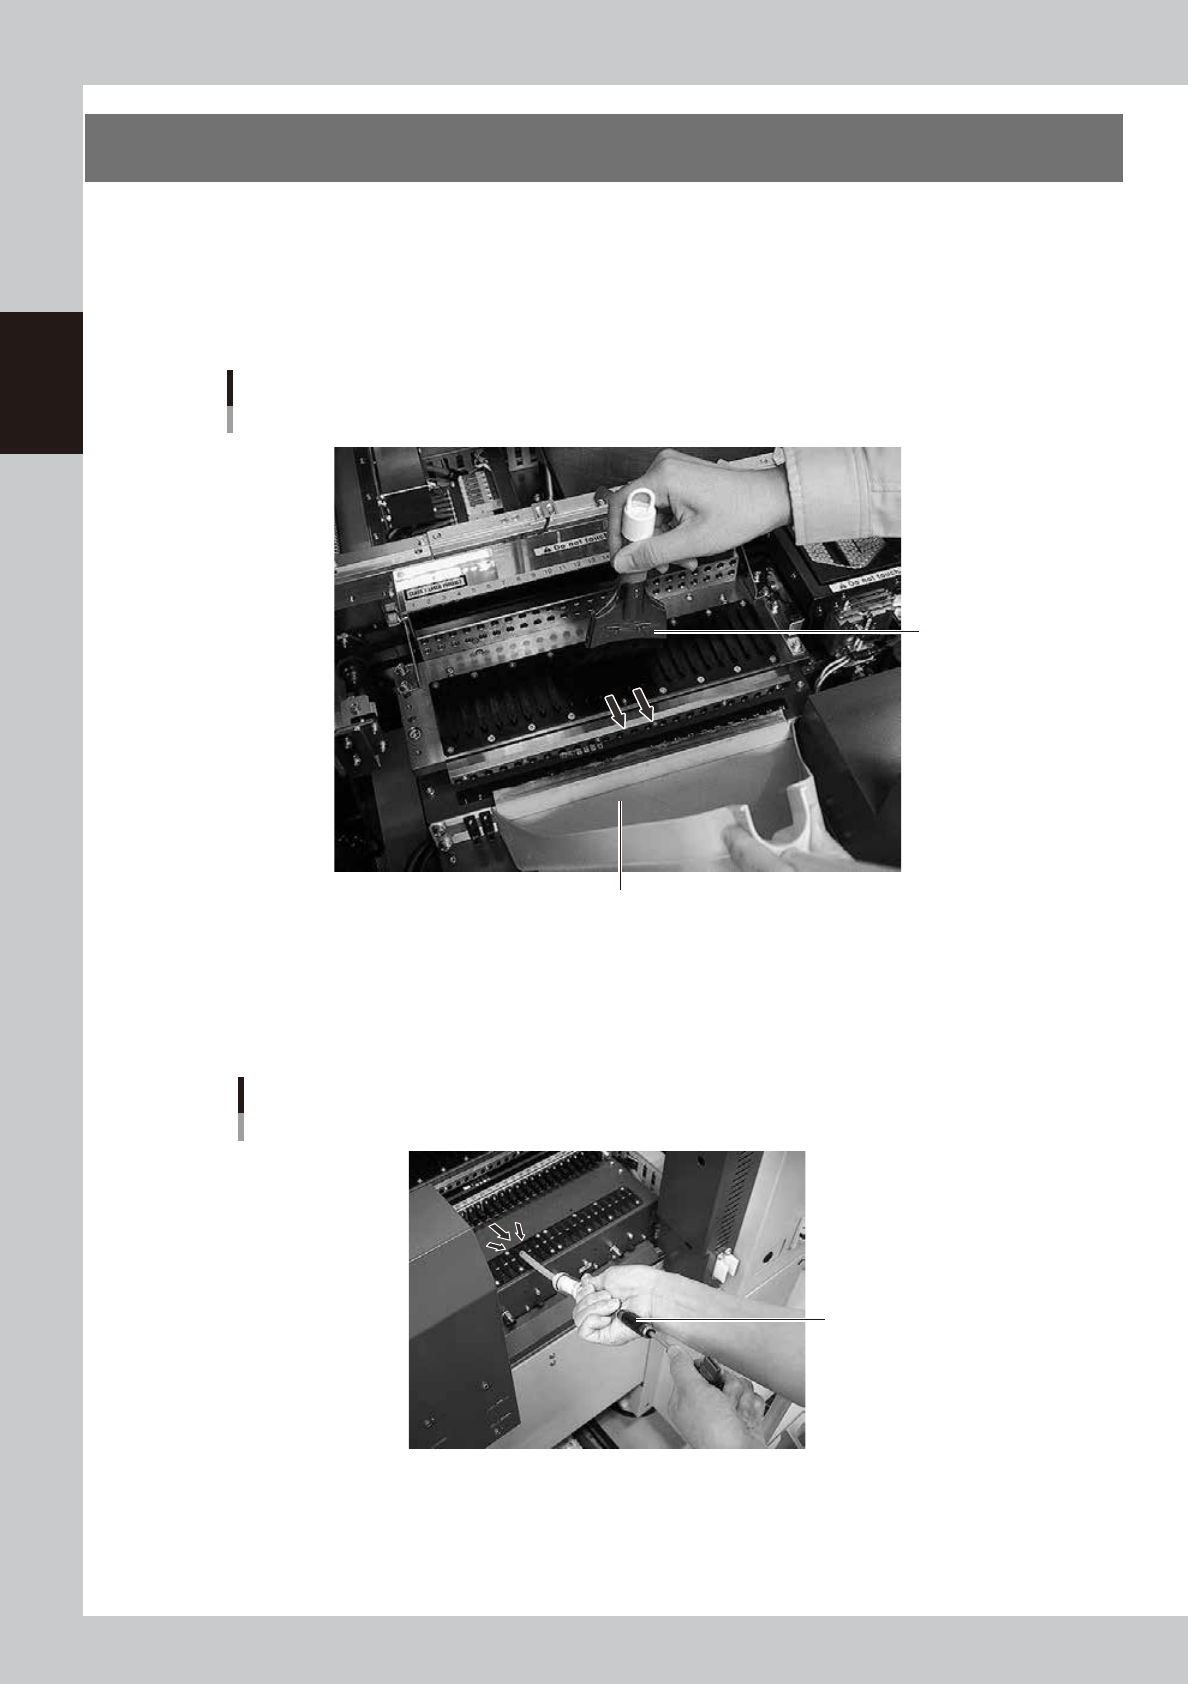
2. Cleaning the feeder plate
Chips or foreign objects falling on the feeder plate might bite into the surface during feeder setting and
cause the pickup position to deviate. Periodic inspection and cleaning are recommended to prevent this
problem.
n
Cleaning with the accessory brush
Clean the feeder plate with the accessory brush as shown in the figure below.
Cleaning brush
Cleaning the feeder plate
In case of YS12F
Dustpan
53205-L7-10
n
Cleaning with the vacuum cleaner or vacuum ASSY (option)
Use a vacuum cleaner or optional vacuum ASSY (KHY-M88V0-A0X) connecting to the air connector on the front of the
machine to suck in fine dust particles to clean the feeder plate.
Vacuum ASSY
Cleaning the feeder plate
Use the vacuum ASSY
53210-L6-00
2-7
2
Daily maintenance items
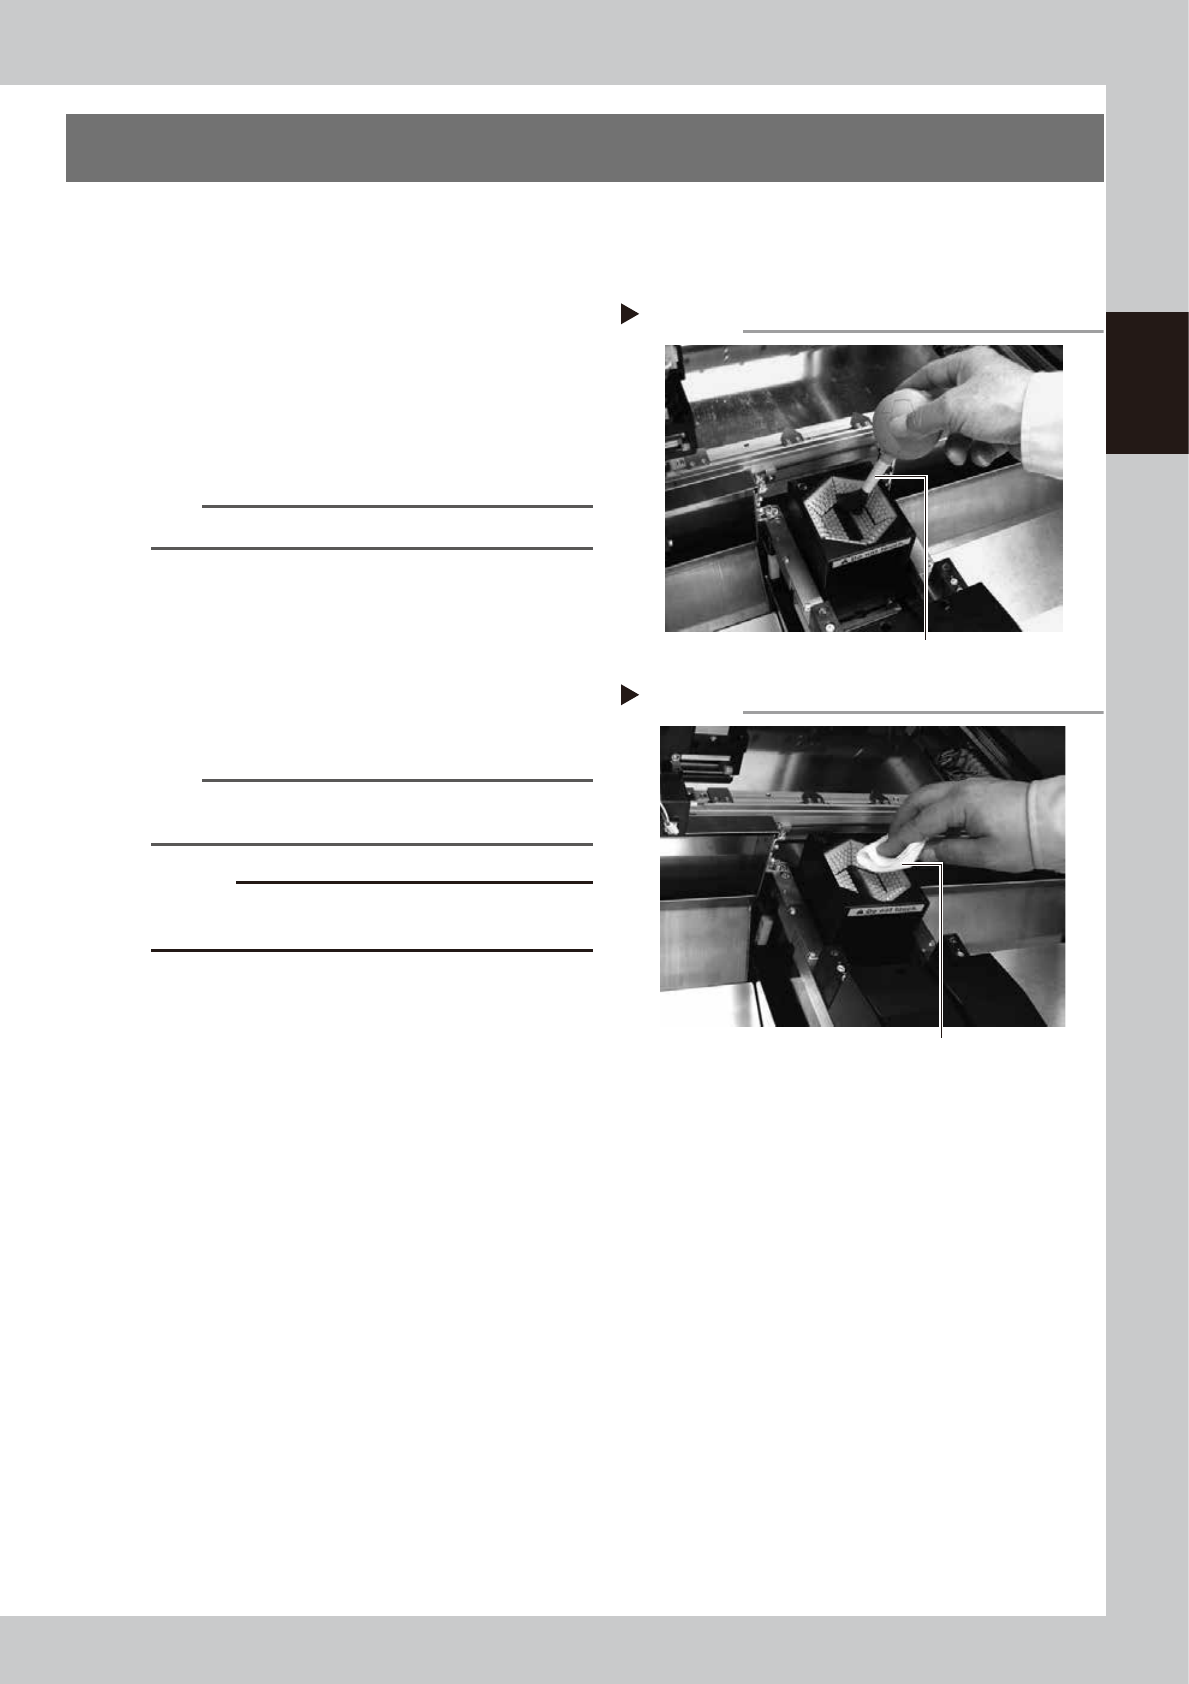
3. Cleaning Multi-view camera protective glass
Multi-view camera is equipped with YS12F as standard. (YS12P : Option)
Adhered dust, etc., on the multi-camera lighting's protective glass can cause component recognition errors.
To prevent this, it is recommended to inspect and clean the cover in a periodic manner.
e
1
Blow off dust on the lighting's
protective glass.
1. Press the emergency stop button to open
the machine safety cover.
2. Remove the dust on the lighting's
protective glass with a blower brush.
53207-L6-00
TIP
A lens blower brush is an optional purchase part.
2
Wipe the protective glass with a
cloth or cleaning paper.
Apply a few drops of lens cleaner to a
lint-free cleaning cloth or cleaning paper
that does not raise dust, and wipe the
protective glass.
53209-L6-10
n
NOTE
A lens cleaner and cleaning paper are optional
purchase parts.
c
CAUTION
Do not use other than the lens cleaner optionally
supplied, such as IPA or acetone.
Blowing off dust with blower brush
Step 1
Lens blower brush
Wiping the protective glass
Step 2
Lent-free cleaning cloth

Chapter 3 Periodic maintenance items
Contents
1. Weekly inspection 3-1
1.1 Inspecting and cleaning the nozzles 3-1
1.1.1 Inspecting and cleaning the slide section 3-1
1.1.2 Checking the nozzle leaf springs 3-3
1.1.3 Cleaning the nozzle tip 3-4
1.2 Cleaning and lubricating the gripper nozzle (option) 3-6
1.2.1 Inspecting the gripper nozzle 3-6
1.2.2 Cleaning and lubricating the gripper nozzle 3-6
1.3 Checking the conveyor sensor condition and operation 3-8
1.4 Checking the board clamp condition and operation 3-10
1.4.1 Checking the board clamp condition 3-10
1.4.2 Checking the board clamp operation 3-10
2. Monthly inspection 3-11
2.1 Cleaning the nozzle air path 3-11
2.2 Inspecting ball screws and guides of each axis 3-12
3. Two-month inspection 3-13
3.1 Cleaning and greasing the X and Y axis 3-13
3.1.1 Cleaning and greasing the X and Y axis ball screws 3-13
3.1.2 Cleaning and greasing the X, Y and W axes guides 3-15
3.2 Cleaning and greasing the push-up axis (PU axis) 3-16
3.3 Inspecting the board conveyor unit 3-18
3.3.1 Inspecting the conveyor belt and cleaning the guide pulley 3-18
4. Three-month inspection 3-22
4.1 Cleaning and replacing the ejector filter 3-22
4.2 Inspecting the ejector vacuum pressure 3-23
4.3
Operation check of head blow valve and cleaning blow valve
3-24
4.4 Cleaning the inside of the spline shaft 3-26
4.4.1 Cleaning the inside of the spline shaft 3-26
4.4.2 Checking the negative pressure 3-29
4.5 Checking spline shaft operation 3-30
4.5.1 Checking spline shaft Z-axis operation 3-30
4.5.2 Checking and cleaning around spline shaft 3-30
4.5.3 Lubricating the spline shaft (as needed) 3-31
4.6 Checking the SC-axis flex cable (YS12P) 3-32
4.7 Inspecting and replacing the air and oil mist filter 3-33