DECAN_S1_Maintenance(Eng_Ver1.1)_Print.pdf - 第39页
DE CAN S1 M ain ten anc e Ha nd boo k 3-8 chapt er 3 Daily Inspe ction Nex t Generation, Multi- Functi onal Placer Cleaning the Backup T able Daily Inspection If foreign materials such as solder enter the machine, they m…
DECAN S1 Maintenance Handbook
3-7
chapter 3
Daily Inspection
Next Generation, Multi-Functional Placer
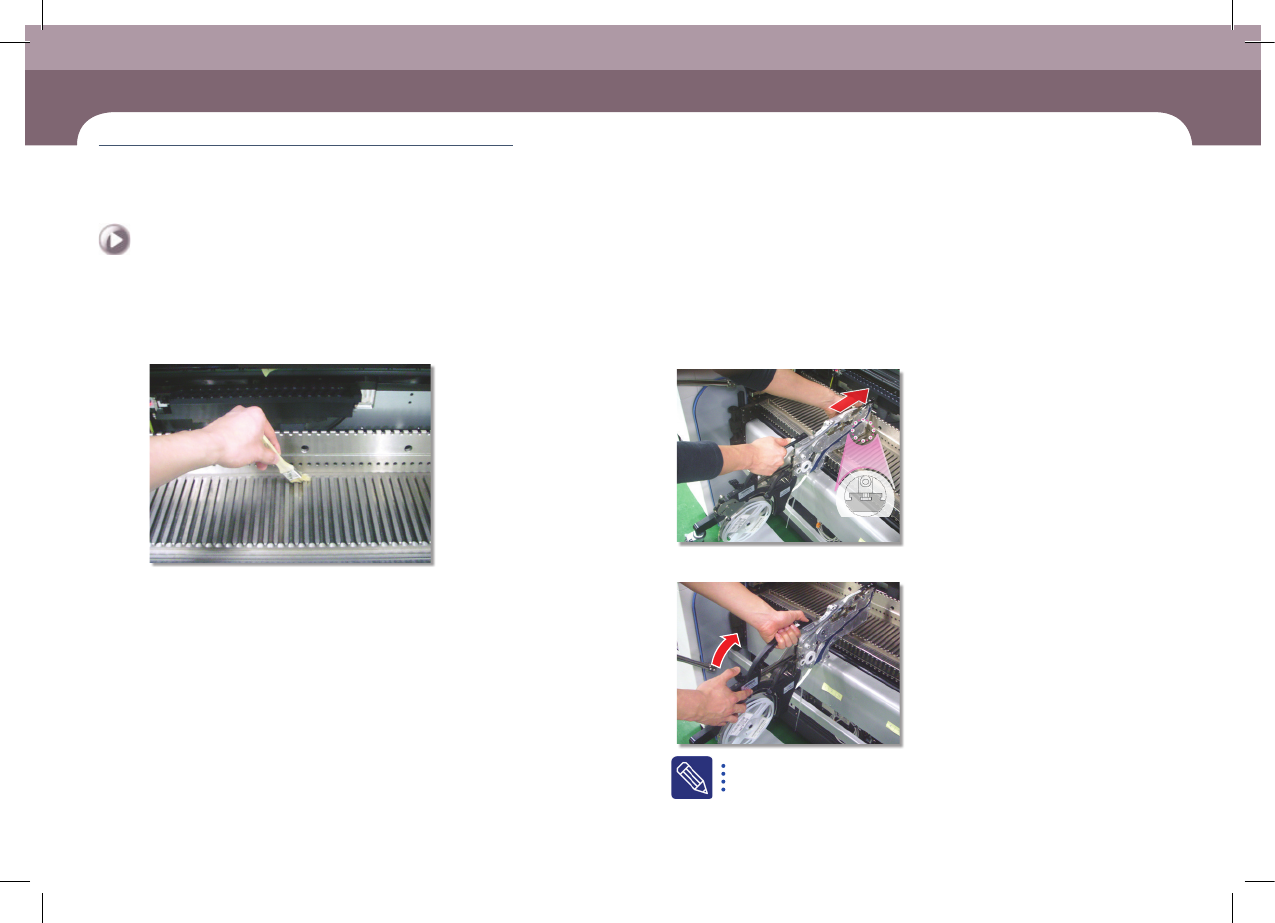
Cleaning feeder and feeder base
Step 6.
Clean the feeder base slot and connector using a flat
brush.
Step 7.
Install the feeder
①Fixing the feeder in the slot
②Fixing the grip
If it is properly installed, the LED color turns green.
DECAN S1 Maintenance Handbook
3-8
chapter 3
Daily Inspection
Next Generation, Multi-Functional Placer
Cleaning the Backup Table
Daily Inspection
If foreign materials such as solder enter the machine, they may cause it to fail.
Therefore, clean the Backup Table to prevent this problem from happening.
Tool for Maintenance
Ultra fine fiber cloth, cleaning liquid
Measures
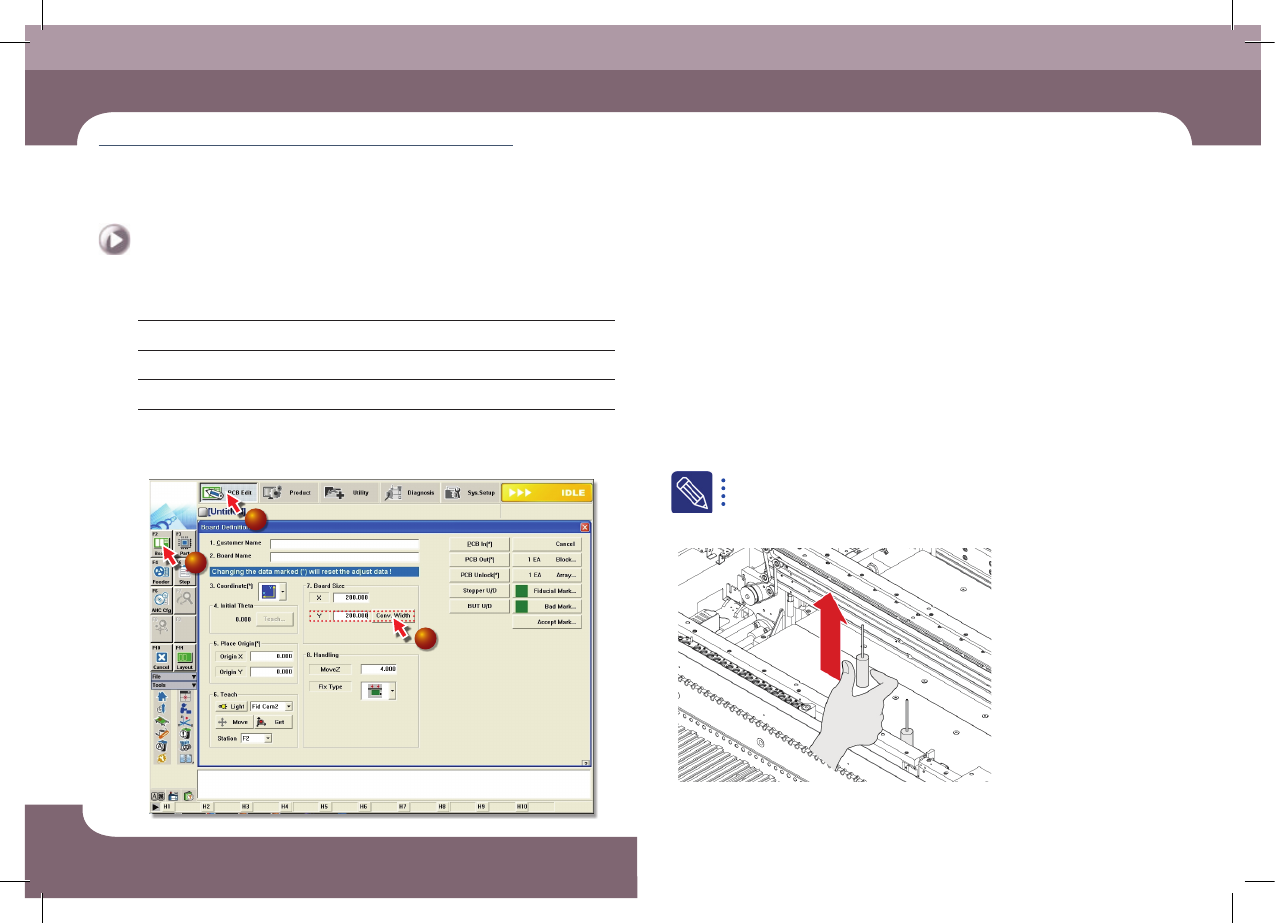
Step 1.
Select 'Board' from the submenu of the 'PCB Edit' menu
of the MMI and enter '200' for Board Size Y value and
then click the <Conv. Width> button
1
2
3
Step 2.
Move the X Frame assembly backward as described in
"Backward movement of the X-frame" on page 1-4.
Step 3.
Press the 'STOP' and 'RESET' buttons in order after
pressing the 'EMG' button on the OP panel to stop
operation.
For more details, refer to "How to perform emergency stop" on page
1-2.
Step 4.
Remove the backup pin
Cleaning the Backup Table
(Time required: 5min / No. D-3)
DECAN S1 Maintenance Handbook
3-9
chapter 3
Daily Inspection
Next Generation, Multi-Functional Placer
Cleaning the Backup Table
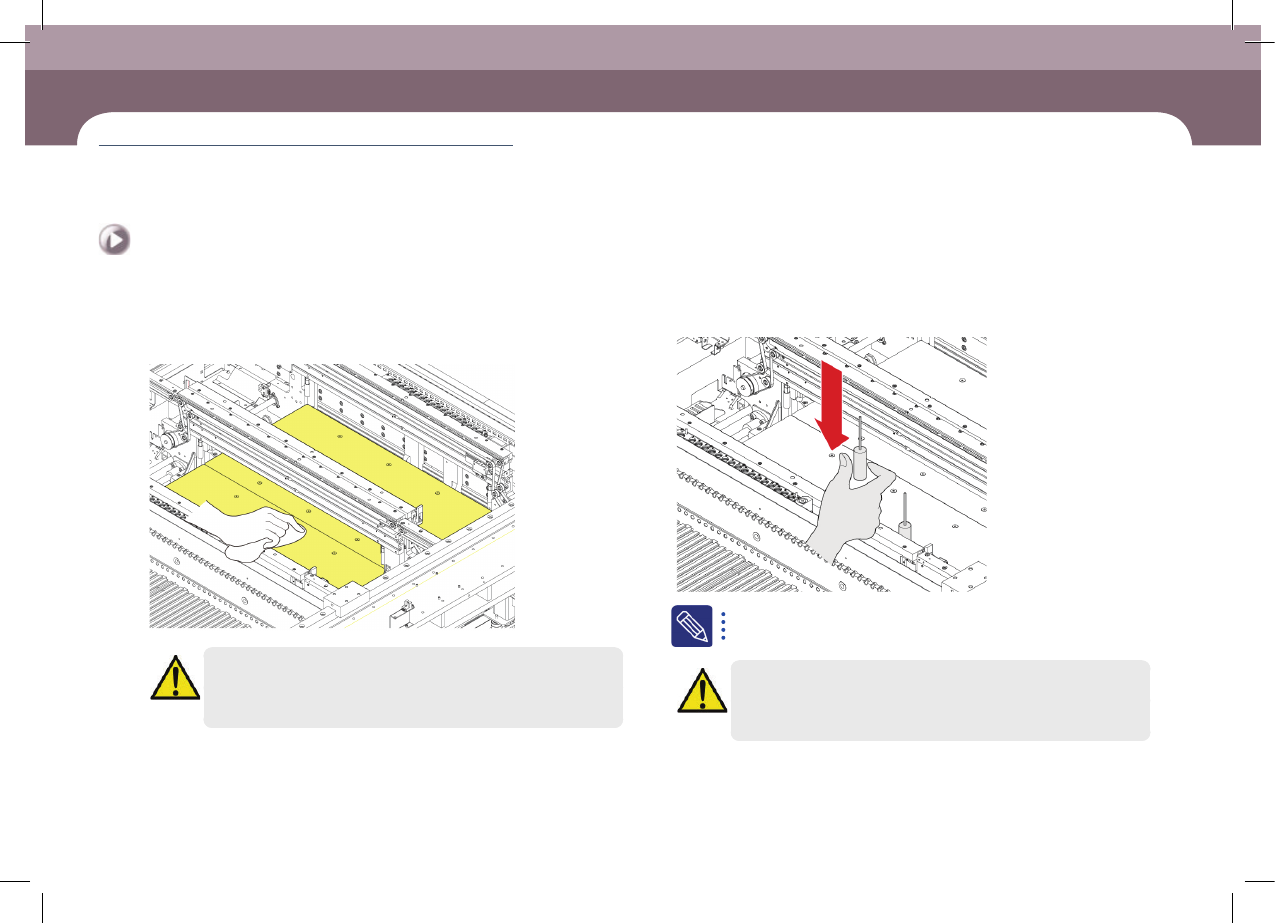
Step 5.
Clean the upper surface of the Backup Table with an
ultra fine fiber cloth.
Caution
If air is used to clean the table, the foreign material including solder
drops down, causing failure.
Step 6.
Install the backup pins to support the PCB.
For further details of the back up pin, refer to <Chapter 6> Arranging
Backup Pins' in the Operation Handbook.
Caution
Arrange the backup pins after moving the backup table up.
Step 7.
Release the emergency stop as described in "Releasing
'Emergency Stop' mode" on page 1-6 and perform the
operation again.