PSV5000_OwnersManual.pdf - 第103页
W orkspace , Head and Gant ry Sock et A dapt ers and Actuat io n PSV5000 O wner ’s M anual - 99 - runnin g. A job mus t be finishe d before tur ning OF F compresse d air or e lectrical power. W ait for the gantry to …
Maintenance ■ Workspace, Head and Gantry
- 98 - Data I/O ■ 096-0465-001C
Workspace, Head and Gantry
The workspace includes the Socket Adapters and items on the working
surface, but not the programmers. They are covered in a separate
heading.
Socket Adapters and Actuation
Under this heading you will learn about visually inspecting, cleaning and
adjusting sockets, actuation, and air pressure for the workspace items.
INSPECTING THE SOCKET ADAPTERS
The condition of the Socket Adapters has great throughput
consequences.
SOCKET LIFE
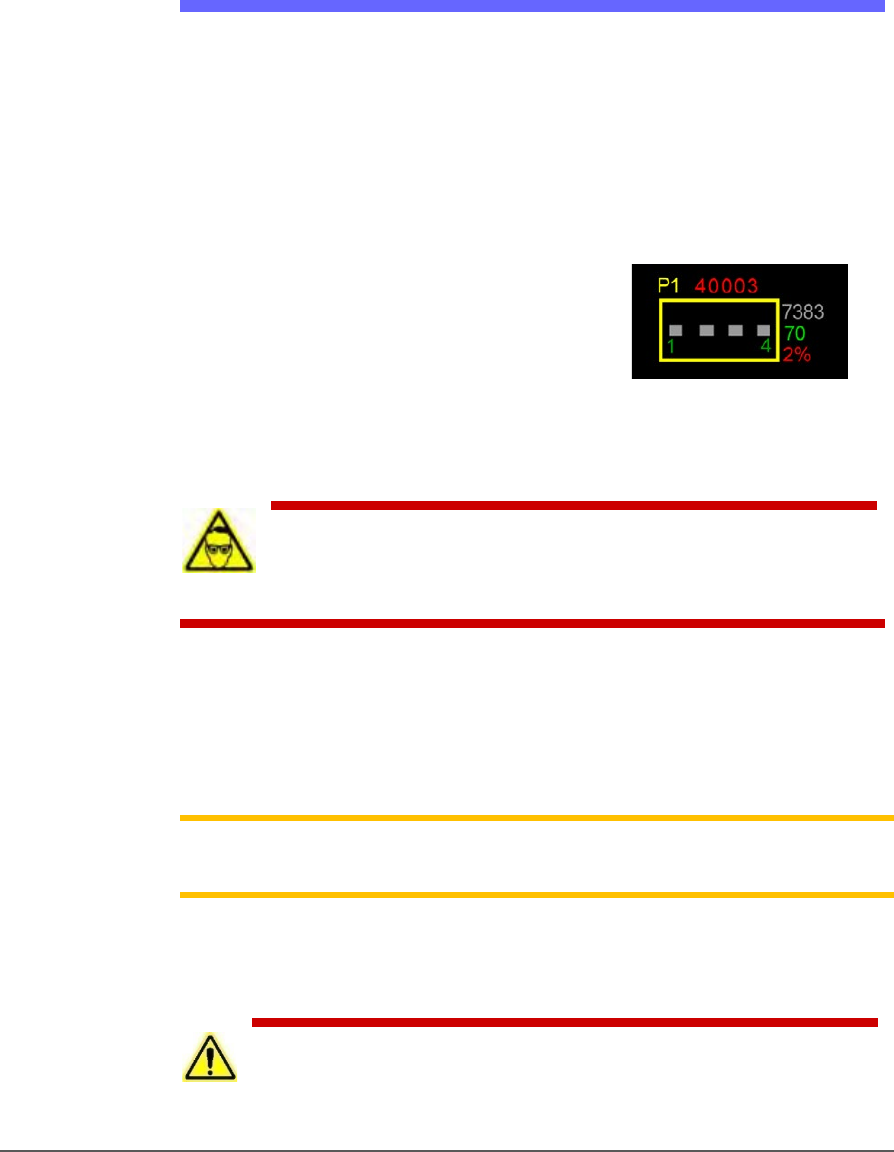
The Run window displays the Socket
Adapter lifetime actuation count in yellow
until it is exceeded at which time it changes
to red.
SOCKET CLEANING
WARNING: Vision hazard! Pressurized air or debris blown into
the eyes or skin could cause bodily damage. Always use care and
wear protective eye goggles when cleaning with pressurized air.
1. Use clean, dry compressed air (at 6.2 Bars (90 PSI or less) to remove
dirt from the sockets. Open and close the sockets while blowing them
out.
2. Check the sockets for wear and replace if necessary.
Note: The socket replacement cycle depends upon the type of socket used
and the socket manufacturer.
TURNING OFF INPUT AIR
Prior to turning off the input air, ensure that no job is running.
CAUTION: Possible damage to programmers and devices! DO NOT
TURN AIR OR POWER OFF to the PSV5000 Machine while a job is
Workspace, Head and Gantry Socket Adapters and Actuation
PSV5000 Owner’s Manual - 99 -
running. A job must be finished before turning OFF compressed air or electrical
power. Wait for the gantry to park before turning OFF.
1. If a job is running, Pause or Finish it.
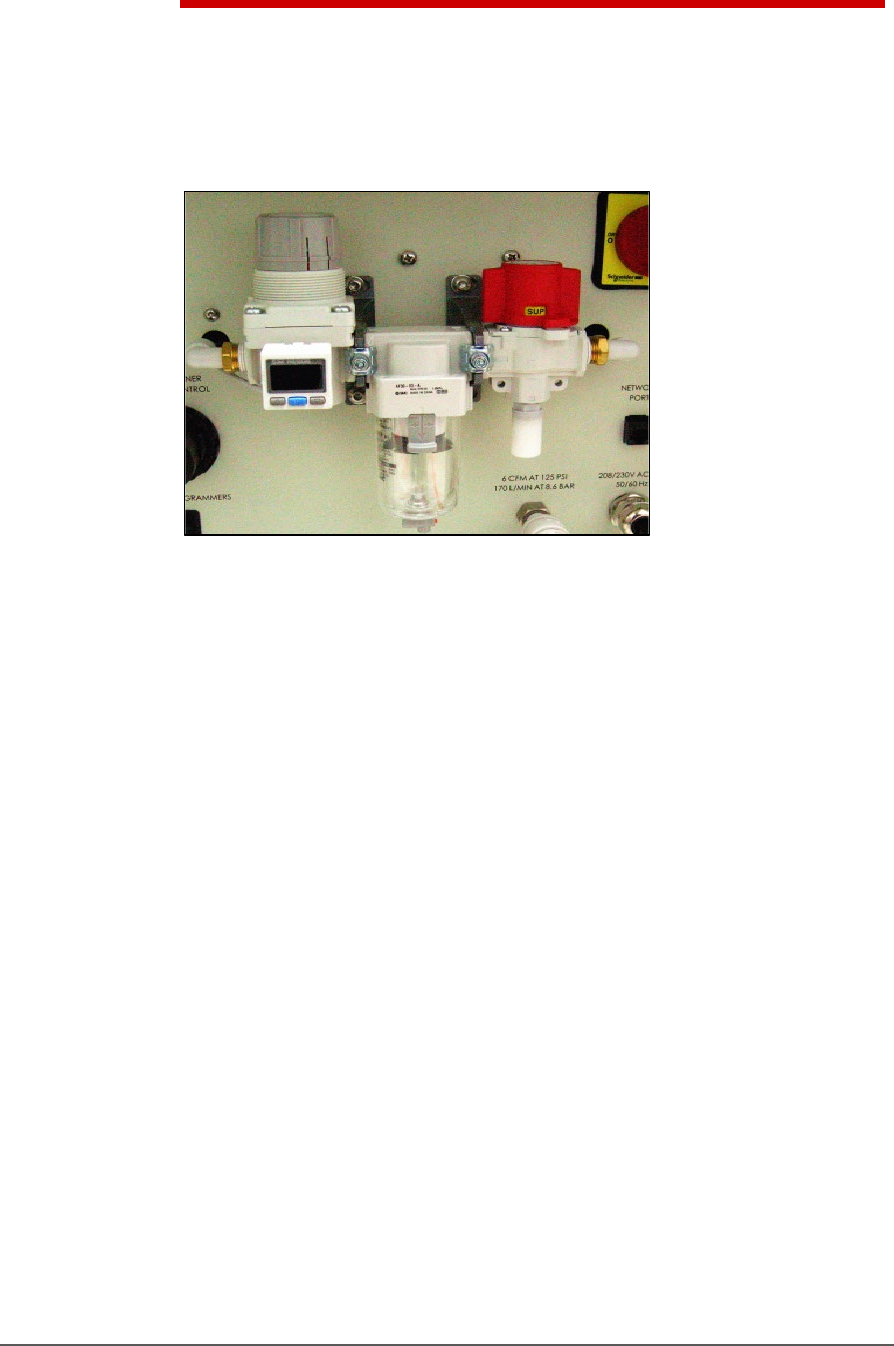
2. On the Power Panel, rotate the valve clockwise to turn OFF the input
air; it is off when the lock rings line up. See the figure below.
Figure 57: Input air regulator/filter on the Power Panel (on the left
side of the machine). When the lock rings on the valve line up,
the air supply to the PSV5000 Machine is OFF.
3. (Optional) Paddle lock the air shutoff valve.
ADJUSTING THE SOCKET ACTUATOR AIR PRESSURE ON THE PROGRAMMERS
Socket Actuators are built into the FlashCORE programmers on
PSV5000. Socket actuation is controlled by air pressure. If Socket
Actuators are slamming up and down loudly, or devices are bouncing, the
air pressure may be too high. If the PNP head does not properly pick or
place a device in a socket because the socket is not opening completely,
the air pressure might be set too low.
Adjust the air pressure setting as follows:
1. Finish a job if one is running.
2. Navigate to the Gantry window and click the yellow label for a
programmer that is easy to see.
3. At the Actuator Tab, click Actuate Socket ON and OFF to visually
verify performance for reference.

Maintenance ■ Workspace, Head and Gantry
- 100 - Data I/O ■ 096-0465-001C
Figure 58: The Socket Opener Pressure Control knob with built-in
gauge on the Power Panel.
4. At the Power Panel on the left side, adjust the air pressure up or
down as desired by pulling the collar on the black knob out and then
rotating it.
5. Push the collar back in.
Note: The lowest pressure setting that opens the sockets all the way
reliably is recommended.
6. Cycle the sockets as before to verify the change in action.
7. Repeat if necessary.
Note: If Socket Actuator problems persist, set the actuator speed (refer to
the next heading).
ADJUSTING THE SOCKET ACTUATOR SPEED ON THE PROGRAMMERS
THE SOCKET ACTUATOR SPEED WAS SET AT THE FACTORY AND
SHOULD NOT NEED ADJUSTMENT. If it is determined that adjustment
is necessary, this procedure requires a Data I/O trained technician since
it requires having an access door open while the machine power is on.
REQUIREMENTS
• Programmer air pressure must be correct. See previous heading.
• Small flat screw driver.
TO ADJUST THE SPEED OF THE SOCKET ACTUATORS:
1. Ensure that power and air are connected and ON, and a Socket
Adapter is installed on the target programmer.
2. At the Gantry window, click the label for a programmer with the
adapter installed. Probe 1 will stop over socket 1.