PSV5000_OwnersManual.pdf - 第90页
Ad minist rativ e F unctions ■ Mark ing Option - 86 - Data I/O ■ 096 - 0465 - 00 1C Figure 50: Lase r Switch o n th e Las er power con tro l pan el . 3. Open the Markin gMate s oftw are win dow (do uble - click the deskt…

Marking Option ≡ Verifying Proper Laser Operation
PSV5000 Owner’s Manual - 85 -
Figure 49: Laser Form in CH700
3. Verify that the marking graphic placement on the device is as
desired. If not, adjust the laser file in the UpperHand application or
see the next heading on troubleshooting.
ALIGNING LASER MARKING
REQUIREMENTS
• Two people
• An image file is in the MarkingMate SW application. If the device is
not marked, check that the laser is aimed at the device correctly.
1. Stop any job that is running by clicking Finish on the Run window.
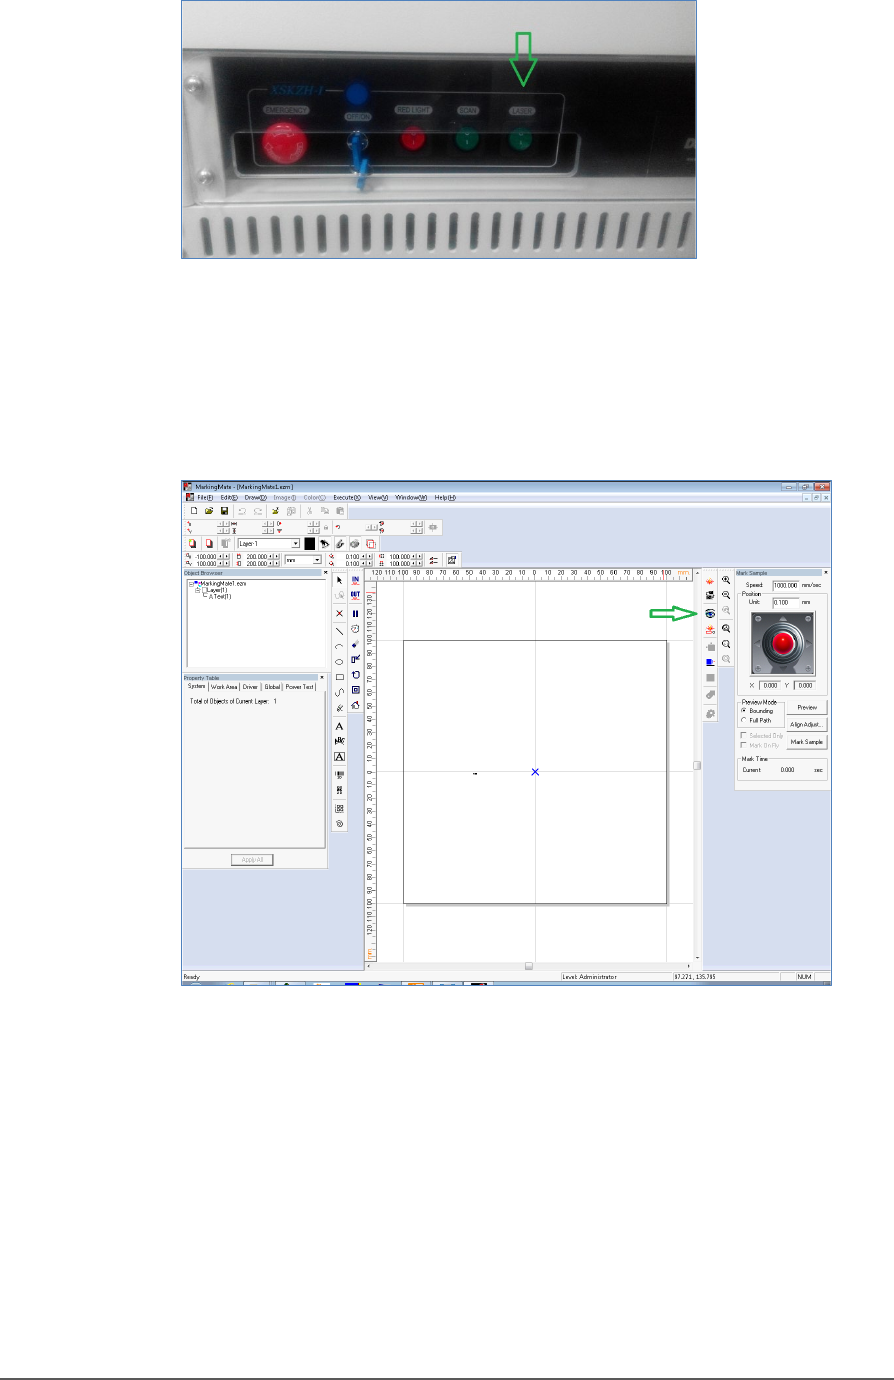
2. Turn off the Laser Switch in the Laser power control panel.
WARNING: Serious injury hazard to eyes and skin! Do not open
or work on the Laser Module when the Laser Switch is in the ON
position. Always make sure it is OFF.
Administrative Functions ■ Marking Option
- 86 - Data I/O ■ 096-0465-001C
Figure 50: Laser Switch on the Laser power control panel.
3. Open the MarkingMate software window (double-click the desktop
icon).
4. Click preview icon in the MarkingMate software.
Figure 51: The preview icon in the MarkingMate software
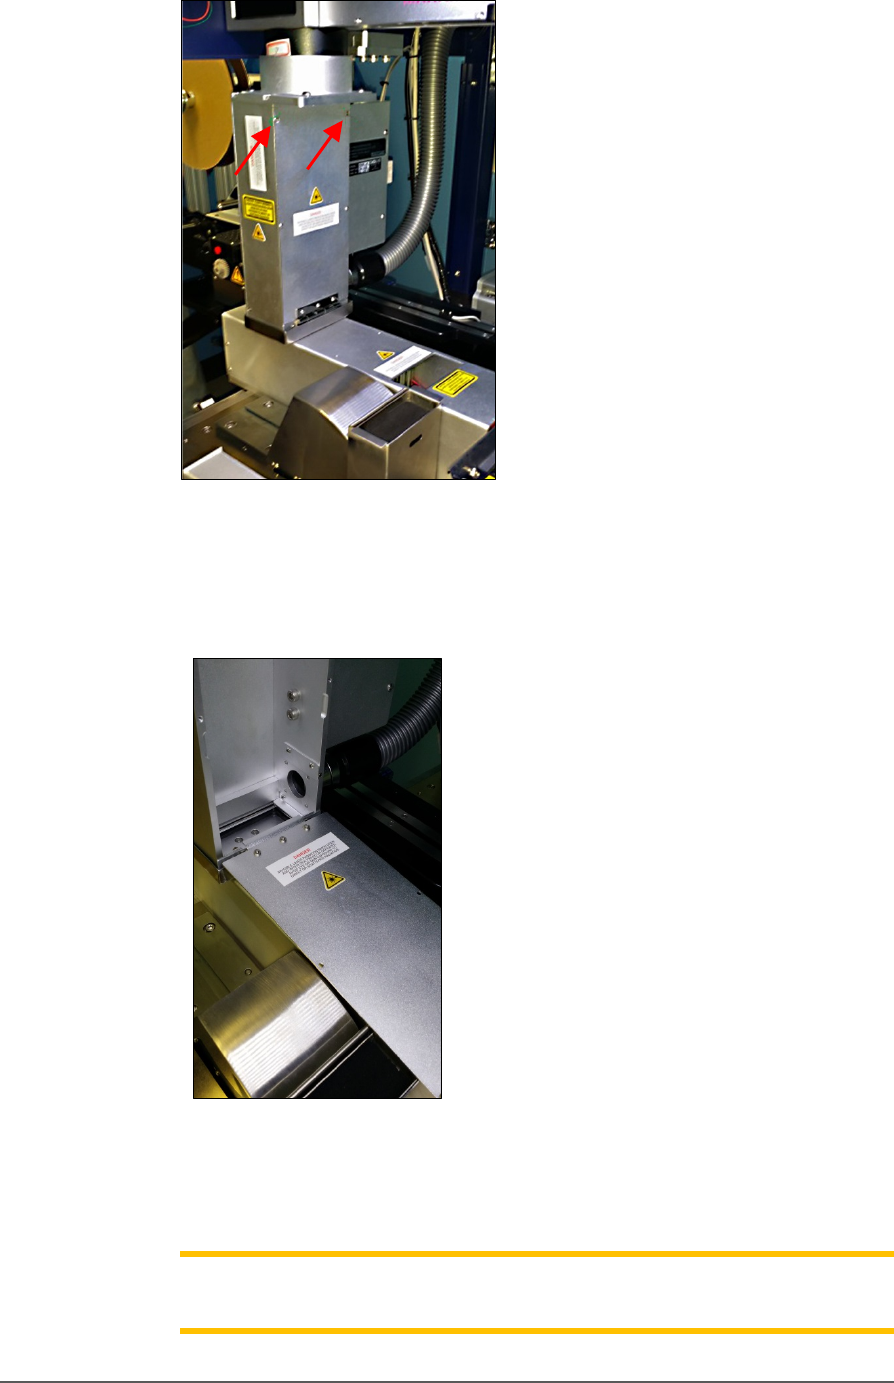
5. Another operator open the PSV5000 front left safety door and
unscrew the two screws on the inspection door of the Laser Module.
Marking Option ≡ Verifying Proper Laser Operation
PSV5000 Owner’s Manual - 87 -
Figure 52: Fasteners on the laser inspection door (arrows).
6. Open the inspection door, which is hinged at the buttom, to view the
laser position (red rectangle).
Figure 53: Inspection door in the open position.
7. Use arrow key on the keyboard to move the laser position (red
rectangle) to the desired position, lift the door open and recheck.
Note: If the rectangle can’t move, make sure the laser pattern in the
MarkingMate software is selected.