PSV5000_OwnersManual.pdf - 第91页
Marking Option ≡ V erifying Proper Laser Operation PSV5000 O wner ’s M anual - 87 - Figure 52: Fas tener s on t he las er inspectio n door ( arrows ). 6. O pen th e inspe ction doo r , which is hinge d at the bu ttom ,…
Administrative Functions ■ Marking Option
- 86 - Data I/O ■ 096-0465-001C
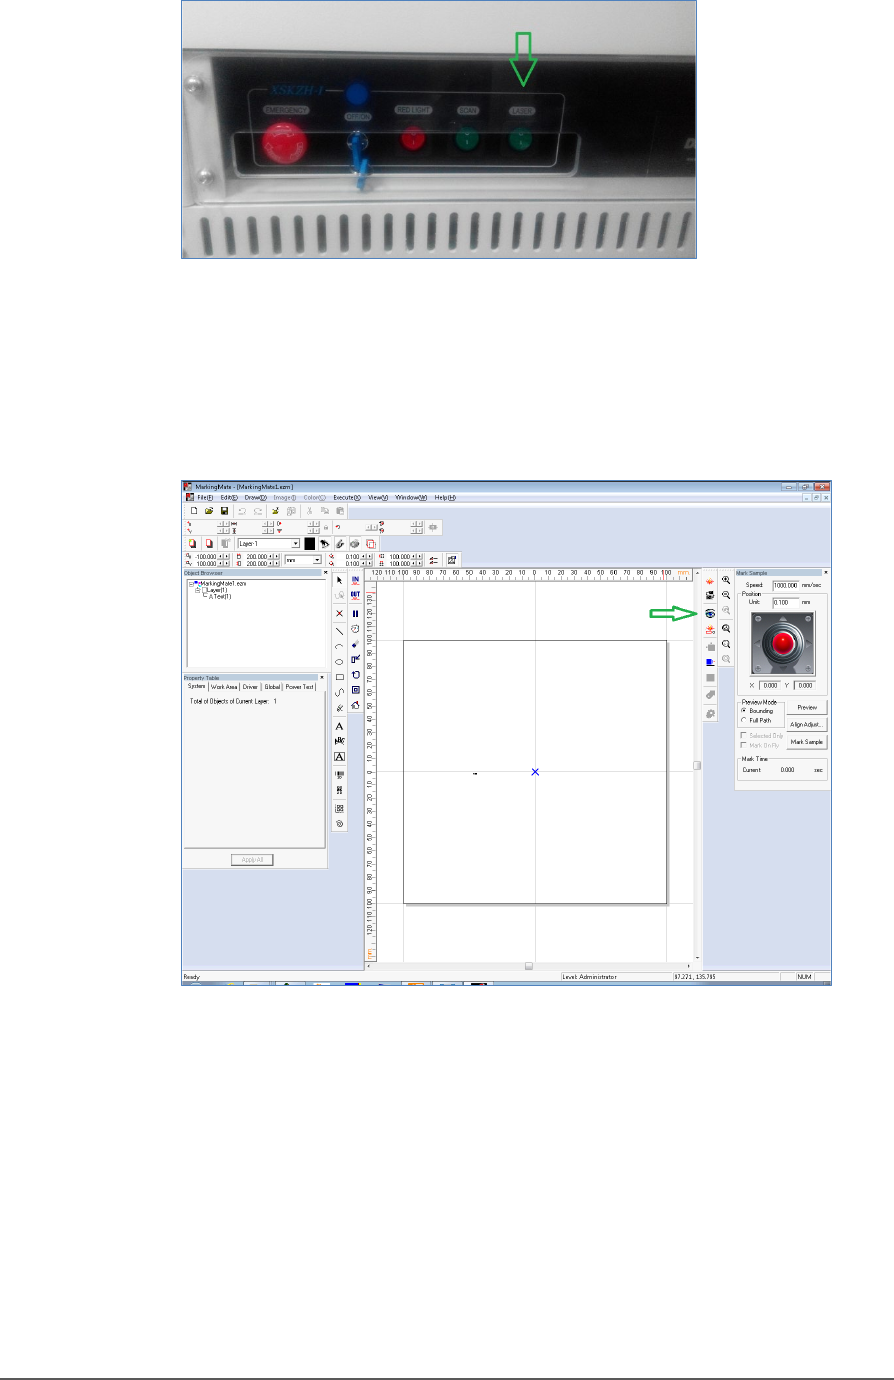
Figure 50: Laser Switch on the Laser power control panel.
3. Open the MarkingMate software window (double-click the desktop
icon).
4. Click preview icon in the MarkingMate software.
Figure 51: The preview icon in the MarkingMate software
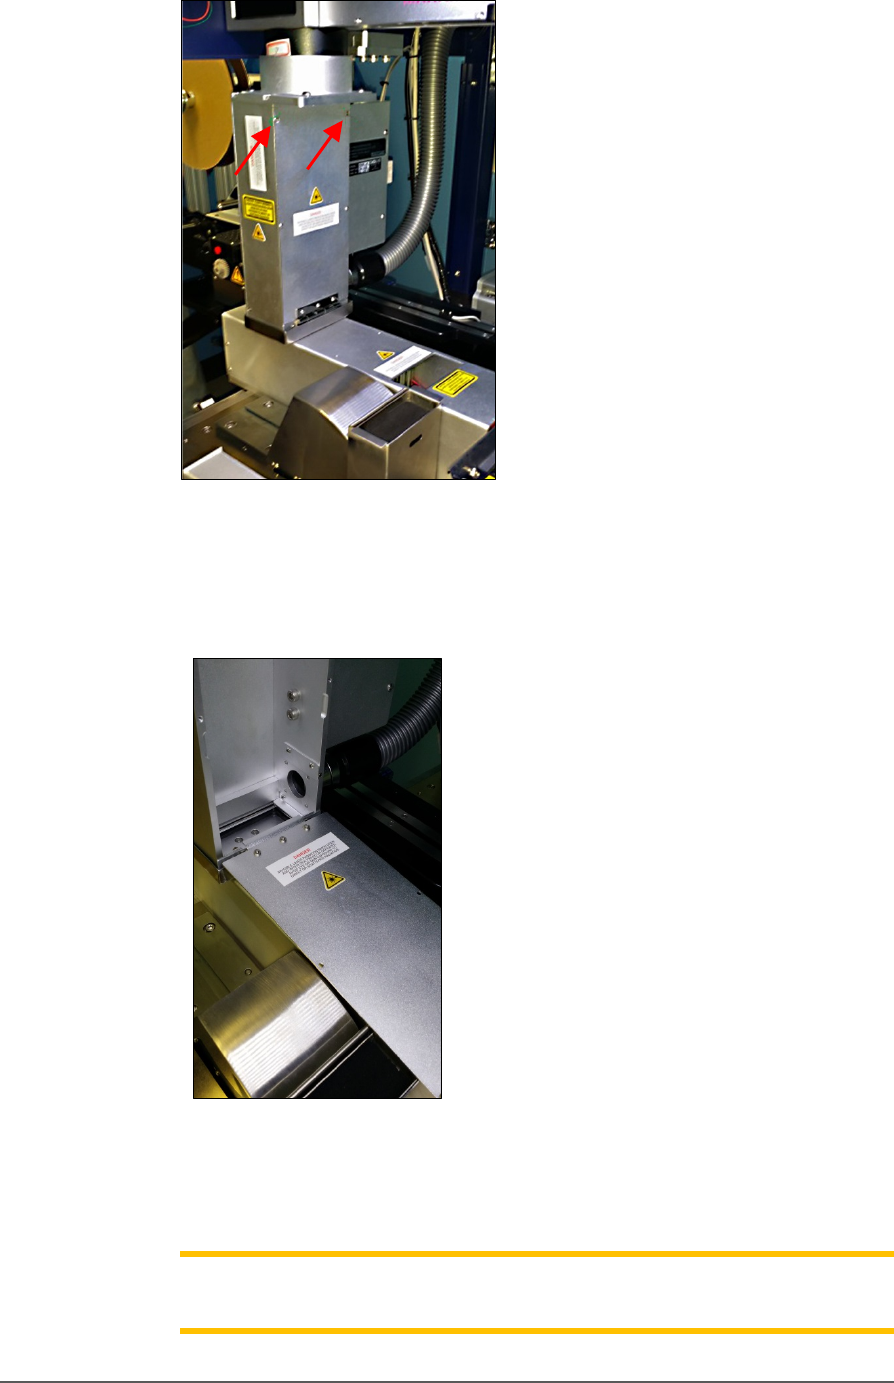
5. Another operator open the PSV5000 front left safety door and
unscrew the two screws on the inspection door of the Laser Module.
Marking Option ≡ Verifying Proper Laser Operation
PSV5000 Owner’s Manual - 87 -
Figure 52: Fasteners on the laser inspection door (arrows).
6. Open the inspection door, which is hinged at the buttom, to view the
laser position (red rectangle).
Figure 53: Inspection door in the open position.
7. Use arrow key on the keyboard to move the laser position (red
rectangle) to the desired position, lift the door open and recheck.
Note: If the rectangle can’t move, make sure the laser pattern in the
MarkingMate software is selected.
Administrative Functions ■ Marking Option
- 88 - Data I/O ■ 096-0465-001C
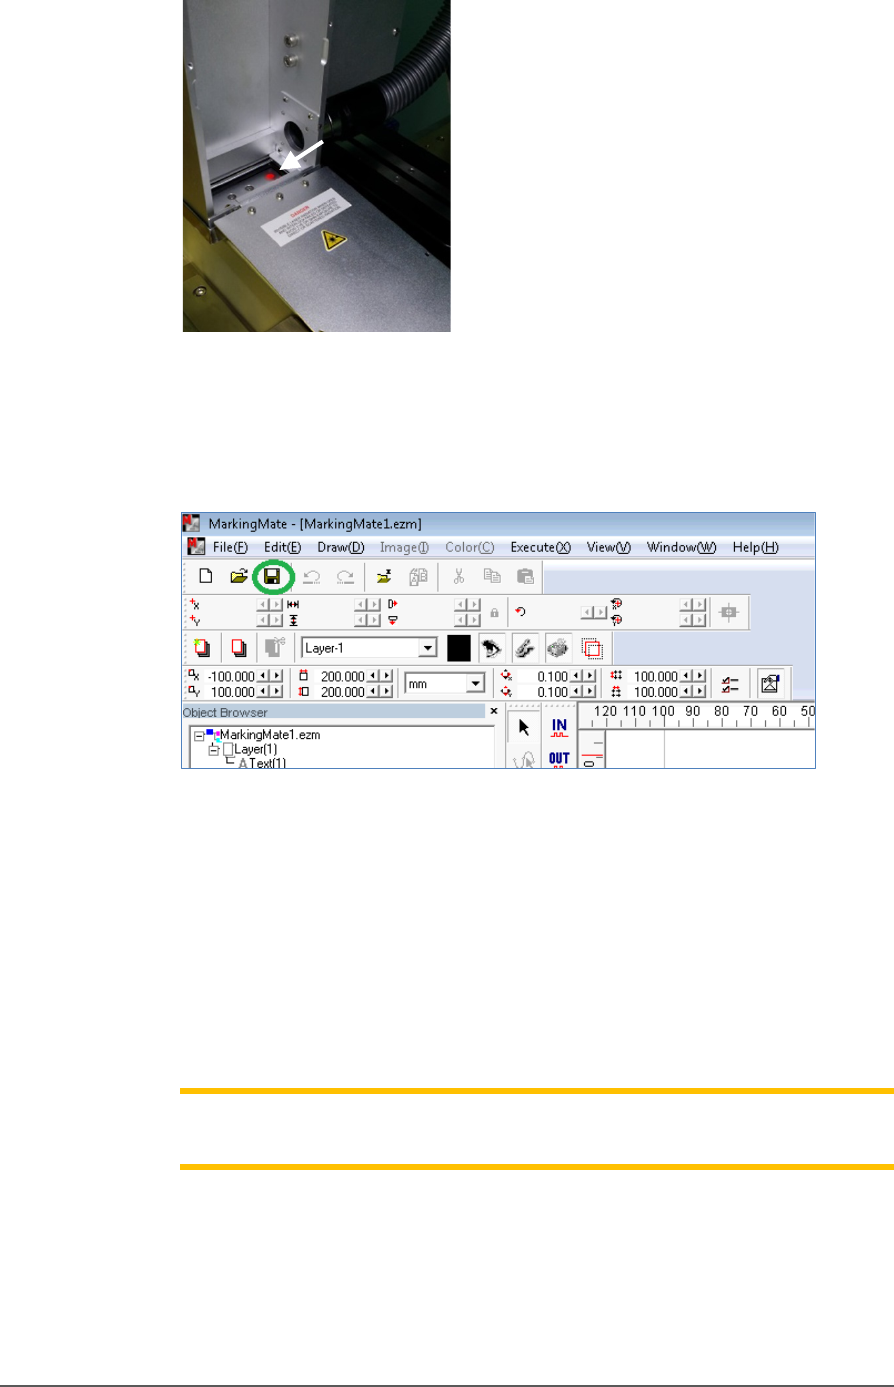
Figure 54: If laser is activated, there will be a red spot at location of
the arrow.
8. Save the changes in the MarkingMate software.
Figure 55: Save icon in MarkingMate software.
9. Install the inspection door to the previous position.
10. Turn off the Laser Switch in the Laser power control panel.
11. Retry marking device. Refer to the previous heading.
If all appears correct and still there is no mark, contact Data I/O
Customer Support.
Note: The Laser rotor has been leveled at the factory. If you experience
trouble, contact Data I/O Customer Support.