00195089-0102_AI_Vakuumpumpe_X-Serie_60X_DE+EN.pdf - 第117页
Assembly Instructions SIPLACE Vacuum Pump Ausgabe 07/2006 113 2.12 Retrofitting C&P12 and C&P6 Abb . 2.12.1 C&P12 with compressed air (star ting position) 2 Bef ore any work is perf or med the machine – after…
Assembly Instructions SIPLACE Vacuum Pump
Ausgabe 07/2006
112
Fig. 2.11.6 C&P20 with cover for the vacuum
: Screw the cover (03046347-) hand-tightened onto the “orifice ring C&P20”.
2.11.1 Maintenance
Every 4 months: 2
: Check the “orifice ring complete C&P20” (03046348-) for soiling and replace it, if necessary.
2
Assembly Instructions SIPLACE Vacuum Pump
Ausgabe 07/2006
113
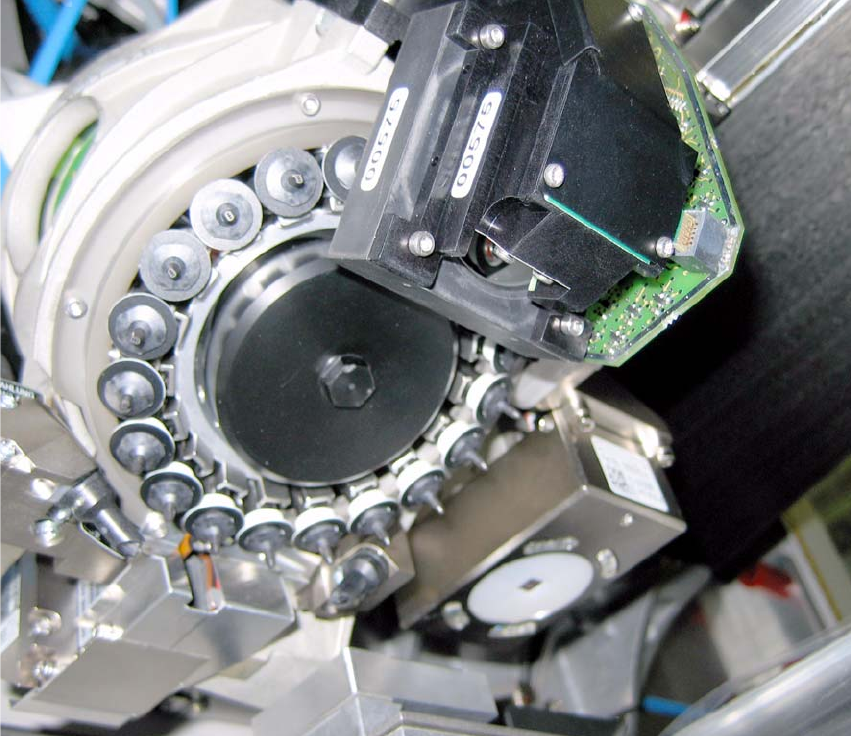
2.12 Retrofitting C&P12 and C&P6
Abb. 2.12.1 C&P12 with compressed air (starting position)
2
Before any work is performed the machine – after being properly shut down – must be turned off
at the main switch and separated from the power system. Thereafter the compressed air supply
must also be turned off at the compressed air unit’s main valve in the machine stand. The air
supply must then be ventilated by activating the needle valve on the compressed air unit.
Assembly Instructions SIPLACE Vacuum Pump
Ausgabe 07/2006
114
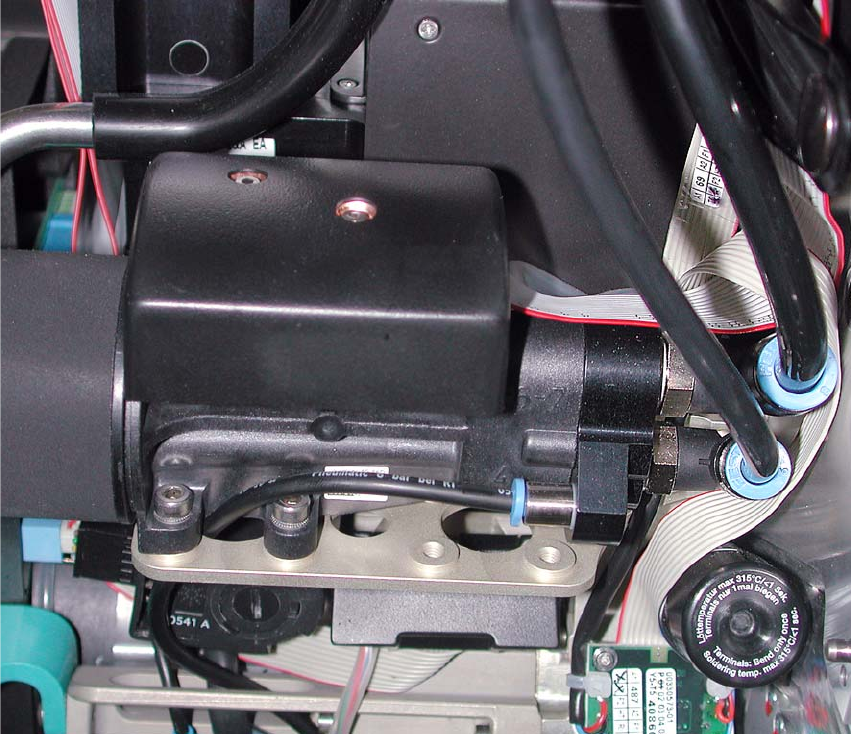
Abb. 2.12.2 Connections C&P12 with compressed air operation (starting position)
: Replace the old vacuum generator with the “vacuum generator for vacuum pump DLM2”
(03012076-)