00191369-02.pdf - 第163页
User Manual HS-50 5 Single Functions Software Version S R.501.xx 12/99 Issue US 5.2 Single functions, Gantry 163 t I I t open (mb ar)" and " Pick- up clos ed (mbar )". Y ou can use th ese val ues to se e, …
5 Single Functions User Manual HS-50
5.2 Single functions, Gantry Software Version SR.501.xx 12/99 Issue US
162
t IIt
5.2.3 "Vacuum test" screen
Å In the current screen for the single functions for Gantry x, click the symbol .
The user interface is switched to the "Vacuum test" screen (see Fig. 5.2 - 3
).
5
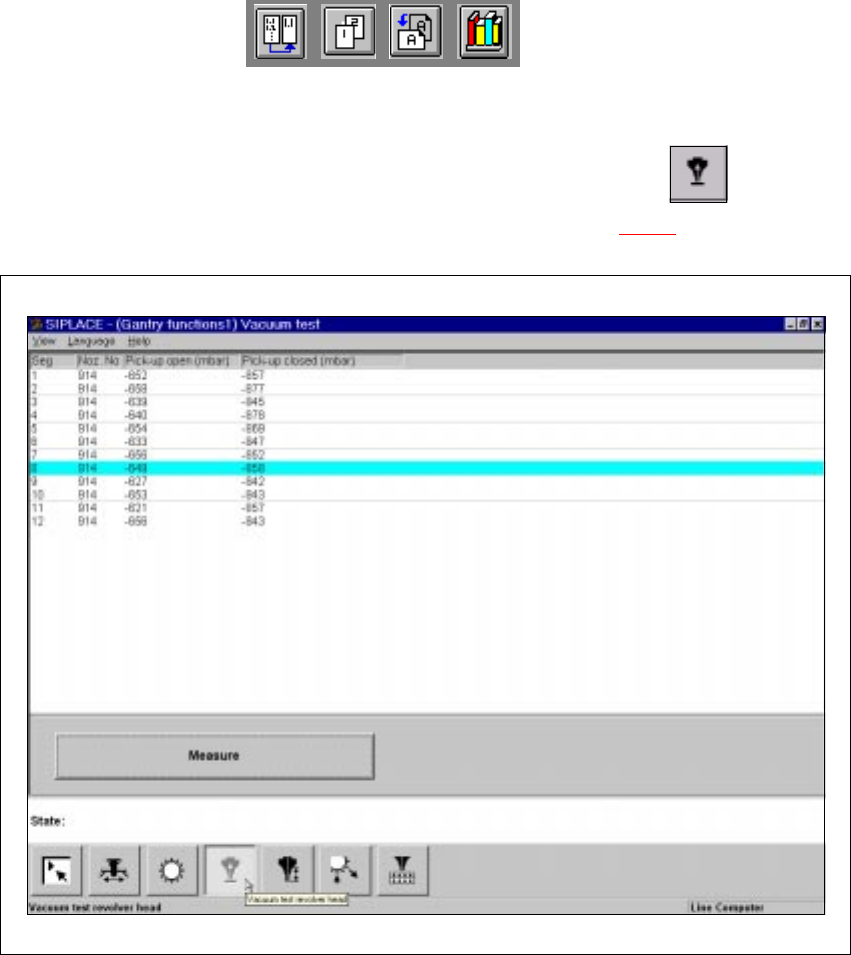
Fig. 5.2 - 3 "Vacuum test" screen
5.2.3.1 Functions
In the "Vacuum test" screen only the "Measure" button is available. This is used to start the vac-
uum test for all nozzles.
Measure 5
This function is used to start a head reference run. This measures the vacuum values in the open
and closed pick-up positions for each of the nozzles. 5
Å Click the Measure button.
The vacuum calculation procedure is started.
The calculated vacuum values for each of the nozzles are displayed in two columns, "Pick-up
User Manual HS-50 5 Single Functions
Software Version SR.501.xx 12/99 Issue US 5.2 Single functions, Gantry
163
t IIt
open (mbar)" and "Pick-up closed (mbar)". You can use these values to see, for example,
whether a nozzle on a particular segment is dirty.
5.2.4 "Nozzle offset" screen
5
Å In the current screen for the single functions for Gantry x, click the symbol .
The user interface is switched to the "Nozzle offset" screen (see Fig. 5.2 - 4
).
5
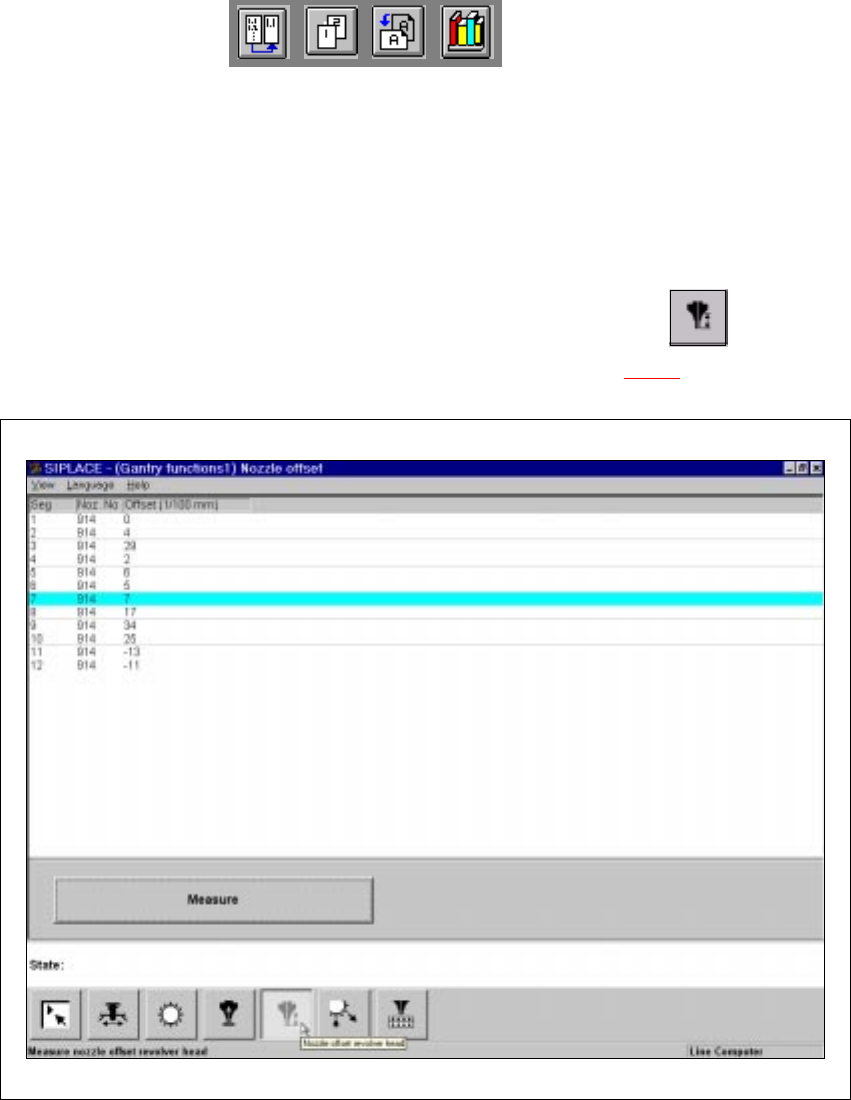
Fig. 5.2 - 4 "Nozzle offset" screen
5 Single Functions User Manual HS-50
5.2 Single functions, Gantry Software Version SR.501.xx 12/99 Issue US
164
t IIt
5.2.4.1 Functions
In the "Nozzle offset" screen only the "Measure" button is available. This is used to start a evalu-
ation of the nozzle height for all nozzles.
Measure 5
When this function is activated, the gantry moves the placement head to a defined position above
the board conveyor. The Z-axis is lowered until the nozzle touches the conveyor, the procedure is
then repeated for each nozzle. In this way, you can measure the height of each nozzle.
The gantry then returns to its starting position. 5
Å Click the Measure button.
This starts the procedure used to measure nozzle height.
The values determined are displayed in the column "Offset (1/100 mm)" for each of the nozz-
les. These values can, for example, be used to determine whether the nozzle on a particular
segment broken.