SA_HF_intern_0194307-02_eng - 第56页
3 Serv ice Gan tri es SIPL ACE HF-Ser ies Replacing the Guide Slide of the Y-Axis [03020303-xx] 3-42 0019 43 07- 02 Is su e 1 1/ 2004 Copy ri gh t © 2 004 S ie m ens Removal/In stallation NOTE: Replace th e guide sl id e…
SIPLACE HF-Series
Replacing the Guide Slide of the Y-Axis [03020303-xx]
Service
Gantries
3
Copyright © 2004 Siemens 00194307-02 Issue 11/2004 3-41
Push the gantry over to where the dismantled magnetic strip
was installed (out of the installed magnetic strip's area of
influence).
Fasten the gantry with the 4 transportation locks to prevent it
being accidentally moved.
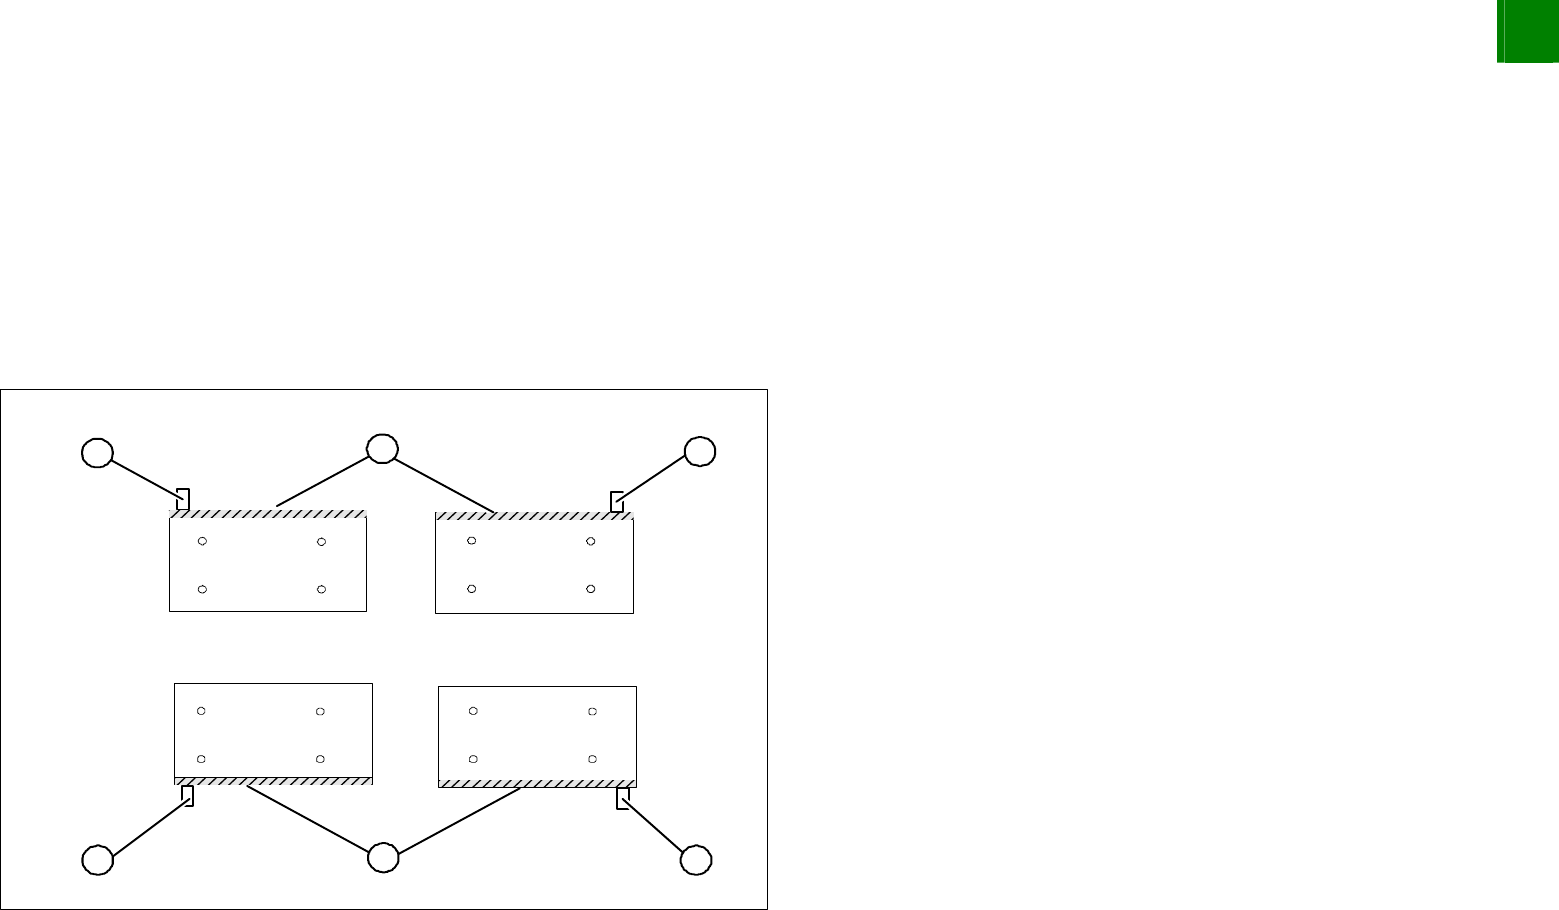
Preparing the Guide Slide
3
3
3
1
3
2
The lubrication nipple needs to be positioned correctly in the new
guide slide. Make sure the contact surface of the guide slide is
correctly positioned.
1. Contact surface of the top guide slide
2. Contact surface of the bottom guide slide
3. Lubrication nipple
Remove the appropriate grub screw and screw the new
lubrication nipple into the correct position.

3
Service
Gantries
SIPLACE HF-Series
Replacing the Guide Slide of the Y-Axis [03020303-xx]
3-42
00194307-02 Issue 11/2004 Copyright © 2004 Siemens
Removal/Installation
NOTE: Replace the guide slides one after the other.
Undo the screws fastening the first guide slide. Please note
that the screws are of different lengths. These will need to be
correctly replaced later.
Pull the old guide slide out. Make sure that no balls can fall out.
Clean the guide screws with a lint-free cloth and a little ethanol.
NOTE:
A threading tool is integrated into the guide slide, to prevent the balls
from falling out.
Correctly position the guide slide on the guide rails. Make sure
that the lip seal runs in the rails.
Push the guide slide and while doing so, pull the threading tool
out towards the back. Make sure that no balls can fall out.
Wipe any leaking oil away with a lint-free cloth.
Loosely screw in the two upper screws and then the lower
screws. Make sure you use the correct screws (long screws for
the bottom and short ones for the top)
TIP:
Use a screw holder to help you insert the screws.
Tighten the screws crosswise with a torque wrench (9.5 N).
Install the other 3 guide slides in the same manner.

SIPLACE HF-Series
Replacing the Guide Slide of the Y-Axis [03020303-xx]
Service
3
Copyright © 2004 Siemens 00194307-02 Issue 11/2004 3-43
NOTE:
To gain access to the screws of the top guide slide, you may need to
loosen the trailing cable fixtures a little and remove the buffer on the
head mount plate. You may also need to remove the cable ties on
the proximity switch cable.
Lubricate the guide slides as described in the maintenance
instructions.