MAN00000772_SI-G200BB_SVCPDFA.pdf - 第109页
Install Tray Unit (Including machine modification) SHEET 70/73 WKGB-10104-03 Installing Tray Unit (Including machine modificat ion) 5 Set the tray pickup position teaching jig to the S axis chuck. 6 Press the XY button t…
Install Tray Unit (Including machine modification)
SHEET
69/73
WKGB-10104-03
Installing Tray Unit
(Including machine modification)
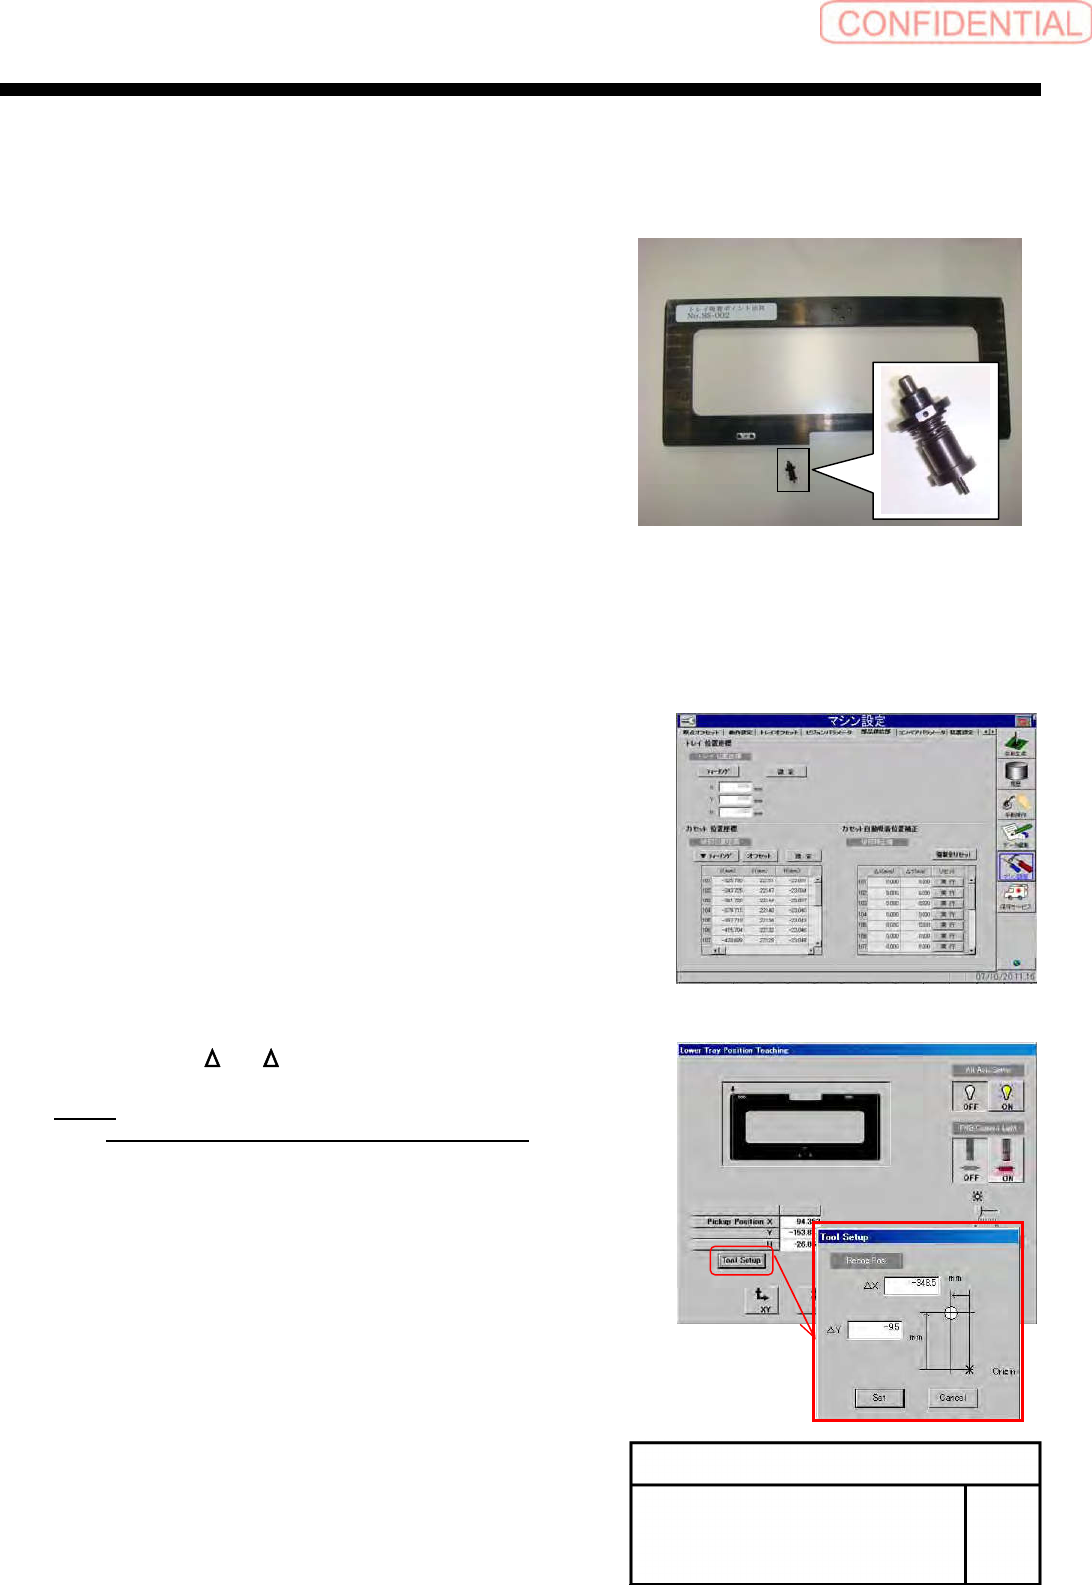
[Tray pickup position setup]
[Necessary jig]
・Tray pickup position teaching jig
・Length reference nozzle jig
・Thickness gauge(0.03[mm])
1
Install the length reference nozzle jig to the
Index 1 of rear side Head.
2
Return the unit to the origin.
3
Press the tray teaching button on the Parts
Supply screen.
4
Press the jig setup button to check the
values of X, Y.
NOTE:
Jig set value ΔX= -348.5 ,ΔY= -9.5[mm]
Install Tray Unit (Including machine modification)
SHEET
70/73
WKGB-10104-03
Installing Tray Unit
(Including machine modification)
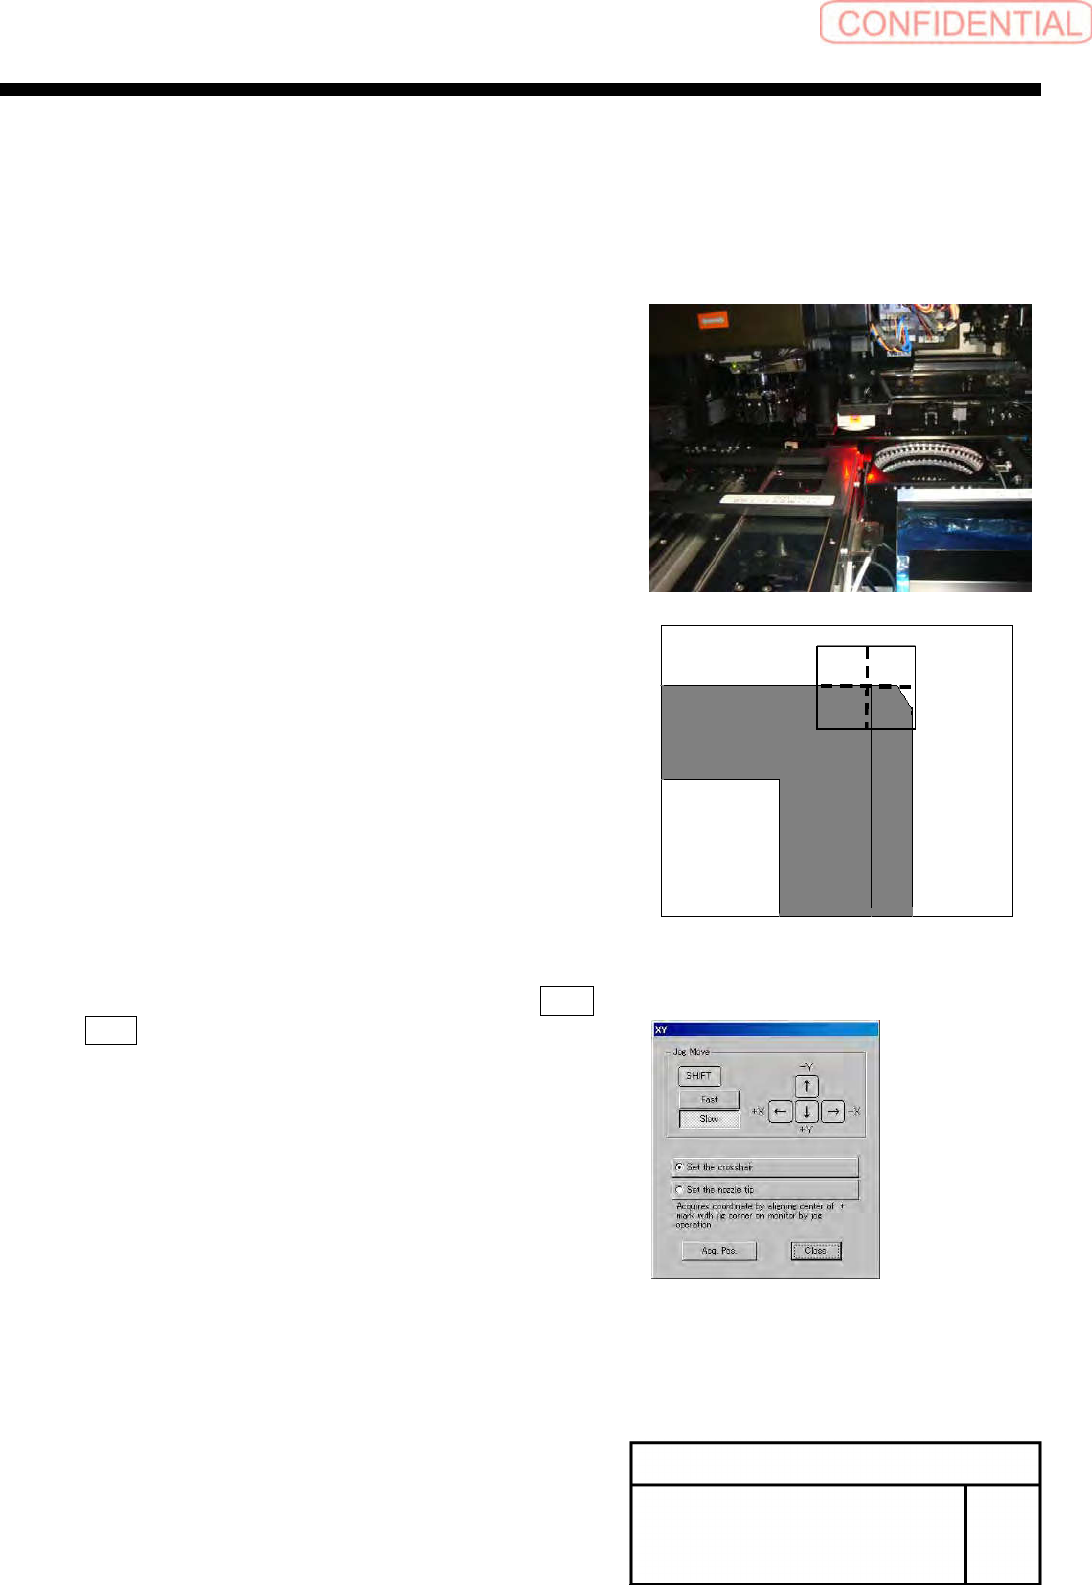
5
Set the tray pickup position teaching jig to
the S axis chuck.
6
Press the XY button to move the PWB
camera to the jig corner.
7
Check that set the crosshair to white ball
center button is selected, and press the Acq.
Pos. button.
8
Move the nozzle onto the tray pickup
position teaching jig.
Install Tray Unit (Including machine modification)
SHEET
71/73
WKGB-10104-03
Installing Tray Unit
(Including machine modification)
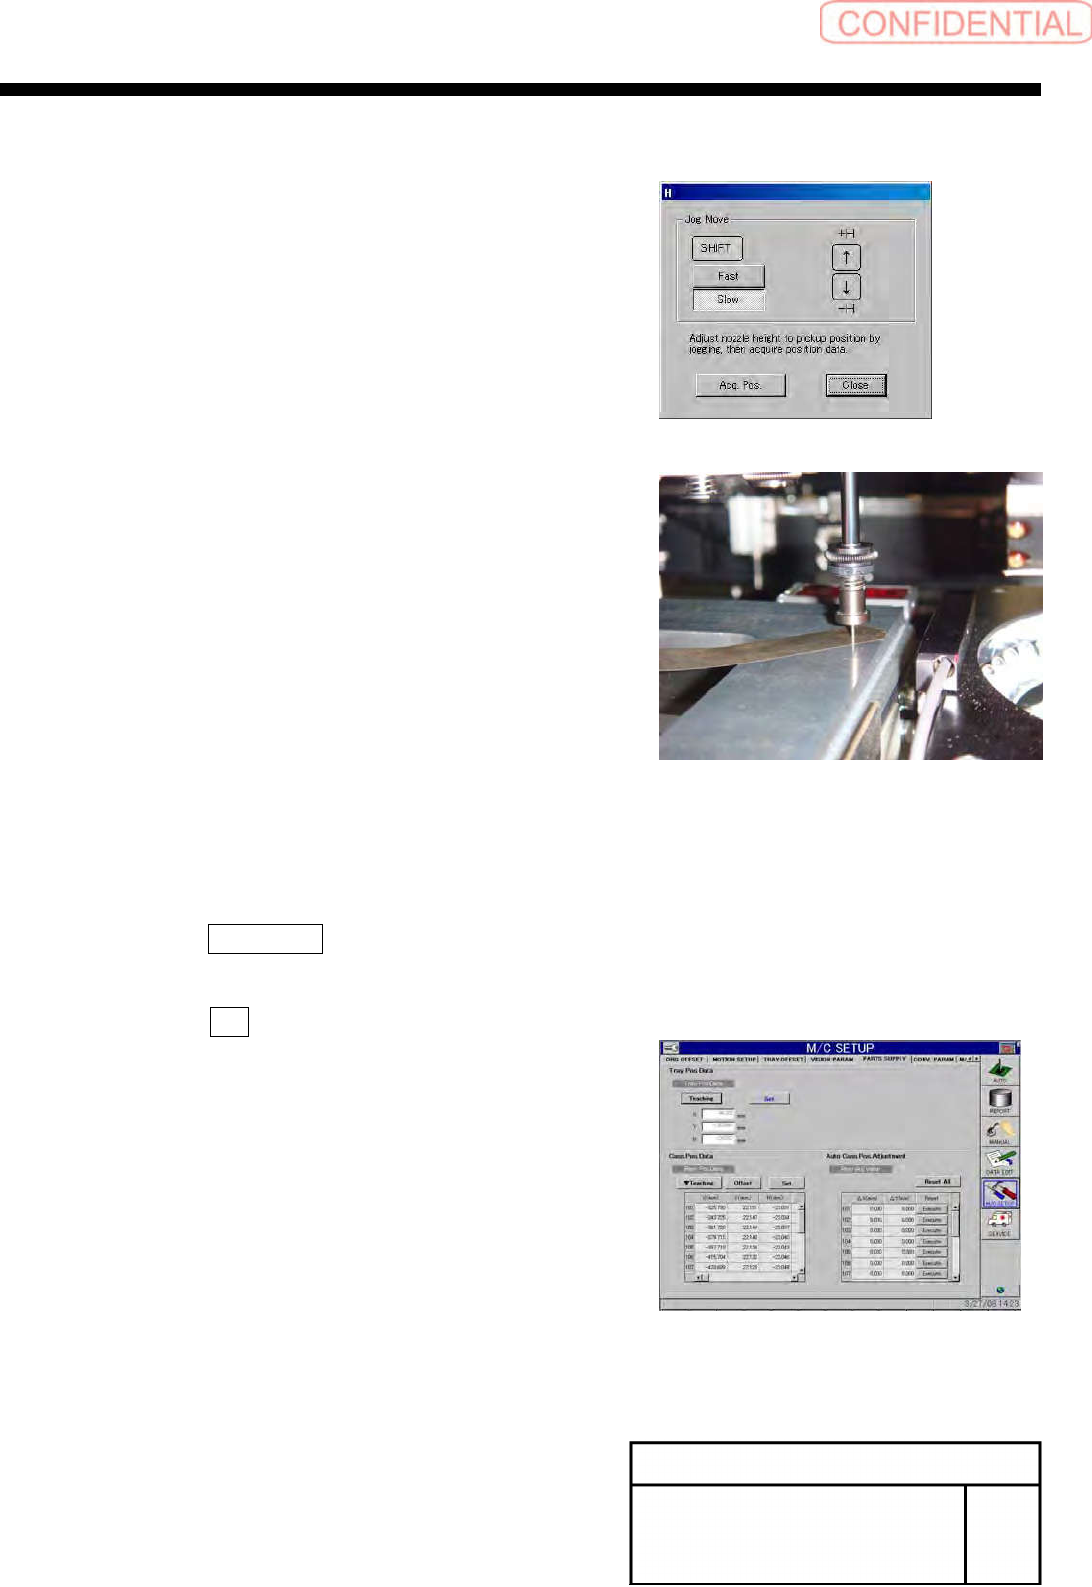
9
Close the XY Axis motion menu and display
the H Axis motion menu.
10
Lower the end of the nozzle down to
0.03[mm] from the jig by the H Axis motion
menu.
11
Remove the thickness gauge and lower the
H axis by 0.03[mm].
12
Press the Acq. Pos. button to close the H
Axis motion screen.
13
Press the Set button on the Parts Supply
screen.